
Related Manuals for Xterra 16804936500US


Summary of Contents for Xterra 16804936500US
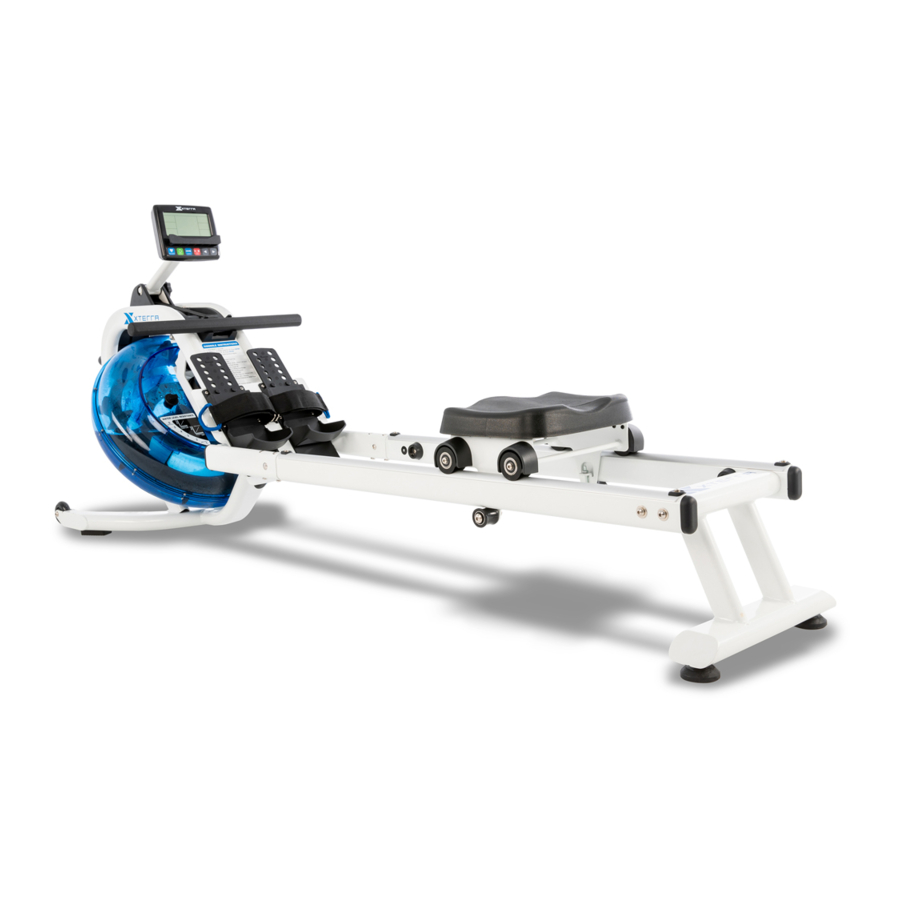
- Page 1 Owner’s Manual Model No. 16804936500US - Assembly - Operation - Adjustments - Parts - Warranty CAUTION: Read and understand this manual before operating unit Retain For Future Reference...
-
Page 2: Table Of Contents
TABLE OF CONTENTS Before you Begin ….……………………………………………………………………………. Safety Precautions ……………………………………………………………………………... Safeguards ……………………………………………………………………………………… Pre-Assembly ………………….……………………………………………………………….. Assembly Instructions………………………………………………………………………….. How to Fill and Empty the Tank ……………………………………………………………… ERG650W Console Operation ………………..………….………………………………….. Console Programs …………………………………………………………………………….. General Maintenance ………………………………………………………………………..… Troubleshooting ………………………………………………………………………………... Diagram and Parts List.......…………….……………………………………..…… Manufacture’s Limited Warranty……………………………………………………………... -
Page 3: Before You Begin
IMPORTANT SAFETY INSTRUCTIONS WARNING This chapter includes precautions and fitness safeguards for the installation and use of the Water Rowing Machine manufactured by Xterra Fitness. Please read this chapter carefully before installing or using your equipment. USER SAFETY PRECAUTIONS These safety notes are directed to you as the owner of the Water Rowing Machine manufactured by Xterra Fitness. - Page 4 • Failure to obey this warning can result in injury or death. WARNING LABELS AND COMMUNICATION STICKERS The image below shows an example of Xterra Fitness warning labels and communication stickers placed on the equipment as part of the manufacturing process. It is critical that owners maintain the integrity and placement of these stickers.
-
Page 5: Safeguards
• Ensure that any person(s) making adjustments or performing maintenance or repair of any kind is qualified to do so. • Do not attempt to use or repair any accessory approved for use with the Xterra Fitness Equipment which appears to be damaged or worn. -
Page 6: Pre-Assembly
Have your serial number ready. CAUTION: Damage to the rower during assembly is not covered as part of the limited Xterra Fitness warranty. Take care not to drop or lean the rower on its side. Carefully stand the... - Page 7 ERG650W ASSEMBLY PARTS CHECKLIST Part No Description Q’ty Main Frame Rear Stabilizer 3R/3L Slide Rail Seat Assembly Computer Assembly Funnel Pumping Siphon User Manual Hardware Parts Note: Above parts are all needed to assemble this machine. Before you start to assemble, please check the hardware packing to make sure they are included ERG650W Hardware Parts...
-
Page 8: Assembly Instructions
ASSEMBLY INSTRUCTIONS 1 SLIDE RAILS AND REAR STABILIZER Turn over the Slide Rails (No.3) as below. Attach the Seat Rollers (No.39) to the slide Rails making sure the plate touches the rollers. To secure the Slide Rails between the Rollers, you’ll need to insert it at an angle and rotate as shown in the diagram. - Page 9 3 ATTACHING THE CONSOLE Place the 2 AA batteries into the back of the Computer (No. 54). Turn the Main Frame (No.1) upright. Connect the Sensor Wire (No. 56) to the Connection Wire (No. 96). Be careful not to pinch the wires. Feed any extra length of wire to lay in the Main Frame.
-
Page 10: How To Fill And Empty The Tank
How to Fill and Empty the Tank Remove the Fill Plug (No. 50) from the Upper Tank (No. 24). To fill the tank with water, refer to Fig. A. Insert the Funnel (No.52) into the tank, then use a cup or the Siphon Pump (No.53) and a bucket to fill the tank. Use the water level gauge on the side of the tank to measure the desired water level in the tank. - Page 11 Pedal strap Adjustment The pedal strap is adjustable and can be personalized to fit the user’s foot size. To adjust the pedal strap, remove the hook and loop end of the strap from the mesh side by pulling it upward and over the side. Once removed, you may increase the opening of the pedal strap by pulling the mesh end up and to the side.
- Page 12 Storage To move the rower, lift up the rear stabilizer until the transportation wheels on the front stand are touching the ground. With the wheels on the ground, you can transport the rower to the desired location with ease. Customer Service 1-888-707-1880 Dyaco Canada Inc Email: customerservice@dyaco.ca...
-
Page 13: Erg650W Console Operation
ERG650W CONSOLE OPERATION This Class (B) digital apparatus complies with Canadian ICES-003. Operation is subject to the following two conditions: (1) this device may not cause interference, and (2) this device must accept any interference, including interference that may cause undesired operation of the device The full LCD display will be shown 2 seconds after installing 2 AA batteries. - Page 14 Functions TIME: Set a target time by pressing the UP and/or DOWN buttons (1min ~ 99 min), in 1 minute increments. TIME / 500M: Your average time to reach 500 meters is automatically displayed. SPM: Strokes per minute. DISTANCE: Preset a target value by pressing the UP and/or DOWN buttons (0 ~ 99900 meters), 100 meters increments.
-
Page 15: Console Programs
Programs QUICK START: Choose Quick Start then press START/STOP to start the training. Press ENTER to switch between values during your workout. The program profile displays 16 columns, each equal to 100 meters. STANDARD: Choose Standard, then press ENTER to confirm and begin your desired training mode: 2000m, 5000m, 10000m, 30:00, 500m/1:00. - Page 16 Programs CUSTOM: Choose Custom, then press ENTER to confirm and choose one of four custom modes: V: 30/:30R - Training 30 seconds, Rest 30 seconds V1:00/1:00R...7 - Training 1 minute, Rest 1 Minute, Repeat 7 times. V2000m/3:00R...4 - Training 2000m, Rest 3 Minute, Repeat 4 times. V1:40/:20R...9 - Training 1:40 minutes, Rest 20 seconds, Repeat 9 times.
- Page 17 Using A Heart Rate Transmitter This ISM device complies with Canadian ICES-001. How to wear your wireless chest strap transmitter: Attach the transmitter to the elastic strap using the locking parts. Adjust the strap as tightly as possible as long as the strap is not too tight to remain comfortable.
-
Page 18: General Maintenance
All preventive maintenance activities must be performed on a regular basis. Performing routine preventive maintenance actions can aid in providing safe, trouble-free operation of the Xterra equipment. Dyaco is not responsible for performing regular inspection and maintenance for your machines. -
Page 19: Diagram And Parts List
EXPLODED DIAGRAM Customer Service 1-888-707-1880 Dyaco Canada Inc Email: customerservice@dyaco.ca... - Page 20 PARTS LIST PART NO. DESCRIPTION Q'TY 0365001 Main Frame 0365002 Rear Stabilizer 0365003 Slide Rail R/L 0365004 Handlebar 0365005 Spring Fixed Plate 0365006 Seat Carriage 0365007 Sensor Stand L 0365008 Sensor Stand R 0365009 Support for Computer 0365010 Tank Plate 0365011 Support Plate 0365012...
- Page 21 PART NO. DESCRIPTION Q'TY 0365037 Pedal Strap 0365038 Seat 0365039 Seat Roller 0365040 Stopper 0365041 Spacer for Roller 0365042 Bearing 6000ZZ 0365043 One-way Bearing 0365044 Bushing for One-way Bearing 0365045 Bearing 61904ZZ 0365046 Bearing 61905ZZ 0365047 Volute Spring 0365048 Rubber Sealing Ring 0365049 Impeller Shaft Seal 0365050...
- Page 22 PART NO. DESCRIPTION Q'TY 0365076 C Clip 0365077 Bolt M8*27 0365078 Washer OD13*ID6.5*T1.5 0365079 Nylon Nut M10 0365080 Aluminum Plate Cover 0365081 Nylon Nut M6 0365082 Nylon Nut M5 0365083 Screw M3*20 0365084 Washer OD7*ID3.2*1.0 0365085 Nylon Nut M3 0365086 Main Frame Plate 0365087 Computer Adjustable Knob...
-
Page 23: Manufacture's Limited Warranty
MANUFACTURER’S LIMITED WARRANTY Dyaco Canada Inc. warrants all its ERG650W Water Rowing Machine parts for a period of time listed below, from the date of retail sale, as determined by a sales receipt. Dyaco Canada Inc.’s responsibilities include providing new or remanufactured parts, at Dyaco Canada Inc.’s option, and technical support to our independent dealers and servicing organizations. - Page 24 Customer Service 1-888-707-1880 Dyaco Canada Inc Email: customerservice@dyaco.ca...
Need help?
Do you have a question about the 16804936500US and is the answer not in the manual?
Questions and answers