
Related Manuals for Teknion Complements hiSpace YSX Height-Adjustable Freestanding Frame


Summary of Contents for Teknion Complements hiSpace YSX Height-Adjustable Freestanding Frame
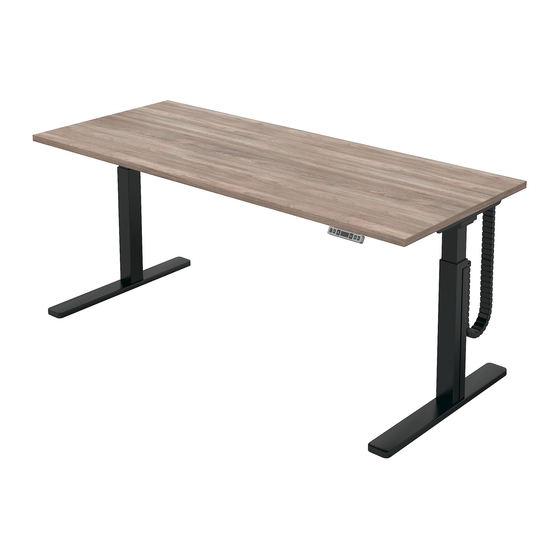
- Page 1 complements Installation Guides Date: May 2020 Page: 1 of 11 Section: HEIGHT-ADJUSTABLE TABLES COM_134 Rev. hiSpace Height-Adjustable Freestanding Frame (YSX), hiSpace Rectangular Height-Adjustable Worksurface (WJX)
- Page 2 complements Installation Guides Date: May 2020 Page: 2 of 11 Section: HEIGHT-ADJUSTABLE TABLES COM_134 Part & Product Identification ITEM ITEM PREVIEW DESCRIPTION PART NUMBER QTY. PREVIEW DESCRIPTION PART NUMBER QTY. 1. COMPLEMENTS hiSpace QUICK CONNECT HEIGHT-ADJUSTABLE 2. CABLE ORGANIZER WITH FELT COVER hiSpace2 - (N09-9975) FREESTANDING TABLE MECHANISM hiSpace Feet N09-5790-X...
- Page 3 complements Installation Guides Date: May 2020 Page: 3 of 11 Section: HEIGHT-ADJUSTABLE TABLES COM_134 Part & Product Identification ITEM ITEM PREVIEW DESCRIPTION PART NUMBER QTY. PREVIEW DESCRIPTION PART NUMBER QTY. (YK9-07) (B107#) 3M US/CANADA D06-4136 POWER CORD M5x0.8, 12mm PHILIPS PAN E01-1106 HEAD MACH SCREW...
- Page 4 complements Installation Guides Date: May 2020 Page: 4 of 11 Section: HEIGHT-ADJUSTABLE TABLES COM_134 ATTACH LEGS TO WORKSURFACE STEP 1: Attach Legs to Worksurface as showb above.
- Page 5 complements Installation Guides Date: May 2020 Page: 5 of 11 Section: HEIGHT-ADJUSTABLE TABLES COM_134 SECURE LEGS TO WORKSURFACE STEP 2: Push legs to outer side of the worksurface.
- Page 6 complements Installation Guides Date: May 2020 Page: 6 of 11 Section: HEIGHT-ADJUSTABLE TABLES COM_134 SECURE LEGS TO BRACKETS - 1 SECURE LEGS TO BRACKETS - 2 STEP 3: Install Cam handle as shown above. STEP 4: Insert pin and lock the Cam handle as shown above.
- Page 7 complements Installation Guides Date: May 2020 Page: 7 of 11 Section: HEIGHT-ADJUSTABLE TABLES COM_134 ATTACH FEET TO LEGS STEP 5: Attach Feet to Legs as shown above with screws provided.
- Page 8 complements Installation Guides Date: May 2020 Page: 8 of 11 Section: HEIGHT-ADJUSTABLE TABLES COM_134 REMOVE FELT COVER - 1 REMOVE FELT COVER - 2 STEP 6: Unscrew screw lock as shown above. STEP 7: Remove Felt Cover as shown above.
-
Page 9: Wire Management
complements Installation Guides Date: May 2020 Page: 9 of 11 Section: HEIGHT-ADJUSTABLE TABLES COM_134 WIRE MANAGEMENT STEP 8: Plug Wires, and Switch with screws as shown above. - Page 10 complements Installation Guides Date: May 2020 Page: 10 of 11 Section: HEIGHT-ADJUSTABLE TABLES COM_134 PLACE FELT COVER FASTEN FELT COVER STEP 9: Place back the Felt Cover STEP 10: Fasten Felt Cover...
- Page 11 complements Installation Guides Date: May 2020 Page: 11 of 11 Section: HEIGHT-ADJUSTABLE TABLES COM_134 PLACE CABLE CLAMP STEP 11: Place Cable Clamps as shown above.
Need help?
Do you have a question about the Complements hiSpace YSX Height-Adjustable Freestanding Frame and is the answer not in the manual?
Questions and answers