Advertisement
Quick Links
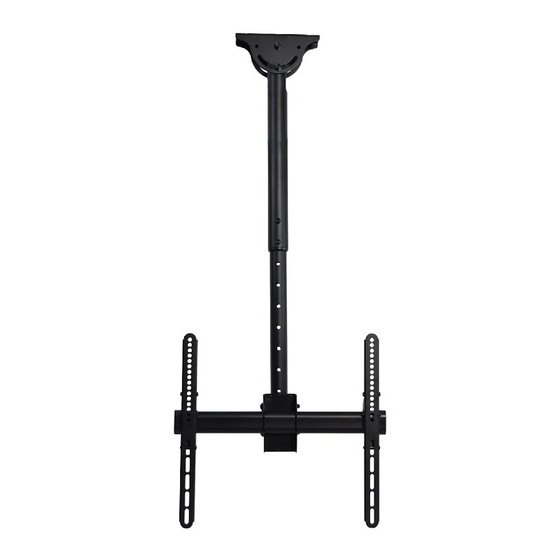
Motorized Ceiling TV Mount
Instruction Manual
SKU: MOUNT-VC55
Scan the QR code with your mobile device or follow the link
for helpful videos and specifications related to this product.
https://vivo-us.com/products/mount-vc55
help@vivo-us.com
www.vivo-us.com
1-800-371-5654
Advertisement

Subscribe to Our Youtube Channel
Related Manuals for Vivo MOUNT-VC55


Summary of Contents for Vivo MOUNT-VC55
- Page 1 Motorized Ceiling TV Mount Instruction Manual SKU: MOUNT-VC55 Scan the QR code with your mobile device or follow the link for helpful videos and specifications related to this product. https://vivo-us.com/products/mount-vc55 help@vivo-us.com www.vivo-us.com 1-800-371-5654...
-
Page 2: Package Contents
CAUTION! DO NOT INSTALL INTO DRYWALL ALONE. VERIFY YOUR WALL CONSTRUCTION. USE WOOD STUDS TO MOUNT. We include mounting for brick and concrete walls. If unsure, please contact us at vivo-us. com, email at help@vivo-us.com, or call us at 1-309-278-5303. -
Page 3: Assembly Steps
ASSEMBLY STEPS STEP 1 OPTION A: Wood Ceiling Use guide (I) to mark mounting holes in ceiling where stud is located. Using a 3/16” bit, drill approximately 2.2” into ceiling. Use bolts (W-A) and washers (W-C) to secure mount (A) to the ceiling. Use allen wrench (H) and wrench (G) to adjust angle of mount (A). - Page 4 STEP 2 Run TV wires through mount (A) and (B) and secure the two together at desired height using bolts (E) and nuts (F). Tighten using allen wrench (H) and wrench (G). STEP 3 Loosen center bolt on back of bracket (D) using wrench (G). Attach to mount (B) and tighten nuts.
- Page 5 STEP 4 Loosen bolts on TV brackets (C). STEP 5 OPTION A: Flat Back Monitor With TV laying face down on a flat surface, attach brackets (C) using metal spacers (M-F) and bolts (M-A, M-B).
- Page 6 STEP 5 (Continued) OPTION B: Curved Back Monitor If bolts (M-C, M-D, M-E) are too long, spacers (M-H, M-G) may be required.
- Page 7 STEP 6 Mount the TV on the bracket. STEP 7 Secure brackets (C) with bolt. Tighten using phillips head screwdriver. Adjust the angle of the television using wrench (G) and adjust the height using allen wrench (H) as desired.
- Page 8 Love your new VIVO setup and want to share? Tag us in your photo! @vivo_us If any parts are received damaged or defective, please contact us. We are happy to replace parts to ensure you have a fully functioning product.
Need help?
Do you have a question about the MOUNT-VC55 and is the answer not in the manual?
Questions and answers