Sign In
Upload
Download
Table of Contents
Contents
Add to my manuals
Delete from my manuals
Share
URL of this page:
HTML Link:
Bookmark this page
Add
Manual will be automatically added to "My Manuals"
Print this page
×
Bookmark added
×
Added to my manuals
Manuals
Brands
Fujitsu Manuals
Printer Accessories
PA03740-K010
Consumable replacement and cleaning instructions
Fujitsu PA03740-K010 Consumable Replacement And Cleaning Instructions
For fi-7600, fi-7700;
Hide thumbs
1
2
3
4
5
6
7
8
9
10
11
12
13
14
15
16
17
18
19
20
21
22
23
24
25
26
27
28
page
of
28
Go
/
28
Contents
Table of Contents
Bookmarks
Table of Contents
Consumables and Replacement Cycles
Replacing the Pick Roller
Cleaning Materials and Locations that Require Cleaning
Cleaning the Outside
Cleaning the Inside
Cleaning the Flatbed
Advertisement
Quick Links
Download this manual
C
R
C
I
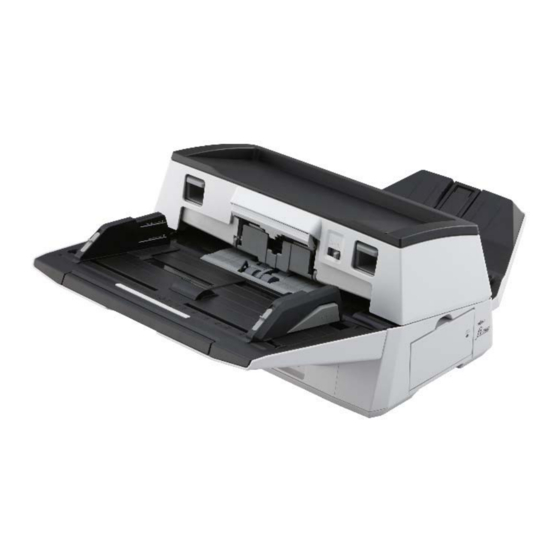
FI‐7600/FI‐7700
ONSUMABLE
EPLACEMENT AND
LEANING
NSTRUCTIONS
FI-7600/FI-7700 CONSUMABLE REPLACEMENT
AND CLEANING INSTRUCTIONS
Table of
Contents
Previous
Page
Next
Page
1
2
3
4
5
Advertisement
Table of Contents
Need help?
Do you have a question about the PA03740-K010 and is the answer not in the manual?
Ask a question
Questions and answers
Related Manuals for Fujitsu PA03740-K010
Printer Accessories Fujitsu PA03740-K011 Consumable Replacement And Cleaning Instructions
For fi-7600, fi-7700; (28 pages)
Printer Accessories Fujitsu PA03753-0002 Consumable Replacement And Cleaning Instructions
(21 pages)
Printer Accessories Fujitsu PR-LN4 Setup Manual
(2 pages)
Printer Accessories Fujitsu FTP-629MCL054 Manual
24v drive, ftp-609 series ultra high speed (200mm/s) 2” type mechanism (cutter option) (7 pages)
Printer Accessories Fujitsu FI-718PR Operator's Manual
Imprinter (18 pages)
Printer Accessories Fujitsu FTP-020P Series Manual
Thermo-sensitive paper (3 pages)
Printer Accessories Fujitsu FTP-644MCL001 Overview
Battery drive, ftp-604 series 4” type mechanism and interface board (8 pages)
Printer Accessories Fujitsu fi-434PR User Manual
Imprinter option (44 pages)
Printer Accessories Fujitsu FTP-627 Series User Manual
Interface boards (8 pages)
Printer Accessories Fujitsu fi-553PR Operator's Manual
Imprinter option for fi-5530c color image scanner (16 pages)
Printer Accessories Fujitsu RX-7100 Technical Document
Toner cartridge (4 pages)
Printer Accessories Fujitsu FTP-634MCL001 Overview
Battery drive, ftp-604 series 3” type mechanism and interface board (7 pages)
Printer Accessories Fujitsu FTP-639MCL103/383-R Manual
24v drive, ftp-609 series ultra high speed (200mm/s) 3" type mechanism (cutter option) (7 pages)
Printer Accessories Fujitsu 240 SERIES Specifications
For board-to-cable connection (12 pages)
This manual is also suitable for:
Pa03740-k011
Table of Contents
Print
Rename the bookmark
Delete bookmark?
Delete from my manuals?
Login
Sign In
OR
Sign in with Facebook
Sign in with Google
Upload manual
Upload from disk
Upload from URL


Need help?
Do you have a question about the PA03740-K010 and is the answer not in the manual?
Questions and answers