Advertisement
Quick Links
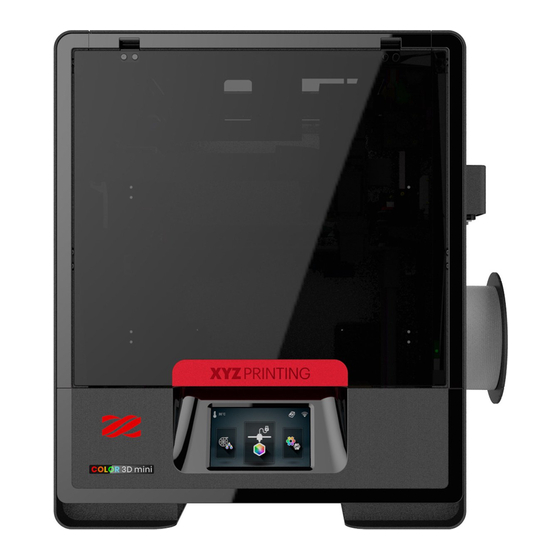
da Vinci Color mini
The manual is mainly intended for users to understand how to use
the da Vinci Color mini 3D printer ("Color mini") correctly. In this
manual, users can learn more about the operating tips, application
skills and maintenance of the Color mini 3D printer.
New member is required to register account on http://support.
xyzprinting.com before able to download latest manual &
software for better user experience.
For more information on the Color mini, please contact your local
dealer or visit the official website of XYZprinting: http://www.
xyzprinting.com.
HD23FCM1197
User manual
ENG
2
3
5
7
8
18
19
Advertisement

Related Manuals for XYZ Printing da Vinci Color mini


Summary of Contents for XYZ Printing da Vinci Color mini
-
Page 1: Table Of Contents
Support detail The manual is mainly intended for users to understand how to use the da Vinci Color mini 3D printer (“Color mini”) correctly. In this manual, users can learn more about the operating tips, application skills and maintenance of the Color mini 3D printer. -
Page 2: Safety Precautions
AVERTISSEMENT: Dangereux Les Parties Mobiles. Evitez tout contact avec les doigts et toute autre partie du corps. Hot parts! Burned fingers when handling the parts. Do Not Touch. Parties Chaudes! Brûler les doigts lorsque de la manipulation des composants. Ne pas toucher. da Vinci Color mini... -
Page 3: Product Descriptions
7. 5 inch color touch panel 10. Power jack 2. Ink service station 5. Auto-feeding module 8. USB Port 11. Power switch (WiFi dongle) 3. Print bed+EZ removable rubber magnet 6. Filament spool holder 9. USB Port (To PC) da Vinci Color mini... - Page 4 AMF, OBJ, STL, XYZ Format (.3w), .3CP, .3MF Auto feeding Operating system Mac OS X 10.10 / 10.11 / 10.12 Offline standalone printing Windows 7 /8/10 (64-bit) Temperature Machine operating temperature 15-35°C Cartridge storage temperature -5-35°C Filament storage temperature 0-38°C da Vinci Color mini...
-
Page 5: Unpacking And Installation
8. Remove the cable tie and foam in front and back of the front door. da Vinci Color mini... - Page 6 There is a sheet of PC film to rubber magnet with a double sided adhesive, this PC film is replaceable, please replace it when it's dirty or broken. 7. Confirm the rubber magnet is well placed on the print bed. da Vinci Color mini...
-
Page 7: Touch Screen Menu, Functions And Messages
Settings of the Print-Bed, Print- and Unload. puter. Head, Filament and Ink. Next page includes WiFi, Sound, Statistics, Language and Display. The last page includes Model, Version, Reset and Legal Info. da Vinci Color mini... -
Page 8: Function Operation And Instructions
3. Confirm the unloading 4. When the print head has Unload on the main screen. operation. operation. been warmed up to 220 °C, the feeding motor will eject the filament. 5. When the unloading operation completes, tap to confirm. da Vinci Color mini... - Page 9 LED strip will be slight hot due to long hours of been light on. Please removed the EZ Removable Rubber Magnet with printed object together from the printer. And peel off the printed object from the rubber magnet. da Vinci Color mini...
- Page 10 2. Seal the ink cartridge with the protective cover, and store the cartridge in room temperature at 15 ~ 35 degree. For the best print quality, clean the nozzle of the cartridge with alcohol after removing the protective cover from the cartridge, and then install the cartridge back to the printer before the next print. da Vinci Color mini...
- Page 11 2. Snap the ink cartridge into the ink slot. 3. Check if the cartridge is placed properly, ink installation is complete. Note: Be sure to turn off the power before replacing the ink cartridge. After the replacement is complete, please conduct inkjet calibration test. da Vinci Color mini...
- Page 12 If the to other color. This rprint of the test page is within accaptable gets worst, please range. proceed with the Picture 1 shows an example cleaning procedure. of normal test page. da Vinci Color mini...
- Page 13 Type” to return to the X-Axis be adjusted, each adjust has a to be adjusted, each adjust has moving position setting. step of 0.05 mm. a step of 0.05 mm. da Vinci Color mini...
- Page 14 How to move the print head: 1. Move along the X-axis. 2. Move along the Y-axis. 3. Move along the Z-axis. (Do not increase/shift upwards when print head at home position avoid hitting the print bed.) da Vinci Color mini...
- Page 15 3. Turn on and use the printer. D2-3 Print-Head Calibration This function can be operated if the printing device is colliding with the ink service station at which will automatically calibrated to the correct position. da Vinci Color mini...
- Page 16 “Confirm”. connection wireless network, click “Back”. printing process. Please refer to the XYZprint user manual. For more information on software update, operation instructions and technical supports, please visit the XYZprinting official website: http://www.xyzprinting.com/ da Vinci Color mini...
- Page 17 Statistics The Statistics function can record the history data since the printer was turned on, including: Uptime Nozzle Last Calibration Filament Print Job Ink Cartridge Reset Printer information will be deleted, and returned to factory settings. da Vinci Color mini...
-
Page 18: Printing
4. The Prepare function can convert a obj file to a .3cp file. Once the file is edited and adjusted, click on Print to output the object. The printing operation will start after the file is sliced. da Vinci Color mini... -
Page 19: Support Detail
20 cm from all persons and must not be co-located or operating in conjunction with any other antenna or transmitter. End-users and installers must be provided with antenna installation instructions and consider removing the no-collocation statement. da Vinci Color mini...
Need help?
Do you have a question about the da Vinci Color mini and is the answer not in the manual?
Questions and answers