
Related Manuals for XYZ Printing DA VINCI MINI SERIES


Summary of Contents for XYZ Printing DA VINCI MINI SERIES
-
Page 1: Table Of Contents
User Manual English Specification Product Overview Button and Indicator light Unpacking Accessory Checklist Important Safety Notes Extruder module installation Accessory installation XYZware operation Print Wi-Fi setup (da Vinci Mini w only) Advanced XYZware operation Function descriptions Using the accessory tools Print Bed Adjustment Error message and Action - 1 -... -
Page 2: Specification
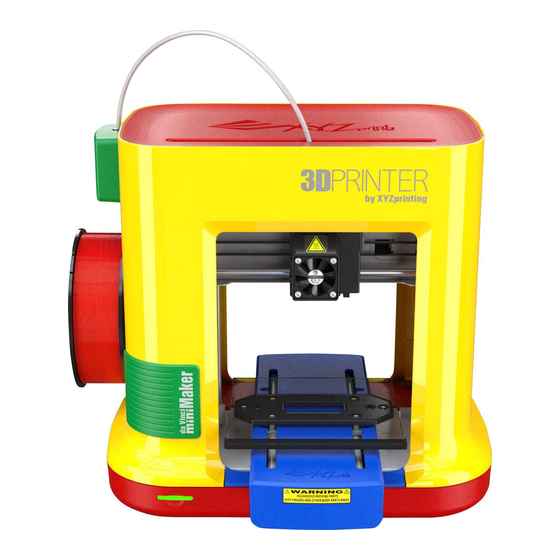
Product Overview Guide tube Print bed Feed module Filament holder Filament Power connector Function button USB port / status indicator Extruder module Power switch Specification Button and Indicator light Dimensions 400 x 336 x 362 mm Indicator signals Status Action Weight 8 KG Print Technology... -
Page 3: Unpacking
Unpacking • Before using this printer, remove all fixed materials from the extruder module and print bed. Switching on the printer without removing these fixed materials may damage the machine. • Be sure to remove the 4 clips from the shafts as illustrated on the right. Notes Keep original packaging materials in case you need to send your unit back for repair during the warranty period. -
Page 4: Extruder Module Installation
NOTE: To unload the extruder module, first detach the Installing the heating bus and press the black disengage button. Extruder module Make sure that the printer is Insert the black ribbon powered off. Place the extruder connector to complete module that the fitting pin is the installation. - Page 5 2.Installing the Filament spool ring (please refer to this step if the axle ring is not installed on the spool) Use a phillips screw- Separate the spool ring Retrieve the filament Install the sensor chip. Feed both parts of the Use a phillips screw- driver to loosen the from both sides of the...
-
Page 6: Xyzware Operation
After completing the hardware installation, download XYZware from the XYZprinting official website and install it XYZware operation on your computer. Before launching XYZware, connect the printer to your computer using the supplied USB cable and turn it on. For an optimal user experience, we recommend following the instructions below: Open XYZware Open Functions panel Import 3D file... -
Page 7: Wi-Fi Setup (Da Vinci Mini W Only)
The printing status, including the printing progress, When done, "Printing Complete" After the print has finished, elapsed time, and remaining time, will be shown while will be shown on screen. use a scraper to remove the printing. You can pause or cancel the printing task in this printed object. - Page 8 In the "Printer Monitor" window, select My Select the USB COM port, click Connect > Click "Wireless Setting" Printer > Scan to search for the connected Establish printer connection. to view wireless print settings. printer. Enter the printer name, then press the Scan Use the pull-down menu to view a list of Wait for the printer to obtain the correct Wi-Fi connections available in the area, and...
- Page 9 Update the printer connection method. XYZware will use the USB connection to Once the connection method has been changed from update the printer settings. USB to Wi-Fi, you can unplug the USB cable and continue with the printing process. Note: •...
-
Page 10: Advanced Xyzware Operation
When using the software to operate the printer, one must first place filament spool ring The USB cable can be removed once the printing file pre-loaded with the filament at the axis to activate XYZware. has been transferred. To monitor printing status, Click on the Printer Monitoring function at the lower right corner to activate the operating please re-connect the printer and computer with the function. -
Page 11: Load Filament
Functional descriptions Extruder Filament Clean Nozzle Load Filament Unload Filament Once this function is Please follow the on-screen instructions. Please follow the on-screen instructions. selected, the nozzle will The printing module will automatically move The printing module will automatically heat up automatically to the working position. -
Page 12: Jog Mode
SetUp 1. Jog Mode 2. Calibrate 3. Z-Offset 4. Others 5. Info 1. Jog Mode Manually adjust the movement of X/Y/Z Axis for printer main- tenance. First click on [Home Axes]. The printing device will be returned to the initial axis position at the lower left corner of the printing area. - Page 13 2. Calibrate 3. Z-Offset Upwards and downwards to adjust the printing distance between the bed and printing module. Each adjust has a step of 0.05 mm. If the first layer distance is too high (too large) or too low (too close), we recommend you using z-offset to adjust the printing distance.
-
Page 14: Using The Accessory Tools
Using the accessory Maintenance Tools Usage Application method tools Scraper Taken off the After print is finished, the printing object may be taken off with Scrap- Accessory tools can be used only in an printing object environment with guidance or moni- toring by adult. -
Page 15: Print Bed Adjustment
Leveling tool T10 screw drivers At least 10 cm Print Bed Adjustment Tools to prepare: Within 1-cm diameter Use Jog Mode and Home Axes functions to move the Z-AXIS to its original position at the bottom. Open the cover in front of the left side. Use Jog Mode and move the Z-AXIS upwards by 10 mm. -
Page 16: Error Message And Action
Error message and Action In the event of problems, related service code will be shown on the software interface. Please refer to the description table of the service code for preliminary examination. Error Code No. Software interface Action 0007 Cartridge 1 Error. Please remove cartridge and install again. If errors exist, please Reinstall or replace the filament cartridge.
Need help?
Do you have a question about the DA VINCI MINI SERIES and is the answer not in the manual?
Questions and answers