Table of Contents
Advertisement
Quick Links
Advertisement
Table of Contents

Related Manuals for SEWOO LK-P25


Summary of Contents for SEWOO LK-P25
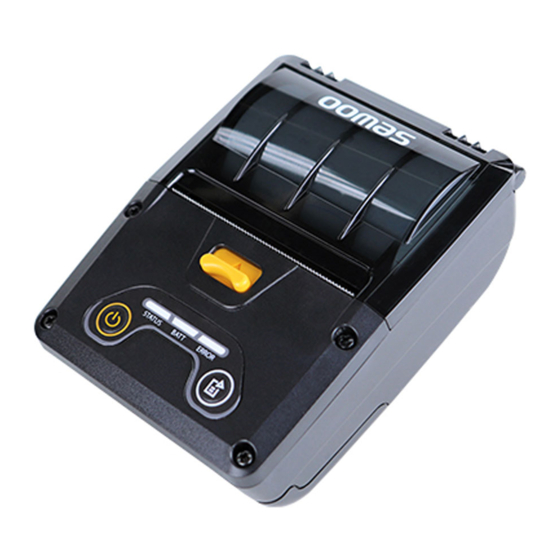
- Page 1 MOBILE PRINTER MODEL : LK-P25 Bluetooth J.STEPHEN Co., Ltd. 28-6, Gajangsaneopdong-ro, Osan-si, Gyeonggi- do, 18103, Republic of Korea TEL : +82-31-8077-5000 / FAX : +82-31-624-5310 http://www.miniprinter.com P25 Rev. B 07/19 All specifications are subject to change without notice...
- Page 2 This device complies with part 15 of the FCC Rules. Operation is subject to the following two conditions. 1) This device may not cause harmful interference, and 2) This device must accept any interference received, including interference that may cause undesired operation. Hong yul Jun 20280 S.
- Page 3 Safety Precautions For better safety and reliability, adhere to the following precautionary measures. WARNING Read and follow the instructions carefully before operation of the product. Failure to follow these instructions could result in fire, electric shock, other injuries, or property damage. Indication Prohibition Must follow...
-
Page 4: Table Of Contents
Table of Contents PRODUCT OVERVIEW SPECIFICATION 1. UNPACKING 11. ROLL MEDIA SPECIFICATION 2. PRODUCT OVERVIEW 12. BLACK MARK 3. CONTROL PANEL USAGE 13. PRINTER SPECIFICATION SET UP 4. PAPER INSTALLATION 5. BATTERY 5-1. BATTERY INSTALLATION 5-2. BATTERY CHARGING 6. LEATHER CASE USAGE (OPTIONAL) 7. -
Page 5: Unpacking
1. UNPACKING 2. PRODUCT OVERVIEW Standard Front Open Button USB & - Button Up: Opening the cover Power Charger Battery Printer (USB Cable) Power Button Paper feed Button Belt Clip Roll Paper Quick Manual Battery Cover Rear Option Battery Cover Leather Case &... -
Page 6: Control Panel Usage
3. CONTROL PANEL USAGE 4. PAPER INSTALLATION CAUTION Make sure to be careful of the HOT head Button Name function This button is used to turn the printer on and off. Power When the printer is off, press this button for approximately 3 Button / seconds and the printer will power on. -
Page 7: Battery
5. BATTERY 5-1. Battery Installation Standard Belt Clip Battery Cover Remove the screw as Open the battery cover and connect shown. the battery jack to the printer. Install in the same order as the battery cover. NOTE Install the screw. Insert the battery and close the - As the battery is not charged at the time of your purchase, battery cover. -
Page 8: Battery Charging
5-2. Battery Charging How to charge with power cord How to charge with PC Disconnect the USB cable from the power cord adapter. 1. Make sure the printer is turned off. 2. After opening the DC JACK cover, connect the DC JACK to the printer. 3. -
Page 9: Leather Case Usage (Optional)
6. LEATHER CASE USAGE 7. SELF TEST Open the leather case. Place the printer into Turn off the power by pressing the While you are holding the FEED power button for approximately the leather case. button, press the power button. 3 seconds. -
Page 10: Peripheral Connection
8. PERIPHERAL CONNECTION This product can communicate with other devices via Bluetooth or a communication cable. Self-Test Printout Sample Upon initial installation or for troubleshooting, you can run the diagnostic test to get information about : Firmware version, emulation, codepage, sensor settings, interface settings, etc. -
Page 11: Nfc Connection
8-3. Interface Cable Connection 8-2. NFC Connection COVER 1. Flip over the connector cover and connect USB cable to 1. The printer can be connected to devices equipped with NFC communication the printer connector. capabilities. 2. Connect the interface cable to the USB port of the device(PDA, PC, etc.). 2. -
Page 12: Cleaning The Printer
9. CLEANING THE PRINTER 10. JAM ERROR If the interior of the printer is dusty, printing quality can be reduced. In this case, follow the instructions below to clean the printer. CAUTION Make sure to be careful of the HOT head NOTE 1. -
Page 13: Roll Media Specification
11. ROLL MEDIA SPECIFICATION 12. BLACK MARK 10 ~ 58 12.5 Core Diameter(A) 12.5mm Roll Max.diameter(B) 40mm Max.Media Width (C) 58mm Min.media Thickness 0.06mm 48 (PRINT WIDTH ) Protect the printhead from sand, grit, and other hard particles during printing and storage. -
Page 14: Printer Specification
13. PRINTER SPECIFICATION Direct Thermal Printing Method Battery Battery type Li-ion Max. 60mm/s Printing Speed 3.7V, 2600mAh Output 203 DPI Resolution Adaptor - 3.5 Hrs / USB - 6 Hrs Charging time Character FontA(12x24), FontB(9x17), Asian Font(KOR, JPN, 79 x 44.4 x 103.2 Size [W x D x H (mm)] CHN_GB2312, CHN_BIG5) - Page 15 P A T E N T...
Need help?
Do you have a question about the LK-P25 and is the answer not in the manual?
Questions and answers