Table of Contents
Advertisement
Quick Links
Advertisement
Table of Contents

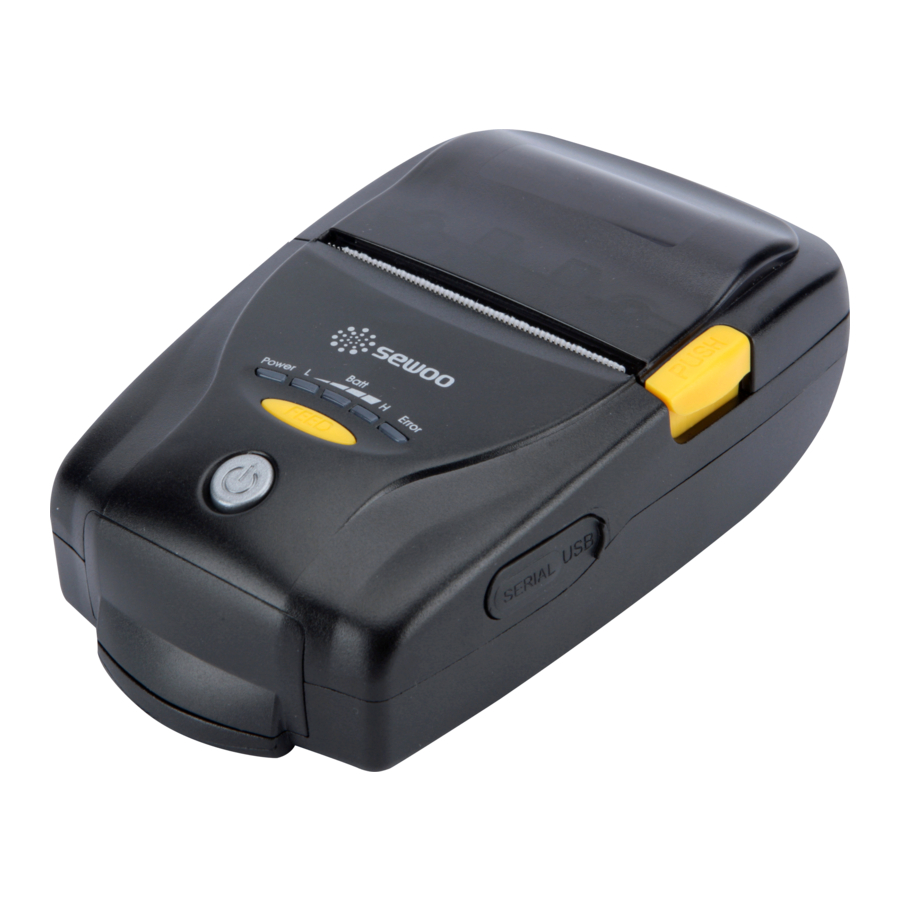
Summary of Contents for SEWOO LK-P21
- Page 1 J. STEPHEN Lab., Ltd. 28-6, Gajangsaneopdong-ro, Osan-si, Gyeonggi-do, 18103, Korea TEL : +82-31-8077-5000 FAX : +82-31-459-8880 www.miniprinter.com MODEL : LK-P21 USER’S MANUAL P21 Rev. D 02/18 All specifications are subject to change without notice...
- Page 3 Safety Precautions For better safety and reliability, adhere to the following precautionary measures. WARNING Read and follow the instructions carefully before operation of the product. Failure to follow these instructions could result in fire, electric shock, other injuries, or property damage. Indication Prohibition Must follow...
-
Page 4: Table Of Contents
Table of Contents 1. Unpacking 2. Product Overview 3. Usage and Installation 3-1. Control Panel Usage 3-2. Battery Installation 3-3. Battery Removal 3-4. Battery Charging 3-5. Charging Cradle 3-6. Car Charger Usage 3-7. Belt Clip Usage 3-8. Paper Installation 3-9. Leather Case Usage 3-10. -
Page 5: Unpacking
1. Unpacking 2. Product Overview Standard Paper Feed Button Printer Battery Belt Clip Open Button Power Switch SERIAL Charger Serial Cable USB Cable Belt Clip Hole Battery Roll Paper Quick Manual Option DC Power Battery Cradle Car Adapter Shoulder Strap Leather Case... -
Page 6: Usage And Installation
3. Usage and Installation 3-1 Control Panel Usage 3-2 Battery Installation Hook Button Name function This button is used to turn the printer on and off. Power When the printer is off, press this button for approximately 3 seconds 1. Align battery hook as shown in the picture Button and the printer will power on. -
Page 7: Battery Removal
3-4 Battery Charging 3-3 Battery Removal 180˚ Rotate the Belt clip 180 degrees so it points upward. 1. Make sure the printer is turned off. 2. After opening the DC JACK cover, connect the DC JACK to the printer. 3. Plug the power cord into the electrical outlet. The charging status LED Status charging... -
Page 8: Charging Cradle
3-6 Car Charger Usage 3-5 Charging Cradle Optional Optional Printer DC Jack lamp 1. Insert the battery into the battery charger as shown above. 2. Connect the DC JACK to the electrical outlet. 3. Plug the power cord into the electrical outlet. 4. -
Page 9: Belt Clip Usage
3-7 Belt Clip Usage 3-8 Paper Installation Insert the belt clip screw into the hole of the belt clip. Press the PUSH button to open Insert the paper in the correct the paper cover. direction. See the image above. Pull a short length of paper out of Tear off the additional paper using the printer and close the cover. -
Page 10: Leather Case Usage
3-10 Self Test 3-9 Leather Case Usage Optional Turn off the power by pressing the While you are holding the FEED power button for approximately button, press the power button. Open the leather case. Place the printer into the leather 3 seconds. -
Page 11: Msr Usage
3-11 MSR Usage < Self-Test Printout Sample > Optional Insert and swipe the card in the direction of the arrow as shown in the picture. Upon initial installation or for troubleshooting, you can run the diagnostic test to get information about: Firmware version, emulation, codepage, sensor settings, interface settings, etc. -
Page 12: Peripheral Connection
4. Peripheral Connection 4-2 Interface Cable Connection Optional This product can communicate with other devices via Bluetooth, a communication cable. 4-1 Bluetooth Connection Serial 1. Connect USB cable to the connector on the printer. NOTE 1. The Printer can be connected to devices equipped with Only use cables included with the printer. - Page 13 5. Pritner Specification MSR (Optional) Card Standard ISO7811/2, JIS Direct Thermal Printing Method Track 1Track, 2Track, 3Track, JIS-II 80mm/sec Printing Speed Magnet Head Life 300,000 Passes(minimum) 203 DPI Resolution Battery Charger Input AC100~240V, 50/60 Hz Font A (12X24), Font B (9X17) Character Output 8.4V , 800~1400mA...
-
Page 14: Certification
6. Certification FCC Information CAUTION Antenna shall be mounted in such a manner to minimize the potential This device complies with part 15 of the FCC Results. Operation is subject to for human contact during normal operation. The antenna should not the following two conditions: be contacted during operation to avoid the possibility of exceeding the (1) This Device may not cause harmful interface, and...


Need help?
Do you have a question about the LK-P21 and is the answer not in the manual?
Questions and answers