Table of Contents
Advertisement
Quick Links
Advertisement
Table of Contents

Subscribe to Our Youtube Channel
Related Manuals for Insportline Bravos


Summary of Contents for Insportline Bravos
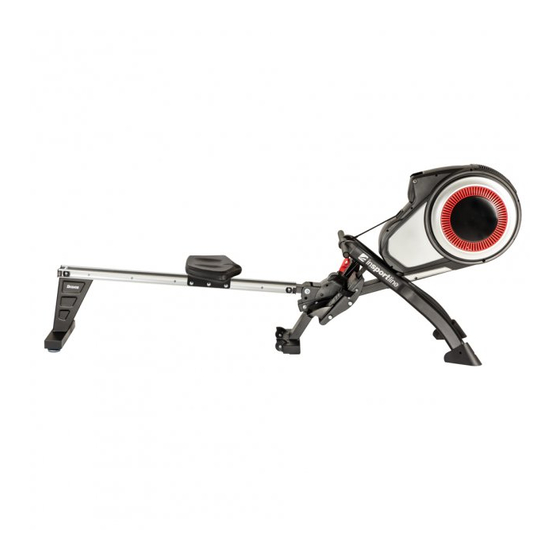
- Page 1 USER MANUAL – EN IN 20114 Rowing machine inSPORTline Bravos...
-
Page 2: Table Of Contents
CONTENTS SAFETY INSTRUCTIONS ........................3 ASSEMBLY ............................. 4 CONSOLE ............................. 10 DIAGRAM .............................. 12 PARTS LIST ............................14 HOW TO EXERCISE ..........................15 MAINTENANCE ............................ 15 STORAGE ............................. 16 IMPORTANT NOTICE ........................... 16 ENVIRONMENT PROTECTION ......................16 TERMS AND CONDITIONS OF WARRANTY, WARRANTY CLAIMS ..........16... -
Page 3: Safety Instructions
SAFETY INSTRUCTIONS • Read this manual carefully before first using and retain it for future reference. • Observe all warnings and precautions including assembly steps. Use it only for intended purpose. • Assemble and use it only according to this manual to assure your safety. Inform all other users about safe usage. -
Page 4: Assembly
ASSEMBLY No. 1 No. 9 No. 78 No. 54 No. 53 No. 45 No. 14 L/R No. 11 L/R... - Page 5 No. 55 No. 13 No. 35 No. 8 L/R Name Qty. Main frame Front stabilizer Middle stabilizer Rear stabilizer Seat Seat post 14L/R Pedal (L/R) 11L/R Handlebars (L/R) Feet Pedal screws Safety pin 8L/R End cap for front stabilizer (L/R) Manual Assembly material Name...
- Page 6 End cap for slide rail L End cap for slide rail R Axle for slide rail Allen screw Flat washer Allen key STEP 1 Attach the middle stabilizer (78) to the main frame (1) with screws (19) and washers (43).
- Page 7 STEP 2 Pull the safety pin (35) out of the main frame (1). Attach the slide rail (45) to the main frame (1) and secure with the axle (41), two screws (34), spring washer (37) and flat washer (38). Then secure it again with the safety pin (35).
- Page 8 STEP 4 Place the main frame on the rear stabilizer. Remove the 4 bolts (10) from the front stabilizer end caps (8 L / R) and screw the front stabilizer end caps with 4 screws (10). Attach the front stabilizer (9) to the main frame (1) with 4 Allen screws (19). STEP 5 Spread out the main frame (1) by pulling out the safety pin (35) and then secure it again with the safety pin (35).
- Page 9 STEP 6 Attach the handlebar holders (11 L / R) to the main frame (1). Attach the pedal (14 L) to the main frame (1) with 2 Allen screws (13). Repeat with the right pedal (14 STEP 7 Open the console (24) upwards to view the data. You can place the handles (29) in the handle holders.
-
Page 10: Console
STEP 8 To fold the rowing machine, remove the safety pin (35) and assemble the structure. CONSOLE BUTTONS MODE / RESET – Press to select the displayed function Press and hold the button for 2 seconds to reset the time, distance, calories and number of repetitions After replacing the battery, press the button and wait 5 seconds. - Page 11 SPECIFICATIONS FUNKCE SCAN Switches data every 5 seconds TIME Displays the time from 00:00 to 99:59 SPEED Displays the current speed up to 99.99 km / h DISTANCE Displays the current distance from 0.0 to 999.9 km CALORIES Displays calories burned from 0.0 to 999.9 calories COUNT Displays the number of repetitions from 0 to 9999 Displays the repetitions per minute from 0 to 999 rpm...
-
Page 12: Diagram
DIAGRAM... -
Page 14: Parts List
PARTS LIST Name Qty. Name Qty. Main frame Resistance knob Allen screw Transport wheel Safety pin Allen screw Soft mat End cap Spring washer Anti-slip pads Flat washer Screw Rubber sleeve Front stabilizer cap L Slide rod cover L Front stabilizer cap R Slide rod cover R Front stabilizer Slide rail axle... -
Page 15: How To Exercise
Bearings holder Woven tape Bearings plate Bearings Wind turbine axle Chain cover L/R Gasket Belt Sensor holder Screw Screw Metal sleeve Spring Pulley Belt pulley Pulley axle Middle stabilizer Air outlet HOW TO EXERCISE Phase of right rowing to strengthen specific muscles: 1. -
Page 16: Storage
• Check all screws and correct tightening of the pedals at least once a week. Tighten if necessary. • Store in a dry and clean place. Keep away from children. STORAGE Keep the rowing machine in a clean and dry environment. Make sure the power switch is turned off and the rowing machine is not plugged into the power socket. - Page 17 These Conditions of Warranty and Warranty Claims are an integral part of every Purchase Agreement made between the Seller and the Buyer. All Warranty Conditions are valid and binding, unless otherwise specified in the Purchase Agreement, in the Amendment to this Contract or in another written agreement.
- Page 18 26847264 VAT ID: CZ26847264 Phone: +420 556 300 970 E-mail: eshop@insportline.cz reklamace@insportline.cz servis@insportline.cz Web: www.inSPORTline.cz inSPORTline s.r.o. Headquaters, warranty & service center: Električná 6471, Trenčín 911 01, SK CRN: 36311723 VAT ID: SK2020177082 Phone: +421(0)326 526 701 E-mail: objednavky@insportline.cz reklamacie@insportline.cz servis@insportline.cz...
Need help?
Do you have a question about the Bravos and is the answer not in the manual?
Questions and answers