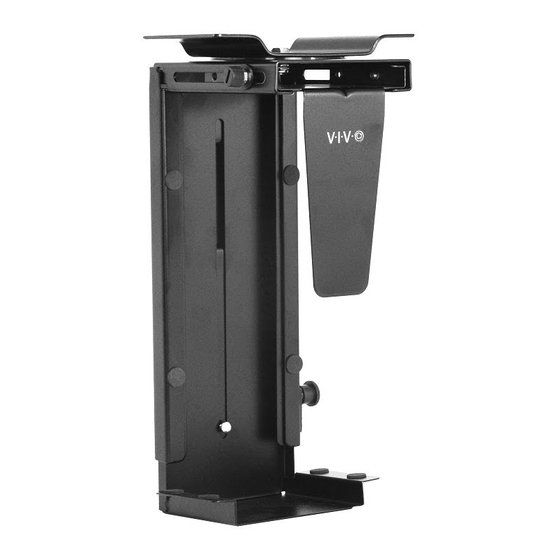
Vivo MOUNT-PC01 Instruction Manual
Black under desk and wall pc mount
Hide thumbs
Also See for MOUNT-PC01:
- Instruction manual (5 pages) ,
- Instruction manual (9 pages) ,
- Assembly manual (20 pages)
Advertisement
Advertisement
Table of Contents

Related Manuals for Vivo MOUNT-PC01


Summary of Contents for Vivo MOUNT-PC01
- Page 1 Black Under Desk and Wall PC Mount Instruction Manual SKU: MOUNT-PC01 Scan the QR code with your mobile device or follow the link for helpful videos and specifications related to this product. https://vivo-us.com/products/mount-pc01 help@vivo-us.com www.vivo-us.com 309-278-5303...
- Page 2 CAUTION! DO NOT INSTALL INTO DRYWALL ALONE. VERIFY YOUR WALL CONSTRUCTION. USE WOOD STUDS TO MOUNT. We include mounting for brick and concrete If unsure, please contact us at vivo-us.com, email at help@vivo-us.com, or call us at 309-278-5303. TOOLS NEEDED DO NOT EXCEED WEIGHT CAPACITY.
- Page 3 ASSEMBLY STEPS STEP 1 Apply pads (E) to top, bottom, and side of the PC mount (A) as shown. STEP 2A-1 OPTION A: Under Desk Installation Secure PC mount (A) to bottom of desk using 4.6x16 screws (B) and washers (F).
- Page 4 STEP 2A-2 Loosen two screws on top of mount (one on each side) and slide side support bracket out to maximum width. STEP 2A-3 Loosen set screws for lower support using the Allen wrench (G) and slide the support down. Place PC tower on mount, slide bottom support up until mount is fit vertically to PC, and tighten set screws using the Allen wrench.
- Page 5 STEP 2B-1 OPTION B: Wood Wall Installation Loosen two screws on top of mount (one on each side) and slide side support bracket out to maximum width. Loosen set screws for lower support using the Allen wrench (G) and slide the support down. STEP 2B-2A For solid wood wall, place mount (A) against wall and mark drilling locations.
- Page 6 STEP 2B-2B OPTION C: Concrete Wall Installation For concrete wall installation, place PC mount (A) against the wall and mark locations with a pencil. Drill 1.2” (35mm) deep holes at marked locations using a 1/4” (6mm) drill bit. Insert anchors (D) into holes, and insert two 4.8x38 screws (C) into top holes, leaving 3mm if thread exposed.
- Page 7 STEP 2B-3 Place PC tower on mount, slide bottom support up until mount is fit vertically to PC, and tighten set screws using the Allen wrench (G). Slide side bracket into place to hold PC, and tighten screws using a Phillips screwdriver.
- Page 8 - 83% within < 2hr - 92% within < 3hr www.vivo-us.com : < 15 M AVG. RESOLUTION TIME (within office hrs) : 5M 4S 309-278-5303 AVG. RESOLUTION TIME (within office hrs) FOR MORE VIVO PRODUCTS, CHECK OUT OUR WEBSITE AT: www.vivo-us.com...
Need help?
Do you have a question about the MOUNT-PC01 and is the answer not in the manual?
Questions and answers