Advertisement
Quick Links
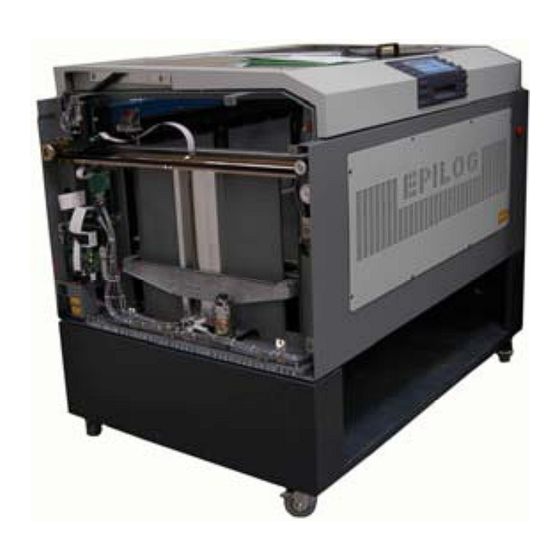
EPILOG LASER
16371 Table Mountain Parkway
Golden, Colorado 80403
Phone 303-215-9171 - FAX 303-277-9669
www.epiloglaser.com
Procedure Title:
Machine Type:
Tools Needed:
Intro-
This procedure details steps to replace the belt that
carries the laser head.
must be replaced for optimal performance from your machine.
Procedure:
1. Remove both side panels.
2. Bring the I-beam to the center of the engraving
table.
3. Take off amplifier cover—found on the left side of
the I-Beam.
Replacing the X-Axis belt
Legend 36EXT
5/32 Allen wrench
7/64 Allen Wrench
Philips head screw driver
These belts may get worn out and
Unscrew
the
four
screws
Advertisement

Related Manuals for Epilog Laser Legend 36EXT


Summary of Contents for Epilog Laser Legend 36EXT
- Page 1 Golden, Colorado 80403 Phone 303-215-9171 - FAX 303-277-9669 www.epiloglaser.com Procedure Title: Replacing the X-Axis belt Machine Type: Legend 36EXT Tools Needed: 5/32 Allen wrench 7/64 Allen Wrench Philips head screw driver Intro- This procedure details steps to replace the belt that carries the laser head.
- Page 2 4. Remove the blue cover on the I-beam. This cover is attached to the I-beam by five hexagonal screws in the front and five Philips head screws in the back. a. Use the 7/64 Allen wrench to take out the front screws.
- Page 3 Back of I-beam 5. Remove the laser head Unscrew these two screws 6. Slacken the belt by loosening the two screws holding the belt spindles. Use these two screws to adjust the spindle 7. With the thumb, press hard on the spindle farthest right.
- Page 4 Press on Tighten this these spindle screws to hold the spindle in place Press the spindle until the belt slackens. 8. Locate the ends of the belt connected to the laser head. The belt is held by a clamp of two hexagonal screws.
- Page 5 b. Push the belt through the motor covering, making sure the belt loops around the silver spindle. Pull belt through this slot Loop around silver spindle c. Pull the belt close to the I-beam, making sure to pull the belt to the inside of the white-red ribbon cord.
- Page 6 returns to its furthest back position, tighten the screws. 13. Put I-Beam cover back on. The cover does not need to fit snuggly on the screws, rather, while screwing in the front of the cover, raise the edge up a little so the hexagonal screws do not hinder the movement of the laser head.
Need help?
Do you have a question about the Legend 36EXT and is the answer not in the manual?
Questions and answers