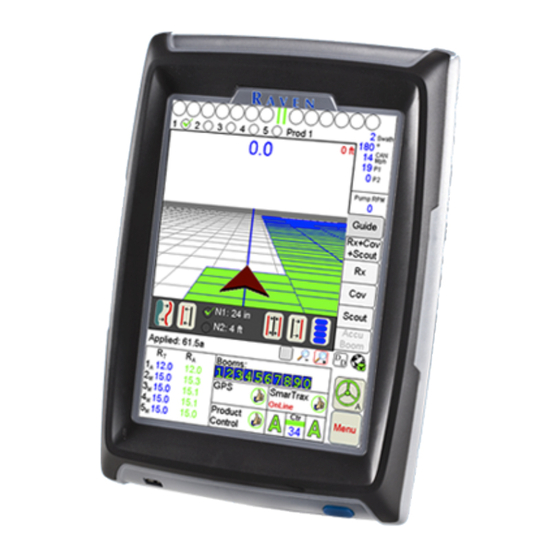
Raven Viper Pro Update Manual
Hide thumbs
Also See for Viper Pro:
- Quick reference manual (25 pages) ,
- Installation & operation manual (300 pages)
Advertisement
Quick Links
Advertisement

Summary of Contents for Raven Viper Pro
- Page 1 Field Update Guide for Raven Viper Pro™...
-
Page 2: Important Safety Information
The procedures in this document are intended for use on Case IH application equipment but may be used as a reference if the Viper Pro is installed on other equipment. For additional assistance with the field update kit, please contact a local Raven dealer. - Page 3 Disconnect the vehicle battery, use insulated tools or wear rubber gloves as appropriate. 1. Power down the Viper Pro field computer. 2. Disconnect the two round connectors from the back of the Viper Pro to prevent damage to the field computer. Interface Connectors 3.
- Page 4 Wire Splice 5. Trace wires to help identify the power (red) and ground (white) wires used to power the Viper Pro field computer. 6. Using the supplied wire cutter/stripper (P/N 321-0000-393), cut the power and ground leads powering the field computer approximately 2 in [5 cm] from the factory splice.
- Page 5 9. Route and connect the red power wire to the positive post located next to the radar speed sensor. Positive Post Radar Speed Sensor 10.Route and connect the white ground wire to the negative post located in the right, rear corner below the cabin Negative Post 11.Open the panel on the front side of the console along the right side of the vehicle cabin.
- Page 6 Update” section on page 6 is completed. Re-pin the Viper Pro Harness The Viper Pro interface cable must be modified to take advantage of the automatic power down feature on the field computer. Review the following procedure to complete the installation of the field update kit.
- Page 7 4. Insert the provided USB flash drive (P/N 063-0173-427) into the Viper Pro. 5. Press the power button on the Viper Pro to power up the field computer. 6. When the Initializing Viper prompt is displayed, select the Load XP Desktop...
- Page 8 9. Double click on the “ViperST10 Programmer.exe” icon to begin the update process. The update may take approximately 15 seconds to begin. When the update is in progress, the Viper Pro will display a Tx and Rx window on the screen.
- Page 9 Viper Pro. 13.Start the Viper Pro management system. 14.From the main Viper Pro screen, select the Menu button in the lower, right corner of the display and select About. 15.Verify that CAN firmware version 22 is shown. If so, the firmware update has been successful.
- Page 10 Allow the field computer the field computer to complete the software update. 5. Restart the Viper Pro management system. 6. From the main Viper Pro screen, select the Menu button in the lower, right corner of the display and select About.
- Page 12 Outside the U.S. :1 605-575-0722 Sioux Falls, SD 57117-5107 Fax: 605-331-0426 www.ravenprecision.com www.ravenhelp.com Notice: This document and the information provided are the property of Raven Industries, Inc. and may only be used as authorized by Raven Industries, Inc. All rights reserved under copyright laws.


Need help?
Do you have a question about the Viper Pro and is the answer not in the manual?
Questions and answers