Table of Contents
Advertisement
Quick Links
4.
0
User Guide
ENG
© 2017 by MAXXUS Group GmbH & Co. KG
All rights reserved
This publication may not be reproduced, stored in retrieval system, or transmitted in whole or in part, in any form or by any means, electronic,
mechanical, photocopying, recording, or otherwise, without the prior written permission of Maxxus Group GmbH & Co. KG.
Duplication, including electronic form, is only permitted with prior written permission directly from MAXXUS Group GmbH & Co. KG.
Errors, colour and technical modification are subject to change
Advertisement
Table of Contents

Related Manuals for Maxxus LifePlate 4.0


Summary of Contents for Maxxus LifePlate 4.0
- Page 1 Maxxus Group GmbH & Co. KG. Duplication, including electronic form, is only permitted with prior written permission directly from MAXXUS Group GmbH & Co. KG. Errors, colour and technical modification are subject to change...
-
Page 2: Table Of Contents
Index Index General Information and Warnings Safety Instructions Overview of the Device Operation Manual Training Training Programs Training Frequencies Training 12 - 13 Mains Connection Attaching the Training Belts Recommended Accessories Technical Information Cleaning and Maintenance Location & Storage Technical Details Error Messages Disposal Exploded Drawing and Parts List... -
Page 3: Safety Instructions
Safety Instructions Please read and observe all sections of this Operating Manual. Thorough attention should always be paid to the safety instructions, the maintenance instructions and the training information. It is very important to adhere strictly to the maintenance and safety instructions and maintenance instructions contained in this Manual. -
Page 4: Remote Control
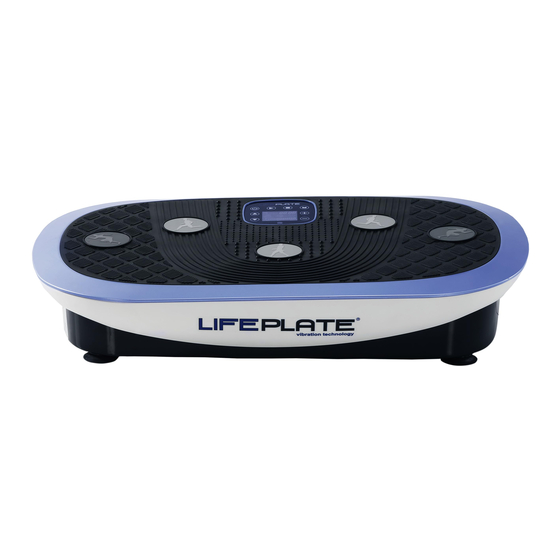
Overall View of the Device Remote Control Functions Speed (S+/S-) Time (T+/T-) Power Programs (P1/P2/P3) Vibration Plate Housing, top Computer & Display Training Surface Bracket for Training Belt Foot Electronic Unit F1 Power Cable Connection F2 Main Switch F3 Fuse Housing, bottom F1 F2 F3 Key Pad... - Page 5 Operating Instructions Operating the Display Description On/Off Mode – to switch the cockpit on or off. The device must first be switched on at the main switch. Interrupt the selected training program or training mode = pause mode. To resume training, press the key again. Increase the training level Reduce the training level Set the training time (increase the time)
- Page 6 Operating Instructions Operating the Remote Control Description On/Off Mode – to switch the cockpit on or off. The device must first be switched on at the main switch. Increase the training level Reduce the training level Set the training time (increase the time) Set the training time (reduce the time) Select one of the three training modes: Select the training program P1...
- Page 7 Operating Instructions Display 88:88 0TIME @({j) 1111 11111111111111111111 e P1 e P2 Display Description Displays the training time Displays the selected training modus. Mode: Os- cillating motion Displays the training modeMode: 3D-Vibration Displays the selected training mode Mode: Oscil- lating & 3D Vibrations Displays the current training level Displays the current training program Receiver for remote control signal...
- Page 8 Operating Instructions Before you can use the remote control, you must remove the protective foil from the battery. Open the battery compartment cover, remove the protective foil from the battery and then replace the battery compartment cover again. CR 2032 Remove the protective foil Before you use the remote control for the first time, you must connect it to the vibration plate.
-
Page 9: Manual Training
Manual Training Manual Training Step 1: Switch on the training device at the main switch. Step 2: Select a training mode On the key pad using key On the remote control with key = Oscillation = 3D = Oscillation & 3D Step 3: The vibration plate will start automatically after selection of the training mode. -
Page 10: Training Programs
Training Programs Program P1 Oscillation Level Time Program P2 – 3D Level Time Program P3 – Oscillation & 3D Level Time 5 10 15 65 70 75 ..900 = Oscillation = 3D CAUTION: Please note that the training programs shown on the supplied poster have no connection with the training programs permanently installed in the cockpit of the vibration plate. -
Page 11: Training Frequencies
Training Frequencies Oscillation Level Motor(r/min) Oscillation Oscillation Level Motor(r/min) Oscillation Oscillation per Min. (HZ) per Min. (HZ) 1694 2162 1725 2193 1753 2228 1784 2259 1827 2298 1850 2325 10.0 1881 2356 10.1 1912 2380 10.2 1943 2419 10.4 1979 2450 10.5 2006... -
Page 12: Training
Training There are three different training positions available. Intensive Medium Gentle Medium Intensive Gentle Medium Intensive In the oscillation and oscillation & 3D modes it is possible to increase the training intensity and the training speed in three different training positions. CAUTION: Never stand with both feet on one side of the plate surface. -
Page 13: Training
Training Relax/Upper Body Loosens and relaxes the muscles in the shoulder throat and neck areas Relax/Upper Body Light training for the stomach muscles Relax / Lower Body Loosens and relaxes the all leg muscles and hip area Ideal for older users with restricted movement. Relax/Lower Body Dynamic Exercises with Training Belts Side Lifts... -
Page 14: Mains Connection
Recommended Accessories This accessory is the optimum supplement to your training device. All products are avail- able from our online shop at www.maxxus.de or direct from our showroom. MAXXUS® Vibration Plate - Floor Protection Mat Due to its extreme density and material thickness of 1.0cm, this mat optimally dampens the vibrations and noise of the vibration plate during training. -
Page 15: Technical Information
Technical Information Changing the Batteries in the Remote Control Remove the cover on the battery compartment at back of the remote control. To do this put your thumb on the ribbed and slightly indented markings on the top of the battery compartment cover and push this back whilst pushing gently down with your thumb. -
Page 16: Technical Details
Er 01 The computer/controller connection is Switch the device on and off. If the error message appears faulty again, please contact the Service Department at MAXXUS Er 02 The remote control does not function See instructions on page 11 Er 03 The vibration plate no longer responds to Switch the device on and off. -
Page 17: Exploded Drawing And Parts List
Exploded Drawing & Parts List Part Description Part Description Remote Controller Power socket + switch Console panel Power cord Console board Electrical wire A Foot pedal cover Electrical wire B Upper cover Lower controller board Middle cover bas plate for motor Main plate belt Main axle bracket... -
Page 18: Warranty
The warranty period for your training device starts on the date of purchase and applies solely to products which were purchased direct- ly from the MAXXUS Group GmbH & Co KG or one of the MAXXUS Group GmbH & Co KG direct and authorised distribution partners. - Page 19 I accept the General Terms and Conditions of MAXXUS® Group GmbH & Co. KG. I hereby instruct the company MAXXUS® Group GmbH & Co. KG to repair the above defects. In Warranty cases I will not be charged for the cost. The costs for repairs which are excluded from liability for defects in quality will be charged to me and must be settled immediately.
- Page 20 – Three different types of training for maximum training success – Gentle Medium Intensive – Three different training modes for maximum training success – Oscillating Oscillating & 3D Maxxus Group GmbH & Co. KG Zeppelinstr. 2 D-64331 Weiterstadt Germany E-Mail: info@maxxus.de www.maxxus.de...
Need help?
Do you have a question about the LifePlate 4.0 and is the answer not in the manual?
Questions and answers