Sign In
Upload
Download
Table of Contents
Contents
Add to my manuals
Delete from my manuals
Share
URL of this page:
HTML Link:
Bookmark this page
Add
Manual will be automatically added to "My Manuals"
Print this page
×
Bookmark added
×
Added to my manuals
Manuals
Brands
Parmco Manuals
Oven
OX-1-6S-5
Installation and operating instructions manual
Parmco OX-1-6S-5 Installation And Operating Instructions Manual
Hide thumbs
1
2
3
4
5
6
7
8
9
10
11
12
13
14
15
16
17
18
19
20
21
22
23
24
25
26
Table Of Contents
27
page
of
27
Go
/
27
Contents
Table of Contents
Bookmarks
Table of Contents
The Warranty
Important Safety Information
How to Save Energy
Disposal of the Appliance
Product Description
Cooking Functions
Operating Instructions
Baking in the Oven
Cooking Guide
Maintenance
Installation
Operation in Case of Emergency
Technical Information
Advertisement
Quick Links
1
Cooking Functions
2
Operating Instructions
3
Maintenance
Download this manual
Installation
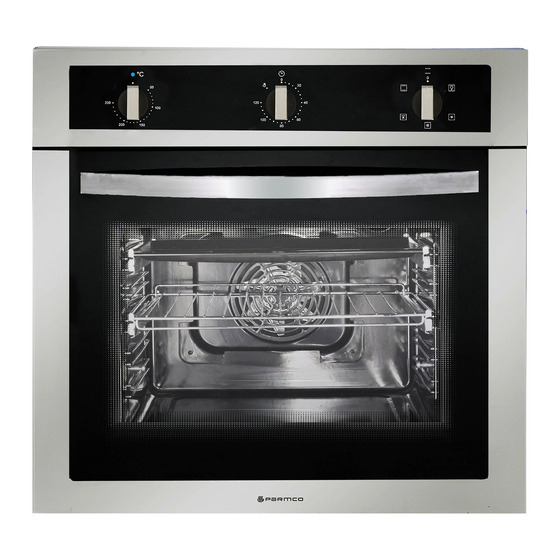
and Operating
Instructions
Model:
OX-1-6S-5
OX-1-6S-8
For your convenience, we recommend to attach the serial number label HERE.
727626062018
Table of
Contents
Previous
Page
Next
Page
1
2
3
4
5
Advertisement
Table of Contents
Need help?
Do you have a question about the OX-1-6S-5 and is the answer not in the manual?
Ask a question
Questions and answers
Subscribe to Our Youtube Channel
Related Manuals for Parmco OX-1-6S-5
Oven Parmco OV-1-6S-GAS Installation And Operating Instructions Manual
(18 pages)
Oven Parmco OV-1 Dimoda Installation And Operating Instructions Manual
5 function, 8 function white and stainless steel (31 pages)
Oven Parmco OX7-4-6B-5 Installation And Operating Instructions Manual
(27 pages)
Oven Parmco OX-1-6S-8 Installation And Operating Instructions Manual
(27 pages)
Oven Parmco OX7-2-6S-5 Installation And Operating Instructions Manual
(27 pages)
Oven Parmco OX7-3-6S-8 Installation And Operating Instructions Manual
(27 pages)
Oven Parmco OX7-2-6S-5-1 Installation And Operating Instructions Manual
(27 pages)
Oven Parmco OX7-3-6S-8-1 Installation And Operating Instructions Manual
(27 pages)
Oven Parmco OX7-3-6S-5-1 Installation And Operating Instructions Manual
(27 pages)
Oven Parmco OX7-6-6S-5-1 Installation And Operating Instructions Manual
(27 pages)
Oven Parmco PPOV-9S-48 Installation And Operating Instructions Manual
Parmco ppov-9s-48 (17 pages)
Oven Parmco PPOV-6S-PYRO Installation And Operating Instructions Manual
(24 pages)
Oven Parmco VERSO X9F Installation And Operating Instructions Manual
(26 pages)
Oven Parmco VERSO 9F Installation And Operating Instructions Manual
Multi-function oven (19 pages)
Oven Parmco FS600SC Installation And Operating Instructions Manual
(15 pages)
Oven Parmco PPOV-6S-PYRO-2 Installation And Operating Instructions Manual
(27 pages)
This manual is also suitable for:
Ox-1-6s-8
Table of Contents
Print
Rename the bookmark
Delete bookmark?
Delete from my manuals?
Login
Sign In
OR
Sign in with Facebook
Sign in with Google
Upload manual
Upload from disk
Upload from URL


Need help?
Do you have a question about the OX-1-6S-5 and is the answer not in the manual?
Questions and answers