Table of Contents
Advertisement
Installation
and Operating
Instructions
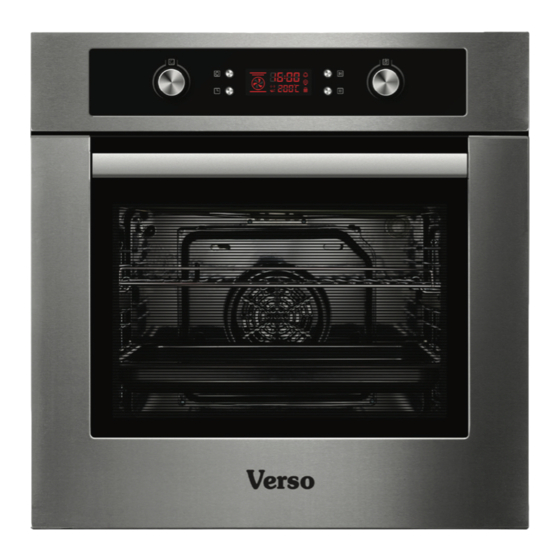
Model:
VERSO 9F OVEN
For your convenience, we recommend to attach the serial number label HERE.
As part of Parmco Appliances commitment to improving and updating product ranges,
we reserve the right to alter, change and update technical specifications and appearance
attributes of all Parmco Appliances products. E&OE.
727626022014
Advertisement
Table of Contents

Related Manuals for Parmco VERSO 9F


Summary of Contents for Parmco VERSO 9F
- Page 1 VERSO 9F OVEN For your convenience, we recommend to attach the serial number label HERE. As part of Parmco Appliances commitment to improving and updating product ranges, we reserve the right to alter, change and update technical specifications and appearance attributes of all Parmco Appliances products.
- Page 2 Parmco Appliances before any installation is carried out. We hope you enjoy your new appliance. If you would like to find out more about this product or any other products in Parmco’s extensive range, visit us on the web at www.parmco.co.nz. Regards,...
-
Page 3: Table Of Contents
Standards and Regulatory Requirements with particular reference to the New Zealand Electrical Standards. Any attempt to install this or any other Parmco product without an authorised person could result in damage to the product and a possible health hazard. Not having an authorised person install this appliance may result in all associated warranties from Parmco Appliances being null and void. -
Page 4: Important Safety Information Page
IMPORTANT SAFETY INFORMATION We recommend that for best performance and to extend the life of your appliance you read the instructions in this owners manual thoroughly before using your new appliance. It will provide you with all the information you need to ensure its safe installation, proper use and maintenance. -
Page 5: Product Description
NEVER line the oven with aluminium sheets as doing so may damage the enamel and elements. WARNING: Accessible parts may become hot during use. To avoid burns young children should be kept away. Do not use harsh abrasive cleaners or sharp metal scrapers to clean the oven door glass since they can scratch the surface, which may result in shattering of the glass. - Page 6 Positioning the Oven Trays & Shelves The baking tray, grill tray and wire shelves can be located in any of five height positions. When positioning tray heights, it is important to remember that this oven may perform differently to the way your previous appliance worked. To obtain the best cooking results please experiment with temperature, rack height and cooking times.
-
Page 7: Cooking Functions
COOKING FUNCTIONS Symbol Function description Oven light: Enables the user to observe the progress of cooking without opening the door. Defrost: The air circulation at room temperature enables quicker thawing of the frozen food without using any heat. It's a gentle but quick way to speed up the defrost time. -
Page 8: Operating Instructions
OPERATING INSTRUCTIONS 1. SETTING THE CLOCK After the unit is connected to power, the symbols 0:00 will display on the control panel. Press and the hour indicator will flash. Rotate "K2" clockwise to adjust the hour digits, the time should be within 0-23 hrs. - Page 9 4. CHILD LOCK FUNCTION To LOCK: Press the simultaneously for 3 seconds. A long beeping sound will indicate the child lock function has been activated and the symbol will illuminate. To UNLOCK: Press the simultaneously for 3 seconds. A long beeping sound will indicate the child lock function has been deactivated and the symbol will disappear.
- Page 10 Step 1 : Set the correct time of day. (1) Push the button to select the hour. Turn the K2 knob to desired time. (2) Push the button to select the minutes. Turn the K2 knob to desired time (3) Push the button to set the clock time.
-
Page 11: Cooking Guide
COOKING GUIDE Selector Food Weight Rack height PreHeat Temp Cook knob setting Type (in KG) From Time (mins) Deg C Time (mins) bottom Traditional Duck 65.75 Cooking Roast Beef 70-75 Roast Pork 70-80 Roast Lamb 70-80 Biscuits 15-20 Tarts 30-35 Browning Grill Fish... -
Page 12: Maintenance
There is a rubber seal surrounding the oven. Check the condition of the seal on a regular basis. If necessary, clean it but avoid using abrasive products or objects to do so. Should it becomes damaged please contact Parmco Appliances service department. We recommend you avoid using the oven until it has been repaired. - Page 13 Type: E14 Disposal Parmco has a commitment to being environmentally responsible. To avoid potential negative impacts on the environment, please ensure that this appliance is disposed of correctly. This product must not be treated as household waste. Instead it should be handed over to an appropriate collection point for recycling of electrical, electronic and steel components.
-
Page 14: Installation Instructions
New Zealand Electrical Standards. Any attempt to install this or any other Parmco product without an authorised person could result in damage to the product and possible health hazard. Not having an authorised person install this appliance may result in all associated warranties from Parmco Appliances being null and void. -
Page 15: Electrical Connection
from installations that are in breach of the regulations in force or from failure to comply with these installation instructions. ELECTRICAL CONNECTION The appliance comes fitted with an approved 15 amp cord which may be connected to a correctly earthed socket outlet. It is necessary that all installation and connections are carried out by qualified personnel and that the connections meet all New Zealand Regulatory Requirements. - Page 16 INSTALLATION INTO CABINETRY Securing the oven to the cabinet 1. Fit oven into the cabinet recess. 2. Open the oven door. 3. Secure the oven in the kitchen cabinet using the two instance holders "A" which fit the holes in the oven frame cavity, then use the two screws "B"...
- Page 17 order ensure adequate ventilation, the back of the cabinet unit must be removed. If the oven will rest on a continuous panel there must be an aperture of at least 560mm wide by 45mm deep from the rear of the cabinet. The panels that are immediately adjacent to the oven must be of a material that has heat resistant qualities.
-
Page 18: Accessories
ACCESSORIES Wire shelves: For grilling dishes, to support cake pans or roasting dishes. Slider bracket: These shelves support the rails on the right and left hand side of the oven and can be removed for cleaning. Drip pan: To be used for grilling and to collect fat/spillage of meat juices. Correct placement of the shelves between the side rails is imperative for safety operation. -
Page 19: The Warranty
09 573 5678 f: 09 573 5699 e: sales@parmco.co.nz w: www.parmco.co.nz Parmco Appliances 2 year warranty The Warranty: The Warranty is not valid: • If the product is not installed and operated in accordance with the operating • Subject to the terms and conditions contained within this instructions. warranty, if the product is not of Acceptable Quality (as • If the product is not installed to comply with the electrical, gas, plumbing defined in the Consumer Guarantees Act) within 2 years of and other Regulations and Codes of Practice in New Zealand. the date of original purchase, then Parmco Sales undertakes • If the product is operated on voltages or frequencies outside the normal range for domestic appliances in New Zealand. to repair or, at it’s sole discretion, replace the product. • If the product is not used in normal domestic use, or if it is used in a • The warranty does not cover the costs of transport, mileage...
Need help?
Do you have a question about the VERSO 9F and is the answer not in the manual?
Questions and answers