PLUSOPTIX S12C Short Manual
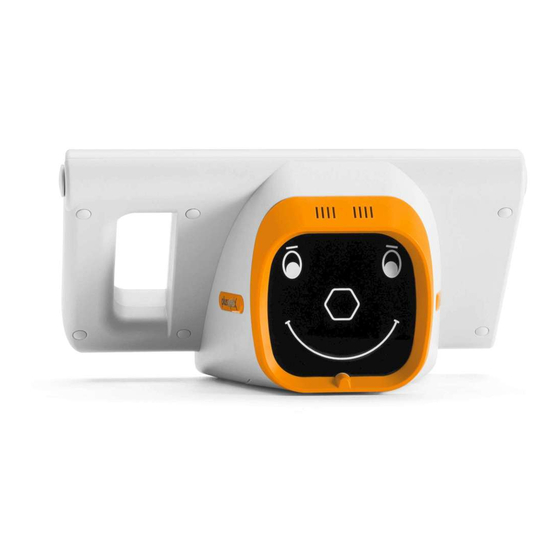
Vision screener.
documenting measurement results electronically
Hide thumbs
Also See for S12C:
- User manual (25 pages) ,
- Short manual (11 pages) ,
- Software update (2 pages)

Related Manuals for PLUSOPTIX S12C


Summary of Contents for PLUSOPTIX S12C
- Page 1 Vision Screener Short Manual 5 “Documenting measurement results electronically” Plusoptix GmbH Neumeyerstrasse 48 90411 Nuremberg Germany www.plusoptix.com Edition: 10/18/2018...
-
Page 2: Table Of Contents
Saving screening reports ................... 4 Adding an individual infographic ................. 5 Accessing the screening report .................. 6 Full integration with your EMR system (only S12C and S16) ..........8 List of figures Figure 1: Example of a screening report (Letter-sized or DinA4) ........... 4 Figure 2: Manual connection of the storage device to a workplace computer ...... -
Page 3: Documenting Measurement Results – An Overview
More information about entering or retrieving patient data can be found in supplementary short manual 4. As an alternative to manual entry of the patient data, the plusoptiX S12C and S16 can also be connected for a full integration with your EMR system (see chapter 3 “Full integration with your EMR system (only S12C and S16)”). -
Page 4: Saving Screening Reports
After confirming the patient data entry or the anonymous, consecutive patient ID (see supplementary short manual 4), a print job for label printing is sent via the infrared interface and a screening report is saved to the inserted SD card (plusoptiX S12) or USB stick (plusoptiX 16) at the same time. -
Page 5: Adding An Individual Infographic
If the patient data has already been entered or retrieved before the measurement in the plusoptiX S12C or S16 model, the screening report is automatically saved to a SD card as a PDF file at the end of every successful measurement. If you see the status message “Try again”, the screening report must be saved manually. -
Page 6: Accessing The Screening Report
2.3 Accessing the screening report After saving the screening report to the SD card (plusoptiX 12) or USB stick (plusoptiX 16), there are four different options to electronically access them: a) Manual connection of the SD card or USB stick to a workplace computer... -
Page 7: Figure 3: Manual Lan/Wlan Network Access
“plusoptiXconnect” is a freeware programme for automated connection and printing of screening reports. The plusoptiX S12C (WLAN) or S16 (LAN and WLAN) must be connected to the network via LAN or WLAN, too. The screening reports stored on the SD card or USB stick can now be filtered and portrayed automatically on your workplace computer. -
Page 8: Full Integration With Your Emr System (Only S12C And S16)
3 Full integration with your EMR system (only S12C and S16) As an alternative to manual entry of the patient data, the plusoptiX S12C and S16 can also be connected for a full integration with your EMR system. Data files...
Need help?
Do you have a question about the S12C and is the answer not in the manual?
Questions and answers