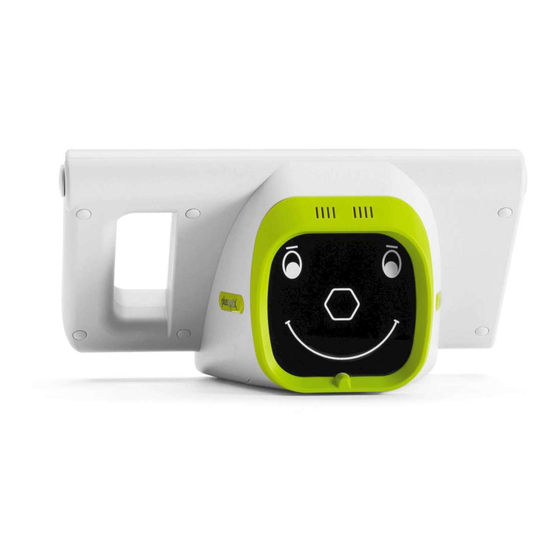
PLUSOPTIX A12C Short Manual
Binocular autorefractor.
entering, retrieving or deleting patient data
Hide thumbs
Also See for A12C:
- User manual (68 pages) ,
- Short manual (10 pages) ,
- Software upgrade (2 pages)
Table of Contents
Advertisement
Quick Links
Download this manual
See also:
User Manual
Advertisement
Table of Contents

Subscribe to Our Youtube Channel
Summary of Contents for PLUSOPTIX A12C
- Page 1 Binocular Autorefractor Short Manual 4 “Entering, retrieving or deleting patient data” Plusoptix GmbH Neumeyerstrasse 48 90411 Nuremberg Germany www.plusoptix.com Edition: 10/18/2018...
-
Page 2: Table Of Contents
Figure 13: Deleting patients from the database ..............11 This manual is a supplementary short manual. For general information about your Plusoptix device, such as its intended use, basic handling, technical information, maintenance, service, and warranty information, please refer to the user manual that was delivered with your device. -
Page 3: Entering Or Retrieving Patient Data - An Overview
1 Entering or retrieving patient data – an overview In the plusoptiX A12C and A16 model, patient data can be entered or retrieved before a measurement to prepare for an examination (see Chapter 2) or assigned after a measurement to document the measurement results (see Chapter 3) -
Page 4: Figure 2: Allocating Entered Patient Data
Now allocate the entered data by tapping the relevant field in order of the information: “Emily” is the first name Tap the “First name” field “Atlanta” is the location Tap the field “Optional: Location” Figure 2: Allocating entered patient data After allocating all the entered data, the display will change to the input overview page. -
Page 5: Figure 4: Shortlist With Entries With Identical Character Strings
Figure 4: Shortlist with entries with identical character strings After selecting an entry, you will see the patient data overview. If the patient has been retrieved from the database, all this patient’s saved measurement values are shown. Deleting displayed patients including all measurements (see Chapter 0) -
Page 6: Entering Or Retrieving Patient Data After The Measurement
Note: In the plusoptiX A16 model, a USB keyboard must be connected for entering the patient data. You do not have to switch between individual fields on the intuitive patient data entry screen. -
Page 7: Figure 8: Missing Patient Data
After allocating all the entered data, the display will change to an overview page. If any information needed to enable an identifiable patient data entry is missing, the relevant field will be marked in red. The data can only be saved when all the red fields have been filled. After allocating all the entered data, the display will change to an overview page. -
Page 8: Figure 10: New Entry On The "Database" Results Page
After confirming the entered or selected patient data, you will be returned to the previous results page. The name of the patient (or patient ID) is shown in the header. A database entry (see Figure 10) has been created on the “database” results page, the measurement report is saved on the SD card and a print job has been sent via the infrared interface (see supplementary short manual 6). -
Page 9: Importing Patients From The Emr Software Before The Measurement (Csv)
4 Importing patients from the EMR software before the measurement (CSV) As an alternative to manual entry of the patient data, the “plusoptiX A12C” and “plusoptiX A16” can also be integrated into your EMR software. The patient data is automatically... -
Page 10: Figure 11: Sample Of A Csv Table
Save your CSV table (.csv”) under the name “input” on a USB stick in the directory “/db” and then connect this to the Plusoptix Binocular Autorefractor. Following, touch the data import (2) button in the settings (1). A list of all CSV tables in the “/db” directory will be shown. -
Page 11: Deleting Entries From The Database
6 Deleting entries from the database Saved measurement values can be deleted from the database. Touch the measurement that you want to delete and then touch the Delete button (1) at the right next to the label. Confirm the confirmation prompt with the green checkmark (2). Selecting the measurement Deleting...


Need help?
Do you have a question about the A12C and is the answer not in the manual?
Questions and answers