PLUSOPTIX A12C Short Manual
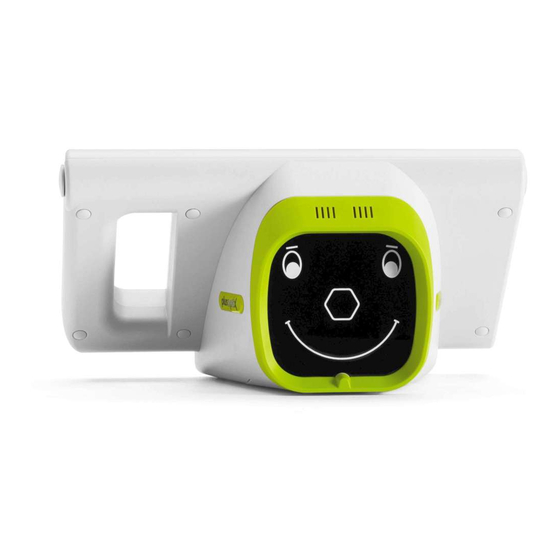
Binocular autorefractor.
preparing and performing a measurement
Hide thumbs
Also See for A12C:
- User manual (68 pages) ,
- Short manual (11 pages) ,
- Software upgrade (2 pages)

Related Manuals for PLUSOPTIX A12C


Summary of Contents for PLUSOPTIX A12C
- Page 1 Binocular Autorefractor Short Manual 2 “Preparing and performing a measurement” Plusoptix GmbH Neumeyerstrasse 48 90411 Nuremberg Germany www.plusoptix.com Edition: 09/17/2018...
-
Page 2: Table Of Contents
Selecting the measurement mode ................4 Performing a measurement ..................... 5 Preconditions for a successful measurement ............... 5 Starting the measurement and adjusting the Plusoptix Binocular Autorefractor .... 6 List of figures Figure 1: Measuring environment ..................3 Figure 2: Home page ......................4 Figure 3: Aligning the plusoptiX A12 model ................ -
Page 3: Preparing For A Measurement
Maximum 8 mm Figure 1: Measuring environment The child must look at the Plusoptix Binocular Autorefractor in order for a measurement to be taken. Make sure that the child is sitting straight and its head is not turned over their shoulder. -
Page 4: Entering Or Retrieving Patient Data
- Importing patients from the EMR software before the measurement Note: The “plusoptiX A12R” has no internal patient database. After the measurement a single line to enter patient data will be portrayed, where you can fill in individual patient data. These data will also be portrayed in the screening report and on the self-adhesive label. -
Page 5: Performing A Measurement
Patient is not looking at the camera The Plusoptix Binocular Autorefractor and the eyes of the patient must be aligned with one another. The patient must look at the nose of the smiley face. For this reason, an attention grabbing warble sound is emitted at the beginning of the measurement. -
Page 6: Figure 3: Aligning The Plusoptix A12 Model
Note: The screen in the plusoptiX A12 models is fixed at a 45° angle to the camera axis. Tilt your wrists downwards to align the camera. For the plusoptix 16 model, you do not need to tilt your wrists downwards. -
Page 7: Figure 4: Detecting The Correct Measuring Distance
The image is blurry and two red bars will be displayed next to the camera image. As the measuring distance is too small, the eyes can be seen on the screen. Move the Plusoptix Binocular Autorefractor away from the patient until the camera image can be seen in high- definition on the screen and both pupils are encircled in green.
Need help?
Do you have a question about the A12C and is the answer not in the manual?
Questions and answers