
Related Manuals for DELVCAM DELV-HD7-4K


Summary of Contents for DELVCAM DELV-HD7-4K
-
Page 1: User Guide
Delvcam DELV-HD7-4K User Guide 7" 4K Compatible 1080P Camera Top Monitor with Audio Meter ... -
Page 2: Important Safety Instructions
INCLUDED ACCESSORIES OPTIONAL ACCESSORIES Foldable Sunshade & Frame Anton Bauer Mount Mini HDMI Cable V-Mount Shoe Mount LP-E6, D28S Battery Plates F-970 Battery Plate Battery HDMI Plug Lock Delvcam DELV-HD7-4K Page 2... -
Page 3: Specifications
PAL-4.43 / NTSC—3.58 480i/576i/480p/576p 1080i (60/59.94/50) 720p (60/59.94/50/30/29/25/24/23.98) HDMI Support Format: 1080p (60/59.94/50/30/29.97/25/24/24sF/23.98/ 23.98sF) 4K UHD 3840×2160p (30/29.97/25/24/23.98) Audio: Stereo Headphone Jack 3.5mm/Speaker Input Voltage: 7-24VDC Power Consumption: Dimensions (LxHxD): 6.9x5.1x0.67in / 176x130x17mm Weight: 0.6 lb / 270g Delvcam DELV-HD7-4K Page 3... -
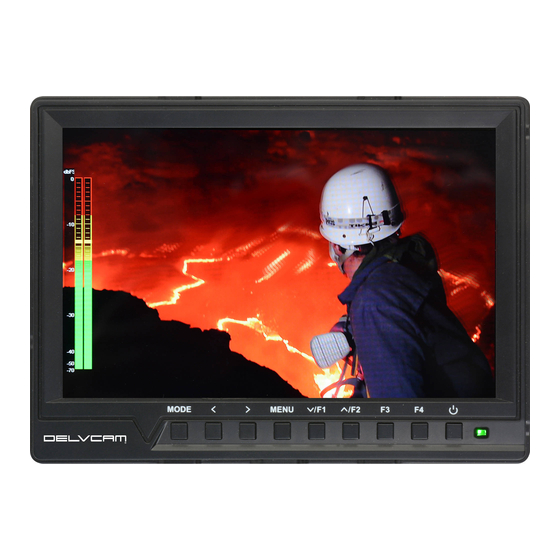
Page 4: Monitor Front
2 OSD Controller Input 6 DC Power Input cable in place, slide the locking plate 3 Headphone Jack 7 Battery Plate over the HDMI cable and secure with the locking screw. 4 AV Signal Input 8 Speaker Delvcam DELV-HD7-4K Page 4... -
Page 5: Operation
3. Press for secondary menu, press F1 or F2 to scroll through selections. 4. Press to select item, use F1 or F2 to adjust settings. 5. Press to confirm adjustment. 6. Press MENU to exit. Delvcam DELV-HD7-4K Page 5... - Page 6 Nine Grid On, Off Press or to select picture. Press F1 or F2 for full screen. Press MENU to exit. Histogram On, Off Embedded Audio On, Off Green = less than-20dB Yellow = less than –10dB Delvcam DELV-HD7-4K Page 6...
- Page 7 Backlight 0-100 Brightness 0-100 Contrast 0-100 Saturation 0-100 0-100 Color Temp 6500K, 9300K, User Default Settings Safe Frames Zoom Focus Assist Zebra Switch Press to select shortcut setting for each button. Press Exit after each setting. Delvcam DELV-HD7-4K Page 7...
-
Page 8: Troubleshooting
SETTINGS Language English High, Middle, Low, Off Transparency OSD Duration 5s, 10s, 15s, Off Volume 0-100 Mute On, Off Power Mode Manual, Auto Reset No. OK Software Update TROUBLE SHOOTING 1. No Image - Ensure that the cables are properly connected. - Use the standard power adapter that is included as improper voltage input may cause damage or injury.
Need help?
Do you have a question about the DELV-HD7-4K and is the answer not in the manual?
Questions and answers