Advertisement
Parts List
1
Power Commander
1
USB Cable
1
CD-ROM
1
Installation Guide
1
Power Adapter
3
Zip Ties
2
Power Commander Decals
2
Dynojet Decals
1
Velcro
Strip
®
1
Alcohol Swab
The ignition MUST be turned
OFF before installation!
You can also download the Power
Commander software and latest maps
from our web site at:
www.powercommander.com
PLEASE READ ALL DIRECTIONS BEFORE STARTING INSTALLATION
Dynojet Research 2191 Mendenhall Drive North Las Vegas, NV 89031 (800) 992-4993 www.powercommander.com
i802-511
1999-2001 EFI Harley-Davidson
Twin Cam 88 Touring Model
Installation Instructions
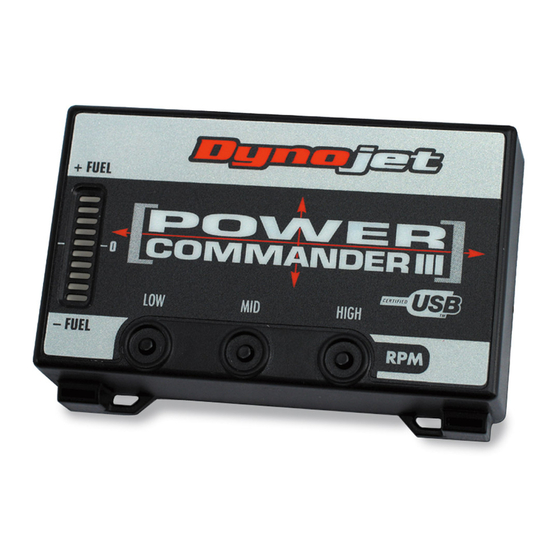
Button Adjustment Display
Faceplate Buttons
Expansion Port
1999-2001 EFI Harley-Davidson Twin Cam 88 Touring Model - PCIII USB - 1
USB Port
Advertisement
Table of Contents

Related Manuals for Dynojet POWER COMMANDER III


Summary of Contents for Dynojet POWER COMMANDER III
-
Page 1: Parts List
PLEASE READ ALL DIRECTIONS BEFORE STARTING INSTALLATION Dynojet Research 2191 Mendenhall Drive North Las Vegas, NV 89031 (800) 992-4993 www.powercommander.com i802-511 1999-2001 EFI Harley-Davidson Twin Cam 88 Touring Model - PCIII USB - 1... - Page 2 Remove the seat. Remove saddlebags if installed. Remove left and right side covers. Remove the battery (negative terminal first). Loosen the two 7/16 nuts that retain the ECM (Fig. A) Remove these 7/16” bolt From the left side (underneath the left side cover area) feed the PCIII con- nectors in front of battery tray, and out the right side (in front of the ECM...
- Page 3 Install the dust shield over the PCIII connector to the ECM. Power Commander connector Plug the PCIII connector into the stock ECM. Plug stock connector into the remain- ing connector from the PCIII (Fig. D). Stock connector Tighten the two 7/16 nuts that retain the ECM.
- Page 4 Important installation tips when installing the Power Commander The ECM has aluminum When installing a Power Commander bosses that stick up on on a Harley-Davidson it is critical that either side of it's connector. the rubber boot is removed from the factory connector and installed on the Power Commander connector.
Need help?
Do you have a question about the POWER COMMANDER III and is the answer not in the manual?
Questions and answers