Table of Contents
Advertisement
Advertisement
Table of Contents

Related Manuals for ComAp INTELICOMPACT-NT


Summary of Contents for ComAp INTELICOMPACT-NT
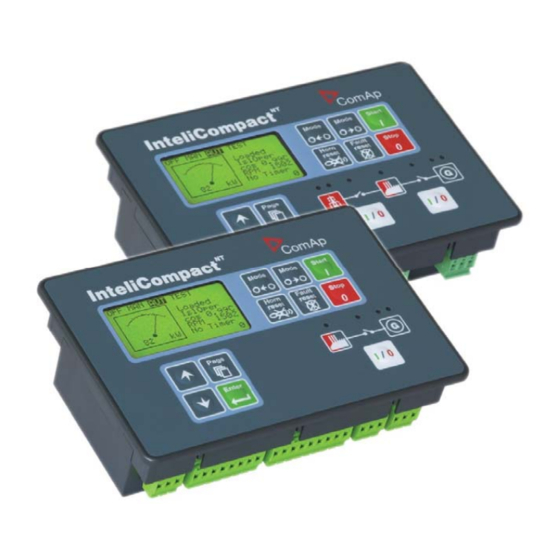
- Page 1 InteliCompact Paralelling gen-set controller SW version 1.3.1, December 2011 Operator Guide Copyright © 2011 ComAp s.r.o. ComAp, spol. s r.o. Kundratka 17, 180 00 Praha 8, Czech Republic Tel: +420 246 012 111, Fax: +420 266 316 647 E-mail: info@comap.cz, www.comap.cz...
-
Page 2: Table Of Contents
Table of contents Document information ........................3 Clarification of notation ....................... 3 Conformity Declaration ....................... 3 Operator guide ..........................4 Front panel elements........................4 User interface modes ......................... 6 Display screens and pages structure ..................6 View measured values ....................... 8 Setpoints - view and change ...................... -
Page 3: Document Information
OMANDL AND EVISED BY ONAT ©2011 C 17, P 8, C UNDRATKA RAHA ZECH EPUBLIC : +420246012111, : +420266316647 HONE : http://www.comap.cz, MAIL INFO COMAP OCUMENT HISTORY EVISION NUMBER ELATED SW VERSION 30.05.2008 28.02.2009 1.3.1 12.12.2011 1.1 Clarification of notation This type of paragraph calls readers attention to a notice or related theme. -
Page 4: Operator Guide
2 Operator guide 2.1 Front panel elements SET CONTROL BUTTONS OSITION ESCRIPTION START button. Works in MAN mode only. Press this button to initiate the start sequence of the engine. See the Reference Guide – “Engine start” chapter to learn more about start sequence. STOP button. - Page 5 MODE RIGHT button. Use this button to change the mode. The button works only if the main screen with the indicator of currently selected mode is displayed. This button will not work if the controller mode is forced by one of binary inputs listed in the Reference Guide –...
-
Page 6: User Interface Modes
OSITION ESCRIPTION Graphic B/W display, 128x64 pixels PAGE button. Use this button to switch over display pages. See next chapter for details about display pages and screens structure UP button. Use this button to move up or increase value. DOWN button. Use this button to move down or decrease value. ENTER button. - Page 7 TRUCTURE OF THE DISPLAYED DATA BASIC -NT, SW 1.3, ©C – S 2011 NTELI OMPACT VERSION EPTEMBER EFERENCE UIDE...
-
Page 8: View Measured Values
2.4 View measured values Press button repeatedly until you see the main screen with the kW meter and mode selector. Then press to select a requested screen within the measurement page. AIN SCREEN 2.5 Setpoints - view and change 1. Press button repeatedly until you see a screen with a list of setpoint groups. -
Page 9: Browsing The History Log
IST OF SETPOINTS WITHIN SELECTED GROUP DITING A SETPOINT 2.6 Browsing the history log 1. Press button repeatedly until you see the main history log screen with the reason column and the latest record. The records are numbered in reverse order, i.e. the latest (newest) record is "0" and older records have "-1", "-2"... -
Page 10: Browsing Alarms
2.7 Browsing alarms The Alarmlist and ECU Alarmlist are displayed on the last two screens in the measurement page. If the main screen is displayed then the Alarmlist screen will appear automatically always when a new alarm occurs. It can be also displayed manually as described in the chapter “View measured values” Reference Guide. -
Page 11: Controller Information Screen
Lost password? Display the information screen which contains the serial number and a password decode number as is described in the chapter below. Write down both numbers and send a request to retrieve the passord to your local distributor containing these two numbers. You can also save and send an archive instead. - Page 12 TRUCTURE OF THE DISPLAYED DATA ADVANCE The information screen contains following information: • Controller Name • Firmware identification string • Serial number of the controller • ESF version • Firmware version, application version • Application type • Branch name ESF version is shown only when electronic engine is configured. -NT, SW 1.3, ©C –...
-
Page 13: Controller Language Selection
2.10 Controller language selection There are two languages available in the controller. Default languages are English and Chinese. The languages can be changed or modified during the configuration in LiteEdit. Please see the LiteEdit documentation for details. To switch the controller language: 1.
Need help?
Do you have a question about the INTELICOMPACT-NT and is the answer not in the manual?
Questions and answers