
Related Manuals for Zennio KLIC-DI


Summary of Contents for Zennio KLIC-DI
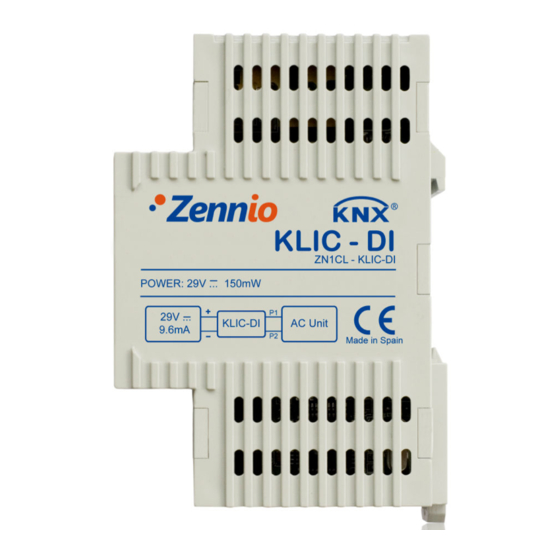
- Page 1 KLIC-DI INTERFACE KNX – DAIKIN ZN1CL-KLIC-DI Edition 4.0 Version 1.4...
- Page 2 Index Introduction ......................3 Installation ......................5 2.1. KLIC-DI Installation ..................5 2.2. Elements Description ..................6 Configuration ......................8 3.1. Basic Control ....................8 3.2. Advanced Functionalities ................8 Parameterization ....................12 4.1. Default Configuration ..................12 4.2. General ......................14 4.3.
-
Page 3: Introduction
It is important to verify that the KLIC-DI and the wired remote control are configured with different type of control. This way, the control acting as slave will update its status when the master orders it and will communicate its status changes when they are modified from the own slave control. - Page 4 Daikin error codes as well as any communication errors that may arise. LED indicators allow monitoring of the bidirectional traffic flow. Integrated EIB/KNX Bus Coupling Unit. Complete data saving in case of Bus Power Failure. CE Compliant ZENNiO AVANCE Y TECNOLOGÍA www.zennio.com...
-
Page 5: Installation
If the wired remote control from Daikin is also used, it is necessary to make sure that the wired remote control is in mode slave if the KLIC-DI is configured as master control. And vice versa, if the KLIC-DI is configured as slave control, the wired remote control must be in master position. -
Page 6: Elements Description
DAIKIN DAIKIN Figure 3 Connecting KLIC-DI to bus P1/P2 with wired remote control (slave mode) Diagrams Leyend KLIC – DI Daikin Wired remote control Daikin SKY or VRV unit P1 - P2 Daikin connection bus 1 - 2 Zennio connection terminal... - Page 7 DI incorporates two more LEDs, blue and green ones, in order to inform about the bidirectional communication between KNX and Daikin, resulting very useful in the installation process. Nº Description EIB connector Programming LED Programming button 2-wire communication terminal ZENNiO AVANCE Y TECNOLOGÍA www.zennio.com...
-
Page 8: Configuration
Daikin unit) These functionalities have associated a machine status, which is periodically sent to KLIC-DI. When KLIC-DI receives a status different from the previous one from the machine, it updates the status of the corresponding parameter in the bus KNX. - Page 9 An example of this functionality could be the use of a window sensor, associated to the auto switch off, that allows switching off the machine if the window is opened. ZENNiO AVANCE Y TECNOLOGÍA www.zennio.com...
- Page 10 In spite of the master/salve configuration, all the functionalities can be set from both remote controls. This functionality allows including in the installation both the KLIC-DI and the Daikin wired control and choosing the desired master/slave configuration whenever the KLIC-DI and the wired control are not configured with the ZENNiO AVANCE Y TECNOLOGÍA...
- Page 11 Important: The wired control BRC1E51A7 can only operate as master control. In case of using this model of wired control in the installation, it is necessary configuring the KLIC-DI as slave control. ZENNiO AVANCE Y TECNOLOGÍA...
-
Page 12: Parameterization
For starting to parameterize the device it is necessary, once the ETS has been opened, importing the data base of the product KLIC-DI SKY 1.0.vd2. Then the KLIC is added to the project where it is desired to include the device. Click with the right mouse button the right button on the device and select “Edit... - Page 13 In the next figure, it can be watched the available communication objects by default: they allow sending the ON/OFF to the Split, setpoint temperature, mode and fan speed (two speeds), as well as receiving the status of these variables from the Split. Figure 7 Default Communication Objects ZENNiO AVANCE Y TECNOLOGÍA www.zennio.com...
-
Page 14: General
This window also allows configuring the type of control for the remote control: Master/Slave And the Sending Time for the Indoor Temperature. This temperature is sent by the machine when the indoor temperature changes. In order to avoid an excessive sending ZENNiO AVANCE Y TECNOLOGÍA www.zennio.com... -
Page 15: Mode
Figure 9 Mode 4.4. FAN SPEED In this window it can be selected the number of fan levels that the air conditioning unit has: 2 or 3 levels besides the auto level. ZENNiO AVANCE Y TECNOLOGÍA www.zennio.com... - Page 16 Besides configuring the number of levels the Fan window allows selecting the “Step Control”. Step Control The selection of “Step Control” enables a 1-bit object for increasing or decreasing the fan speed level: Value “1”: Increase ZENNiO AVANCE Y TECNOLOGÍA www.zennio.com...
-
Page 17: Scenes
KLIC offers the possibility of configuring up to 4 scenes. Figure 11 Scenes Once the Scenes are enabled in General, the option Scenes appears in the Menu. Figure 12 Scenes Configuration Example ZENNiO AVANCE Y TECNOLOGÍA www.zennio.com... -
Page 18: Temperature Limitation
Daikin limits of the unit that is going to be used (Look up the Daikin unit manual). The temperature limits can be personalized for the two modes with associated temperature: Cool and Heat. Figure 13 Temperature Limitation ZENNiO AVANCE Y TECNOLOGÍA www.zennio.com... -
Page 19: Automatic Switch Off
KLIC-DI and the Daikin unit or external errors, errors in the own Daikin unit. It can be enabled the internal errors, the external errors or both: Internal Errors: Yes or no. -
Page 20: Initial Configuration
Moreover, it can be configured the Sending of status to the Bus or Split and when it must be carried out: Send Initial Configuration to BUS?: Yes or no. Delay: number of seconds that the KLIC delays the sending of status to the ZENNiO AVANCE Y TECNOLOGÍA www.zennio.com... -
Page 21: Zennio Avance Y Tecnología Www.zennio.com
Figure 16 Initial Configuration ZENNiO AVANCE Y TECNOLOGÍA www.zennio.com... - Page 27 SIGN UP! http://zennioenglish.zendesk.com TECHNICAL SUPPORT...
Need help?
Do you have a question about the KLIC-DI and is the answer not in the manual?
Questions and answers