Table of Contents
Advertisement
Quick Links
Advertisement
Table of Contents

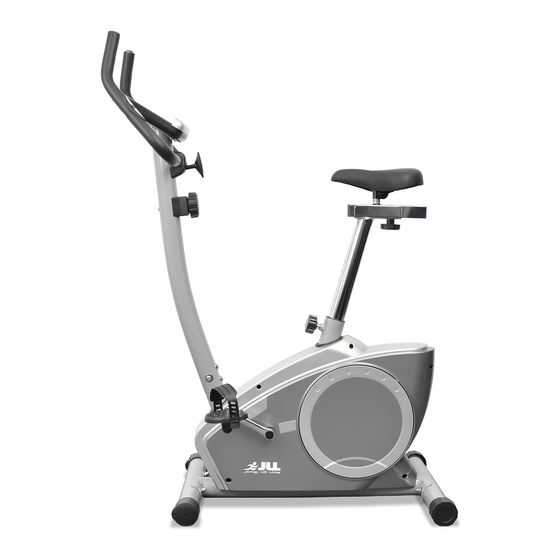
Summary of Contents for JLL JF200
- Page 2 Dear Customer, Please read this instruction very carefully before using this item. You will find important information regarding safety of your magnetic bike. IMPORTANT SAFETY NOTICE: Note the following precaution before assembling or operating the machine ★ The maximum weight capacity of this training bike is 100kg; person whose body weight exceeds this limit should not use this machine.
-
Page 3: Exploded Diagram
EXPLODED DIAGRAM... -
Page 4: Parts List
Description Description Main Frame T-shape knob Front Stabilizer Chuck cover Front end cap Spacer Rear Stabilizer Flat washer Rear end cap Handlebar Carriage bolt Handlebar wire Screw Foam grip Arc washer Screw Acorn nut End cap L/R crank 1 each Console L/R pedal 1 each... -
Page 5: Instructions For Assembly
INSTRUCTIONS FOR ASSEMBLY Step 1: Attach front stabilizer (2) and rear stabilizer (4) to main frame (1) by fixing Carriage , Arc washers (8) and cap nut (9) bolt (6) Step 2: Thread the right pedal (11R) which marked “R” onto the right side of the crank (10), then circumvolved clockwise easily and tighten;... - Page 6 Step 3: A: Connect the Extension Sensor Wire (15) onto the Sensor Wire (13) and connect the Tension Control Cable (12) onto the cable of the Tension Control (14) like the PICUTRE A shown. B: Threaded the upright post (17). Lock the upright post (17) onto the mainframe (1) with the Arc Washer (8) and the screw (16).
- Page 7 Step 5: Connect the Handlebar wire (25) and the Extended Wire (15) to the wires of the console (29), and then attach the console (29) onto the console bracket of the upright post (17) with the screw (27) and Flat wahser (38).
- Page 8 Step 6: A: Firstly, loose the pop-pin knob(30)in anticlockwise direction. Then pull out the pop-pin knob(30)and Insert the saddle post (31) into the upright tube of main frame (1) . And adjust the length then tighten them with the pop-pin knob (30). B: Assemble the horizontal post (36) to the saddle post (31) and fasten it with flat washer (33), knob nut (32) and U-shape bolt (34).
-
Page 9: Warm Up And Cool Down Routine
WARM UP AND COOL DOWN ROUTINE A good exercise program consists of a warm-up, aerobic exercise, and a cool down. Do the entire program at least two to three times a week, resting for a day between workouts. After several months you can increase your workouts to four or five times per week. AEROBIC EXERCISE is any sustained activity that sends oxygen to your muscles via your heart and lungs. - Page 10 Shoulder Lift Lift your right shoulder up toward your ear for one count. Then lift your left shoulder up for one count as you lower your right shoulder. Calf-Achilles Stretch Lean against a wall with your left leg in front of the right and your arms forward.


Need help?
Do you have a question about the JF200 and is the answer not in the manual?
Questions and answers