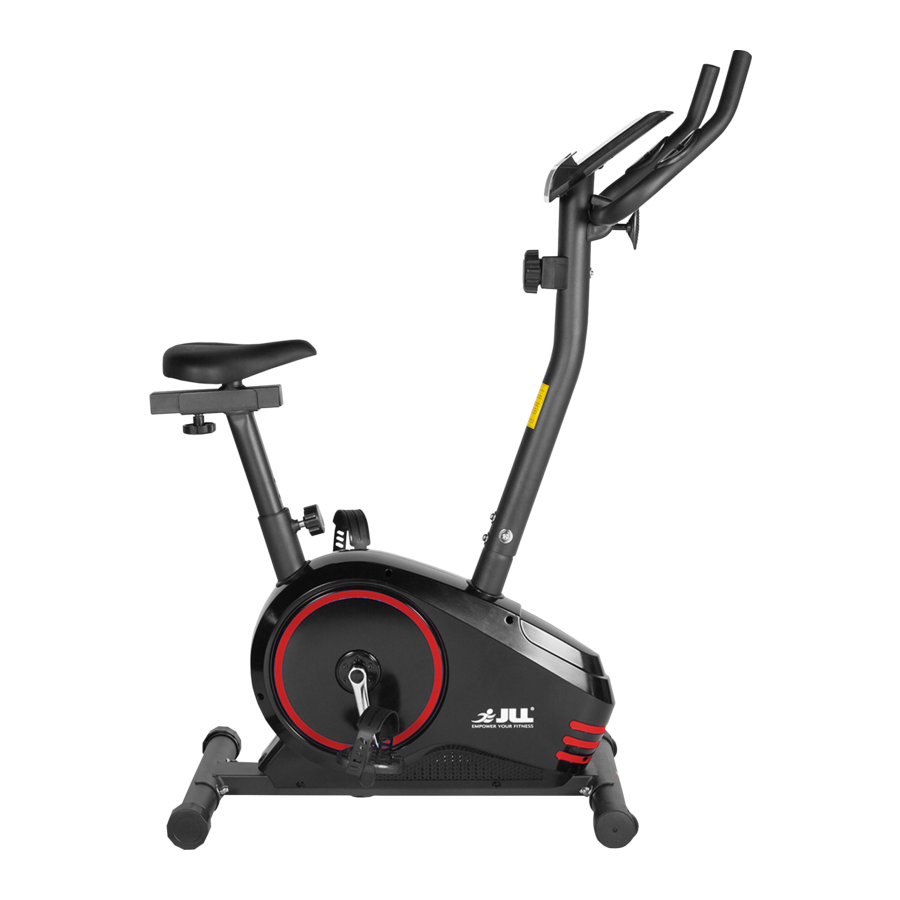
JLL JF150 Owner's Manual
Magnetic bike
Hide thumbs
Also See for JF150:
- Instruction manual (62 pages) ,
- Instructions (2 pages) ,
- Instruction manual (12 pages)
Advertisement
Quick Links
Download this manual
See also:
Instruction Manual
J
F
1
5
0
M
A
G
N
E
T
I
C
B
I
K
E
J
F
1
5
0
M
A
G
N
E
T
I
C
B
I
K
E
OWNER'S MANUAL
IMPORTANT !
Please read all instructions carefully before using this product.
Retain this manual for future reference.
The specifications of this product may vary slightly from the illustrations and are subject
to change without notice.
Advertisement

Summary of Contents for JLL JF150
- Page 1 OWNER’S MANUAL IMPORTANT ! Please read all instructions carefully before using this product. Retain this manual for future reference. The specifications of this product may vary slightly from the illustrations and are subject to change without notice.
-
Page 2: Exploaded Diagram
EXPLOADED DIAGRAM... -
Page 3: Parts List
PARTS LIST Q’TY Q’TY DESCRIPTION DESCRIPTION Main frame Foam grip Front Stabilizer Round end cap Rear Stabilizer Cross pan head screw Rear End Cap Handlebar Cover Carriage bolt M8×L74 Handlebar Arc WasherФ8.5x1.5xФ25xR33 Computer Acorn nut M8 Square End Cap Crank Saddle support 9L/R Pedal... -
Page 4: Assembly Instruction
ASSEMBLY INSTRUCTION STEP 1 Attach the front stabilizer (2) and rear stabilizer (3) to the main frame (1) with the carriage bolts (5), arc washers (6) and acorn nuts (7) as shown. STEP 2 Attach the right and left pedals (9L/R) to the crank (8) respectively. Important: Both pedals are labeled, L FOR LEFT and R FOR RIGHT. - Page 5 STEP 3 Insert the saddle post (28) into the main frame (1) and fix with the knob (29) at a proper height as shown. Attach the horizontal saddle post (34) to the saddle post (28) with the flat washer (31) and knob nut (32) and then attach the saddle (33) to the horizontal saddle post (34) as shown.
- Page 6 STEP 4 A: Connect the extension wire (13) with the sensor wire (11). B: Put the cable of tension controller (19) into the spring hook of tension cable (12) as picture A shows. Then pull the resistance cable of tension controller (19) upward and force it into the gap of metal bracket of the tension cable (12).
- Page 7 STEP 5 A: Insert the pulse wires (20) through the hole on the handlebar post (17) and pull them out from the top of the computer bracket. B: Attach the handlebar (25) to the handlebar post (17) with bolt (39), bushing (38), flat washer (37) and handlebar cover (24).
- Page 8 STEP 6 Connect the extension wire (13) and pulse wires (20) to the wires coming out from the computer (26) respectively. Then attach the computer (26) onto the bracket of handlebar post (17) tightly with the cross pan head screw (23) as shown.
- Page 9 USING YOUR BIKE Using your bike will provide you with several benefits. It will improve your physical fitness, tone your muscles and in conjunction with a calorie controlled diet, help you lose weight. WARM-UP PHASE The purpose of warming up is to prepare your body for exercise and to minimize injuries. Warm up for two to five minutes before strength-training or aerobic exercising.


Need help?
Do you have a question about the JF150 and is the answer not in the manual?
Questions and answers