Sign In
Upload
Download
Table of Contents
Contents
Add to my manuals
Delete from my manuals
Share
URL of this page:
HTML Link:
Bookmark this page
Add
Manual will be automatically added to "My Manuals"
Print this page
×
Bookmark added
×
Added to my manuals
Manuals
Brands
Jadever Manuals
Scales
1.5K
User manual
Jadever 1.5K User Manual
Hide thumbs
1
Table Of Contents
2
3
4
5
6
7
8
9
10
11
12
13
14
page
of
14
Go
/
14
Contents
Table of Contents
Bookmarks
Table of Contents
Table of Contents
1 Introduction
2 Precautions
3 Before Using the Product
Unpacking and Checking
Installing Components
Leveling the Scale
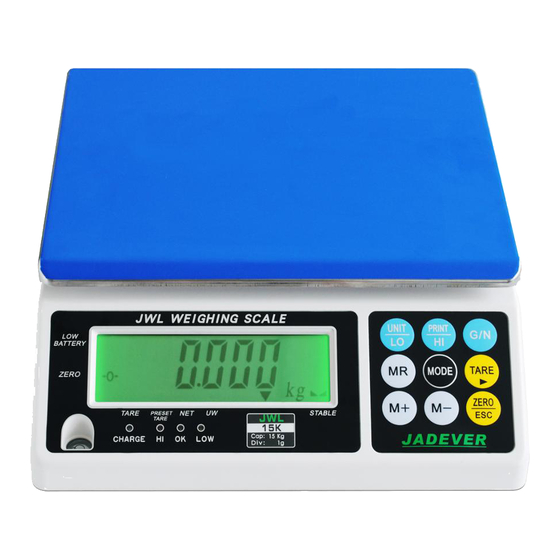
4 Product Introduction
Specifications & General Features
Display
Keyboard
Power Supply
5 Operation
Weighing
Manual Tare & Preset Tare
Checkweighing
Simple Counting
Accumulation, Accumulation Display and Accumulation Clearing
Unit Setting Menu
6 Calibration
Single Point Calibration
7 Setting Mode & Description of Parameter Values
Serial Interface
RS-232 Connector
Single Option
Troubleshooting and Error Message
Advertisement
Quick Links
1
Introduction
2
Weighing
3
Calibration
4
Single Point Calibration
5
Troubleshooting and Error Message
Download this manual
www.cangiaphat.com
Table of
Contents
Previous
Page
Next
Page
1
2
3
4
5
Advertisement
Table of Contents
Need help?
Do you have a question about the 1.5K and is the answer not in the manual?
Ask a question
Questions and answers
Related Manuals for Jadever 1.5K
Scales Jadever JWI-700W Manual
(16 pages)
Scales Jadever JCN User Manual
(21 pages)
Scales Jadever JWE Series Service Manual
(28 pages)
Scales Jadever JWE User Manual
High precision check weigher and bench scale (16 pages)
Scales Jadever JWE User Manual
(15 pages)
Scales Jadever LPWN-1530 Quick Start Manual
(9 pages)
Scales Jadever JWE-3K Service Manual
(29 pages)
Scales Jadever SNUGIII Series Manual
(16 pages)
Scales Jadever JC User Manual
Crane scale (4 pages)
Scales Jadever JWI 700C Instruction Manual
(20 pages)
Scales Jadever JWL-1.5K Manual
(20 pages)
Scales Jadever JCL-3K Manual
(23 pages)
Scales Jadever Jadever SKY User Manual
(10 pages)
Scales Jadever JCAII User Manual
Jadever jcaii counting scale user guide (28 pages)
This manual is also suitable for:
3k
7.5k
6k
15k
30k
Table of Contents
Print
Rename the bookmark
Delete bookmark?
Delete from my manuals?
Login
Sign In
OR
Sign in with Facebook
Sign in with Google
Upload manual
Upload from disk
Upload from URL


Need help?
Do you have a question about the 1.5K and is the answer not in the manual?
Questions and answers