Table of Contents
Advertisement
Quick Links
············································································
INSTALLATION······································································
PRECAUTIONS······································································
FEATURES·············································································
·················································································
SETTING·····························································
OPERATION···········································································
WEIGHING UNIT
APPENDIX 1
SHOOTING·······················································
APPENDIX 2
RS-232
FORMAT································································
RS-232 OUTPUT
Chapter
········································································
CONVERSION···········································
····························································
SIGNAL··················································
1
1
2
2
3
5
6
9
12
12
12
12
14
0
Advertisement
Table of Contents

Related Manuals for Jadever JWE


Summary of Contents for Jadever JWE
-
Page 1: Table Of Contents
Chapter ASSEMBLY ············································································ INSTALLATION······································································ PRECAUTIONS······································································ FEATURES············································································· LCD DISPLAY ········································································ KEYPAD ················································································· FUNCTION SETTING····························································· OPERATION··········································································· WEIGHING UNIT CONVERSION··········································· APPENDIX 1 ERROR MESSAGE ···························································· TROUBLE SHOOTING······················································· APPENDIX 2 RS-232 FORMAT································································ RS-232 OUTPUT SIGNAL··················································... -
Page 2: Assembly
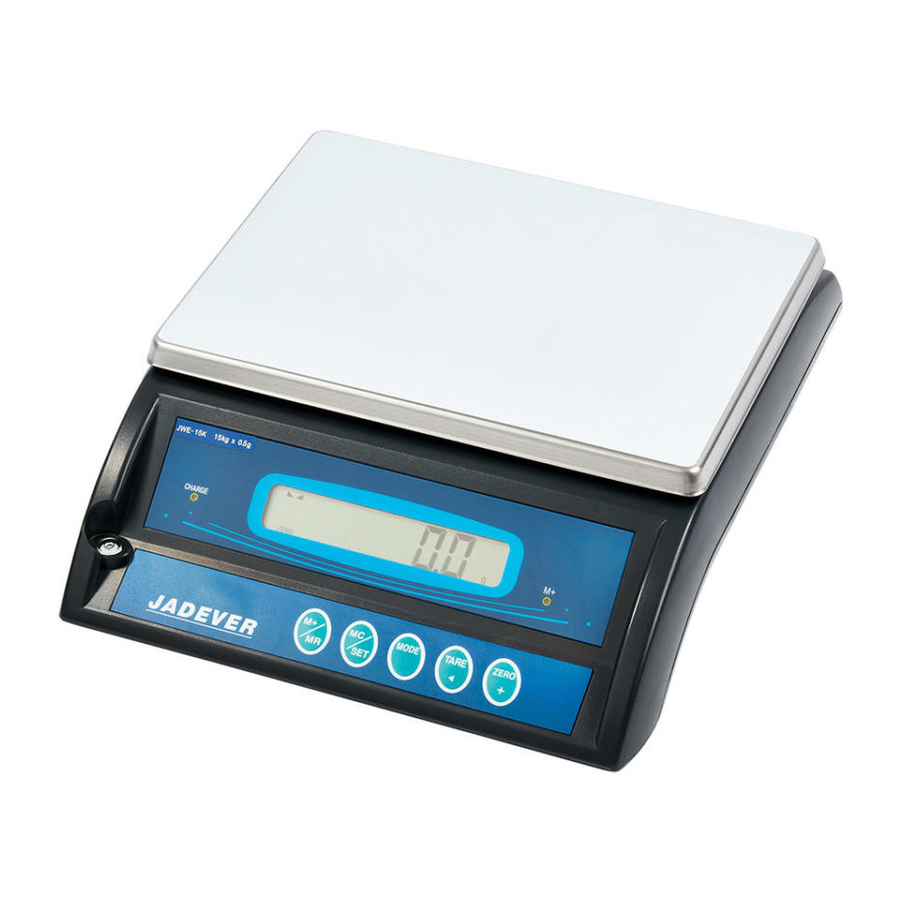
1 weighing pan 2 scale body 3 protection screw 4 power socket 5 power switch MODEL: JWE INSTALLATION n Put the weighing pan (1) on the scale (2). n Always lock the protection screw (3) (30kg mode without protection screw)before transportation. -
Page 3: Precautions
PRECAUTION n Full charge the battery after unpacking the scale. n Install the equipment on a level and stable surface. n Do not install the equipment near the air conditioning or vibrating machinery. n Install the equipment in a temperature environment within -5℃—40℃, prevent from rapid temperature changes. -
Page 4: Lcd Display
LCD DISPLAY Indicator for battery .Red means battery needs to be charged. When the indicator turn green, means that the battery is fully charged. LCD display. Indicator for accumulation... - Page 5 LCD DISPLAY FUNCTION SELECTION PAGE Calibration ↓ Capacity & resolution 30000/6000 ↓ Weigh unit ON/OFF ↓ Initial weight unit Kg / g / lb / lb-oz / pcs / % ↓ Filter 1/2/4/8 ↓ Auto power off NO/5/10/30/60 ↓ Backlight OFF/ON/AUT ↓...
-
Page 6: Keypad
KEYPAD Use this key for accumulation, and to show total accumulation values. Use this key to set HI, LOW range, and also to clear the accumulation For switching the weighing units. MODE TARE Press this while tare subject is on the weighing pan. <... -
Page 7: Function Setting
Press key to end and save the function setting. · Ø The LCD display shows (example: Model JWE-3K) – press key to select the weighing capacity and resolution . The capacity and resolution depend on the model of the scale。... - Page 8 Ø The LCD display shows – press key to select the filter performance, 1, 2, 4, 8 can be selected. Ø The LCD display shows – press key to select the time of auto power off, 5, 10, 30, 60 minutes and “NO”...
-
Page 9: Function
Ø When LCD display and follow by press to choose the external device i.e. : PC、TP、SH、AX、 EZ2-S、TDP-643. Ø The LCD display shows – press key to enable (ON) or disable (OFF) the memory function. Ø The LCD display shows – press key to select beep mode. -
Page 10: Operation
OPERATION u Counting Press key until LCD display show MODE then press key, the LCD display shows press key select the numbers (25, 50, 100) of sampling, put the samples on the weighing pan, when beep sounds, it is ready for operation. u Sampling by percentage MODE Press... - Page 11 u Hi/Low setting MODE Press key, then press key, the LCD display shows TARE , press key to move the blinking “0”,press < ZERO MODE key to enter the limit of the HI weighing value . Press key after that, the LCD display shows , press TARE ZERO...
-
Page 12: Weighing Unit Conversion
u Accumulation When there is weight on the pan, press key to accumulate, the LCD display shows (example: the weighing XXXX unit is g), the maximum of accumulation is 99 data. When “0” shows on the display, press key, the LCD display shows the numbers of accumulation. -
Page 13: Appendix 1
APPENDIX 1 n Error message Message Problem Initial zero point over+10% Err2 Initial zero point less-10% -Err2 Err3 Over A/D resolution range FFFFF Less A/D resolution range -XXXXX -Err3 Err4 EEPROM Chksum error Over load(max. capacity +9e) Err5 Err6 Wrong weighing master when calibration OuEr1 Accumulation over 99 data OuEr2... -
Page 14: Data Format
Data Format: n kg : weight Example: G.W. :+ 2.2352kg N.W. :+ 1.2352kg : weight Example: G.W. :+ 2235.2g N.W. :+ 1235.2g n lb : weight Example: G.W. :+ 2.2352lb N.W. :+ 1.2352lb n lb-oz : weight lb Weight oz Example: G.W. -
Page 15: Ascii Code
RS-232 INPUT FORMAT Baud Rate : 2400、4800、9600 : 8 Data Bit : N ( None ) Parity : 1 Stop Bit : ASCII Code Command on computer:‘ R ’ = READ ‘ Z ’ = ZERO ‘ T ’ = TARE Printer &...
Need help?
Do you have a question about the JWE and is the answer not in the manual?
Questions and answers