Table of Contents
Advertisement
Quick Links
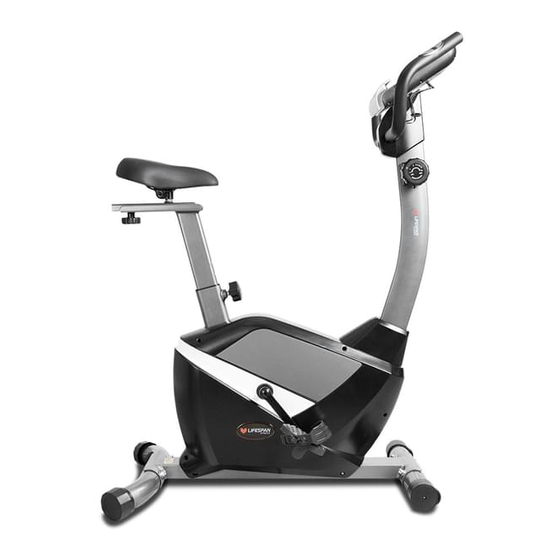
EXER-57 OWNER'S MANUAL
Product may vary slightly from the item pictured due to model upgrades
Read all instructions carefully before using this product. Retain this owner's manual for
future reference.
NOTE: This manual may be subject to updates or changes. Up to date manuals are available through our website at www.lifespanfitness.com.au
Advertisement
Table of Contents

Related Manuals for LifeSpan EXER-57


Summary of Contents for LifeSpan EXER-57
- Page 1 EXER-57 OWNER’S MANUAL Product may vary slightly from the item pictured due to model upgrades Read all instructions carefully before using this product. Retain this owner’s manual for future reference. NOTE: This manual may be subject to updates or changes. Up to date manuals are available through our website at www.lifespanfitness.com.au...
-
Page 2: Table Of Contents
TABLE OF CONTENTS IMPORTANT SAFETY INSTRUCTIONS CARE INSTRUCTIONS EXPLODED DIAGRAM PARTS LIST ASSEMBLY INSTRUCTIONS COMPUTER OPERATION EXERCISE GUIDE WARRANTY EXER-57... -
Page 3: Important Safety Instructions
Before using the equipment, check that the nuts and bolts are securely tightened. If you hear any unusual noises coming from the equipment during use and assembly, stop immediately. Do not use the equipment until the problem has been rectified. EXER-57... -
Page 4: Care Instructions
Do not attempt to recharge non-rechargeable batteries Batteries are to be inserted with correct polarity g. The supply terminals are not to be short-circuited h. Do not dispose of batteries in fire, batteries may explode or leak EXER-57... -
Page 5: Exploded Diagram
3. EXPLODED DIAGRAM S13-14-15 17 18 20 21 18 20 13 14 13 15 EXER-57... - Page 6 EXER-57...
-
Page 7: Parts List
Bolt M8*20 35L/R Pedal Nylon nut M6*H6*S10 Knob M16*1.5*22*Φ56 Spring washer d6 Main frame Middle axle Sensor wire Belt plate End cap with wheel Bolt M6*16 Screw ST3*10 Round Magnet Φ15*7 Bolt M8*73 Bushing Φ22*Φ18*5 Bearing 6203-2RS Front bottom tube EXER-57... - Page 8 Spring washer d6 Screw ST4.2*16 Washer d6*Φ12*1.2 Sensor seat Washer d12 Nut M6*H5*S10 Magnetic board axle Bolt M6*45 Screw ST3*10 Magnetic board join Spring Φ1.6*Φ14.5*61*N20 #32 d8*Φ20*2 1PC #33 M8*20*Ф50 1PC #48 M5*10 2PCS #50 S5 1PC #51 S13-14-15 1PC EXER-57...
-
Page 9: Assembly Instructions
STEP 1 a) Secure front bottom tube (43) and rear bottom tube (46) to main frame (37) with bolts (42), arc washers (44) and cap nuts (45). b) Secure pedal (35L/R) to the L/R crank (49L/R) by wrench (51). EXER-57... -
Page 10: Exer
Insert saddle post(31) into the post located on the back end of main frame(37), and secure in place using knob(36) b) Secure saddle across tube (29) to saddle post (31) with knob (33) and washer (32). c) Secure saddle (28) to the saddle across tube (29). EXER-57... -
Page 11: Tension Knob 1
Secure front post (10) to main frame (37) with screws (15), bolts (12), washers (13) and nylon nuts (14). EXER-57... - Page 12 Φ 13 14 13 15 图A EXER-57...
-
Page 13: Trunk Wire (
Connect computer wire (1a) with upper trunk wire (11). c) Secure computer (1) to the computer bracket located on the top of front post (10) with screws (48). Insert handle pulse wire (22) into the hole located on the back of computer (1). EXER-57... -
Page 14: Handlebar 1
STEP 5: a) Secure rear cover for handlebar post(2) to front post(10) with screws(4); b) Secure front cover for handlebar post(26) to rear cover for handlebar post(2) with screw(3); Φ Φ EXER-57... - Page 15 Adjustment of the End Caps: When this product is on an uneven surface, please adjust both end caps according to the left instruction picture. Adjustment of the Seat Tube: EXER-57...
-
Page 16: Computer Operation
Exercise time can be set in advance, when it approaches the present time, the monitor will alarm for 10 seconds. The maximum pre-set time is 99 minutes. Display Body Mass Index (BMI). 3. DISTANCE/BMR Counts the total distance from exercise start to the end and the range is 0.00 ~ 9.99 ~ 99.9KM. EXER-57... - Page 17 2. PULSE RATE to enter pulse mode. Place both your palms on the contact pads and the monitor will show your current heart beat rate in beats per minute (BPM) on the LCD after 3~4 seconds. EXER-57...
- Page 18 > 38% Female/≤ 30 < 17% 17%~24% 24.1%~30% 30.1%~40% > 40% Female/ > 30 < 20% 20%~27% 27.1%~33% 33.1%~43% > 43% BATTERY REPLACEMENT: When the display becomes dim or illegible, remove the battery and replace with SIZE AAA UM4 R03. EXER-57...
-
Page 19: Exercise Guide
So as you can see, the fitter you are, the healthier and greater you will feel. Warm-up Start each workout with 5 to 10 minutes of stretching and some light exercises. A proper warm-up increases your body temperature, heart rate and circulation in preparation for exercise. Ease into your exercise. EXER-57... -
Page 20: Workout Guidelines
This will increase the flexibility of your muscles and will help prevent post-exercise problems. Workout Guidelines TARGET ZONE This is how your pulse should behave during general fitness exercise. Remember to warm up and cool down for a few minutes. EXER-57... -
Page 21: Warranty
Please visit our website to view our full warranty terms and conditions: http://www.lifespanfitness.com.au/warranty-repairs Warranty and Support: Please email us at support@lifespanfitness.com.au for all warranty or support issues. For all warranty or support related enquiries an email must be sent before contacting us via any other means. EXER-57... - Page 22 This will eliminate the movement and static electricity factors. If your hands are dry, then wet them slightly (saliva works as a great conductor if this doesn’t bother you). For more information, please contact our Lifespan Fitness Technical Support Department www.lifespanfitness.com.au support@lifespanfitness.com.au...
Need help?
Do you have a question about the EXER-57 and is the answer not in the manual?
Questions and answers