Advertisement
Quick Links
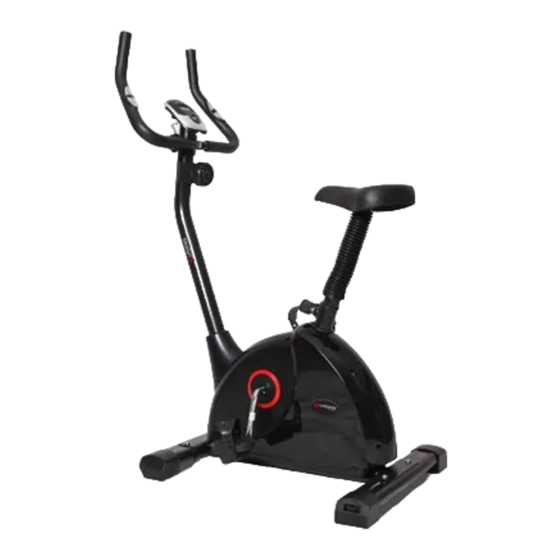
EXER-56 OWNER'S MANUAL
Product may vary slightly from the item pictured due to model upgrades
Read all instructions carefully before using this product. Retain this owner's manual for
future reference.
NOTE: This manual may be subject to updates or changes. Up to date manuals are available through our website at www.lifespanonline.com.au
Advertisement

Related Manuals for LifeSpan EXER-56


Summary of Contents for LifeSpan EXER-56
- Page 1 EXER-56 OWNER’S MANUAL Product may vary slightly from the item pictured due to model upgrades Read all instructions carefully before using this product. Retain this owner’s manual for future reference. NOTE: This manual may be subject to updates or changes. Up to date manuals are available through our website at www.lifespanonline.com.au...
-
Page 2: Table Of Contents
TABLE OF CONTENTS IMPORTANT SAFETY INSTRUCTIONS ASSEMBLY INSTRUCTIONS COMPUTER OPERATION EXERCISE GUIDE WARRANTY EXER-56... -
Page 3: Important Safety Instructions
Before using the equipment, check that the nuts and bolts are securely tightened. If you hear any unusual noises coming from the equipment during use and assembly, stop immediately. Do not use the equipment until the problem has been rectified. EXER-56... - Page 4 This equipment is designed for indoor and family use only Care must be taken when lifting or moving the equipment so as not to injure your back. Always keep this instruction manual and assembly tools at hand for reference. The equipment is not suitable for therapeutic use. EXER-56...
-
Page 5: Assembly Instructions
2. ASSEMBLY INSTRUCTIONS EXPLODED VIEW: 27 28 29 EXER-56... - Page 6 Mid-sensor wire Nylon nut M8 Computer wire Saddle Screw M5*10 Knob M16 washer d6*φ12*1 37L/ Sensor wire Chain cover Pulse pad fit Φ25 tube Tension wire Handlebar cover Bellow Arc washer d8*φ20*2*R30 Wrench S13-14-15 Screw M8*16 Wrench S6 Up-right post EXER-56...
- Page 7 STEP 1: #2 M8*50 4PCS #3 d8* 16*1.5 4PCS 1. Assembly the front stabilizer (9) and rear stabilizer (7) onto the main frame (1) using the screw (2) and washer (3). EXER-56...
- Page 8 1. Lock the saddle (14) onto the saddle post (12) with the nylon nut (13) and washer (3) 2. Insert the saddle post (12) through the bellow (39), and then into the main frame (1),lock it with the knob (15) EXER-56...
- Page 9 (17) to the tension control (22). connect the sensor wire (16) to the mid-sensor wire (33) 2. Lock the up-right post (21) onto the main frame (1) by the screw (20) and arc washer (19) 3. Lock the pedals (10L and 10R) onto the main frame (1) EXER-56...
- Page 10 (32) onto the computer support of the up-right post (21) using the screw (35) 2. Lock the handlebar post (29) onto the up-right post (21) by the square neck bolt (26), arc washer (19) and nut (25),and then insert the pulse wire (28) into the back of the computer (32) EXER-56...
-
Page 11: Computer Operation
TIME: Press the MODE key until the pointer advances to TIME. The total working time will be shown. SPEED: Press the MODE key until the pointer advances to SPEED. The total working time will be shown. DISTANCE: Press the MODE key until the pointer advances to DISTANCE. The distance of each workout will be displayed. EXER-56... - Page 12 SCAN: The computer will automatically cycle through the display of the following functions in the order: TIME----SPEED----DISTANCE---- PULSE-(if included)----CALORIES (repeat). BATTERY This monitor uses one or two (if pulse is included) batteries. If the display shows incorrectly, please replace the batteries. EXER-56...
-
Page 13: Exercise Guide
90% of your maximum heart rate. If just starting an exercise program, work out at the low end of your target heart rate zone. As your aerobic capacity improves, gradually increase the intensity of your workout by increasing your heart rate. EXER-56... - Page 14 Warm-up for two to five minutes before strength training or aerobic exercising. Perform activities that raise your heart rate and warm the working muscles. Activities may include brisk walking, jogging, jumping jacks, jump rope and running on the spot. EXER-56...
- Page 15 Pull the chest down to touch the thigh on the leg that is bent, and twist at the waist. Hold this position at least 10 seconds. Repeat 10 times on each side. EXER-56...
- Page 16 A proper cool-down slowly lowers your heart rate and allows blood to return to the heart. Your cool-down should include the stretches listed above and should be completed after each strength training session. EXER-56...
-
Page 17: Warranty
You are entitled to have the goods repaired or replaced if the goods fail to be of acceptable quality and the failure does not amount to a major failure. Full details of your consumer rights may be found at www.consumerlaw.gov.au Please visit our website to view our full warranty terms and conditions: http://www.lifespanonline.com.au/Warranty-Policy EXER-56...
Need help?
Do you have a question about the EXER-56 and is the answer not in the manual?
Questions and answers