Table of Contents
Advertisement
Quick Links
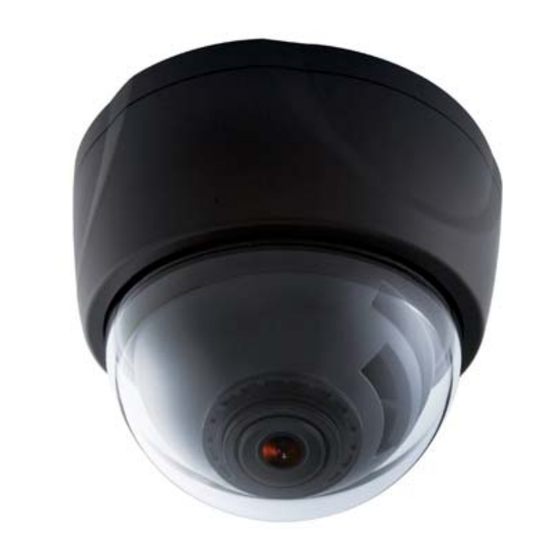
3-AXIS GIMBAL VARI-FOCAL
DAY&NIGHT IR-LED
INDOOR DOME CAMERA
USER MANUAL
Before installing and using the camera, please read the
instructions thoroughly and retain them for reference.
Caution
This symbol is intended to alert the user to the presence of non insulated "dangerous
voltage" within the product's enclosure that may be of sufficient magnitude to constitute a
risk of electric shock to persons.
The exclamation point within an equilateral triangle is intended to alert the user to the
presence of important operating and maintenance (servicing) instructions in the literature
accompanying the product.
Warning
To prevent fire or shock hazard, do not expose the unit to rain or moisture.
To avoid electrical shock, do not open the cabinet.
Refer servicing to qualified personnel only.
Wiring methods shall be in accordance with the National Electric Code.
This product is manufactured to comply with the CE and FCC Certificate standard.
2
Advertisement
Table of Contents

Related Manuals for TBK vision TBK-1032HVC


Summary of Contents for TBK vision TBK-1032HVC
-
Page 1: User Manual
Caution 3-AXIS GIMBAL VARI-FOCAL DAY&NIGHT IR-LED INDOOR DOME CAMERA USER MANUAL This symbol is intended to alert the user to the presence of non insulated “dangerous voltage” within the product’s enclosure that may be of sufficient magnitude to constitute a risk of electric shock to persons. -
Page 2: Table Of Contents
Composition Contents Confirm that the following parts are included: Composition ----------------------------------------------- 4 Explanation for Accessories --------------------------- 4 Features ---------------------------------------------------- 5 Camera Instruction Service Monitor and Dimension -------------------------------------------------- 5 Manual Control Cable (Option) Parts Name and Description --------------------------- 6 Service Monitor Cable Driver Screws Installation -------------------------------------------------- 7... -
Page 3: Features
Features Parts Name and Descriptions 1/3” SONY Super HAD High-resolution Color CCD 600TVL High-Resolution 2.8~11mm Vari-Focal, DC Auto Iris F1.2 Lens Built-in DNR, Sens-up, D-Zoom, OSD function Built-in WDR(Wide Dynamic Range) function (Option) Easy adjustment of Focal Length & Focus Builr-in Service Monitor (Second Video) &... -
Page 4: Installation
Base Installation Connections 1. Open the dome by turning the dome cover ring from the dome base fitting. 2. There are two mounting holes on the dome base so that users can install the unit in any place such as ceiling, wall and etc. 3. -
Page 5: Osd Menu Instructions
OSD Menu Instructions 3-Axis Gimbal Adjustment 1. OSD Control Key 1. First Pan: Adjust the first pan angle by returning the gimbal 360˚ degree. (see the figure No.1) 2. Tilt: Adjust the tilt angle by moving the gimal up and down. (see the figure No.2) 3. - Page 6 OSD Menu Instructions OSD Menu Instructions 2. Menu Table MAIN MENU CONFIGURATION INTELLIGENCE MOTION OFF/TRACKING/DETECTION MAIN MENU CONFIGURATION ADVANCED** OFF, MOVED / FIXED CAMERA CAMERA ID OFF/ON MASK AREA IRIS ALC/ELC DISPLAY ON/OFF AGC* OFF/VERY LOW/LOW/MID/HIGH/VERY HIGH/ SENSITIVITY USER/FIX RESOLUTION MOTION OFF/LOW/NORM/FAST/F.FAST ALARM OUT...
- Page 7 OSD Menu Instructions OSD Menu Instructions In the LEVEL option, you can adjust the overall brightness where “+”will increase the 3. Menu Setup brightness and “-“will decrease it. 1) Press the SETUP key to access the menu mode. 2) Select the desired feature by using UP/DOWN keys on the control part. In the BACKLIGHT option, you can adjust the BLC(Back Light Compensation) function to improve the sharpness of the image in a high contrast scene.
- Page 8 OSD Menu Instructions OSD Menu Instructions ☞ AGC (Auto Gain Control): OFF/VERY LOW~VERY HIGH/USER/FIX NOTE: Set the AGC level of the camera. When the AGC is active, the camera automatically If the IRIS menu is set to ELC, the SHUTTER menu will be deactivated as you increases the sensitivity by amplifying the Video signal when the strength of the signal adjust the brightness using the electronic shutter.
- Page 9 OSD Menu Instructions OSD Menu Instructions ☞ NOTE: In the DAY->NIGHT option, you can select from LOW to HIGH for the brightness of If the IRIS menu is set to ELC mode, the FLICKERELSS menu will be DAY->NIGHT, which is a brightness level in switching from the color filter to Black & deactivated.
- Page 10 OSD Menu Instructions OSD Menu Instructions ▶ LOCATION: If you press the SETUP key in the condition where the image is NIGHT: Use the NIGHT mode if you want to set the white balance differently enlarged as much as the ratio setting, you can watch an invisible area of the effective according to the ambient luminance.
- Page 11 OSD Menu Instructions OSD Menu Instructions INTELLIGENCE PRIVACY ZONE : You can configure the settings of motion detection and more. You can configure the privacy related settings. MOTION: OFF/TRACKING/DETECTION The PRIVACY function will protect your privacy by screening the privacy area that you Tracking-Detects and tracks a moving object.
-
Page 12: Specifications
OSD Menu Instructions Specifications OTHER SET ITEM NTSC You can configure for Factory Defaults, and more. Image Sensor 1/3” Interline transfer type color CCD (Sony) Effective Pixels 768H x 494V (380K pixels) 752H x 582V (440K pixels) FACTORY DEFAULTS: Scanning System 525 Lines 2:1 Interlace 625 Lines 2:1 Interlace All the settings will be restored to the factory defaults. - Page 13 Memo A-DNR 3-AXIS GIMBAL VARI-FOCAL INDOOR DOME CAMERA MADE IN KOREA...
Need help?
Do you have a question about the TBK-1032HVC and is the answer not in the manual?
Questions and answers