Do you have a question about the 8S and is the answer not in the manual?
Questions and answers
Eric Hassid
June 7, 2025
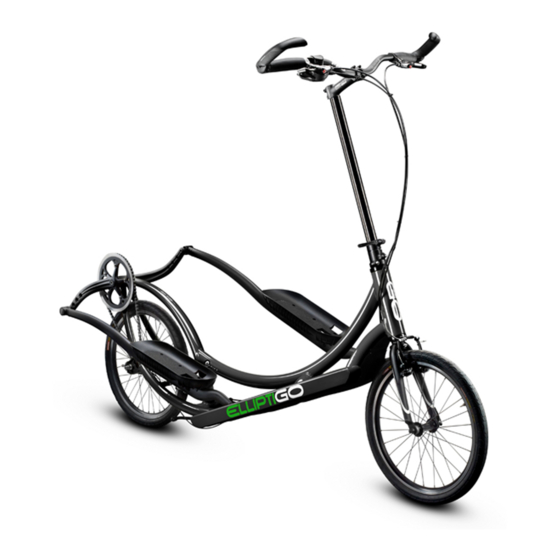
Hello. I have an 8c. The gear shifting is not catching at all as there is no clicking and the shift bar indicator is not moving when trying to shift. It stays on 8. Any thoughts?
1 comments:
Mr. Anderson
August 16, 2025
If the gear shifting on an ElliptiGO 8S is not catching and the shift bar indicator is not moving, the issue could be a misaligned gear cable. You should check the alignment of the two yellow lines in the gear indicator window. If they are not aligned, adjust the barrel adjuster on the handlebar by turning it one full turn in the appropriate direction—counterclockwise if the outside line is above the inside line, or clockwise if the outside line is below. Then shift through the gears and recheck alignment. Repeat the adjustment until the lines are aligned.


Need help?
Do you have a question about the 8S and is the answer not in the manual?
Questions and answers
Hello. I have an 8c. The gear shifting is not catching at all as there is no clicking and the shift bar indicator is not moving when trying to shift. It stays on 8. Any thoughts?
If the gear shifting on an ElliptiGO 8S is not catching and the shift bar indicator is not moving, the issue could be a misaligned gear cable. You should check the alignment of the two yellow lines in the gear indicator window. If they are not aligned, adjust the barrel adjuster on the handlebar by turning it one full turn in the appropriate direction—counterclockwise if the outside line is above the inside line, or clockwise if the outside line is below. Then shift through the gears and recheck alignment. Repeat the adjustment until the lines are aligned.
This answer is automatically generated