eTIGER S3b Sim Secual Manual
Hide thumbs
Also See for S3b Sim Secual:
- Quick start-up (265 pages) ,
- Quick start manual (100 pages) ,
- Quick start manual (9 pages)
Table of Contents
Advertisement
Advertisement
Table of Contents
Troubleshooting

Related Manuals for eTIGER S3b Sim Secual


Summary of Contents for eTIGER S3b Sim Secual
- Page 1 S3b Sim Secual / S3b Sim Vid Secual GSM Alarm System www.etiger.com...
- Page 2 Audio surveillance of the site from distance 2 x 800 mAh lithium batteries included (8h battery life in standby mode) Specifications Product name Alarm current S3b Sim Secual 340 mA Backup batteries S3b-S Lithium batteries: 3.7 V / 800 mAh x 2 (BL-5B)
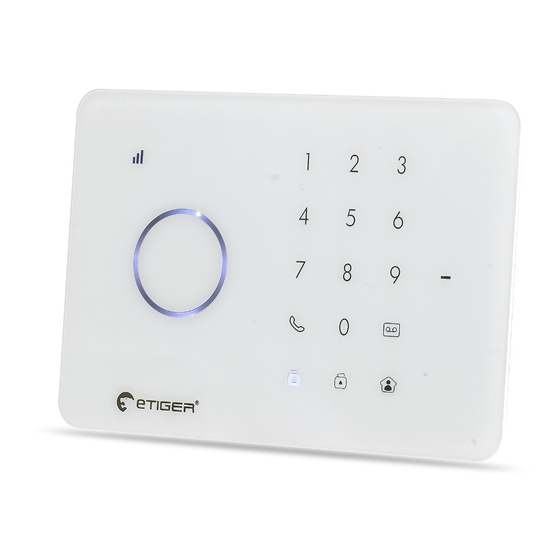
- Page 3 Important Touch Keypad Before using the S3b Sim Secual, you need to purchase a SIM card that works on the GSM network with 850 / 900 / 1800 / 1900 MHz frequency. We recommend you to subscribe to a plan with unlimited texts and one hour of voice. For more information, please contact your local reseller.
- Page 4 In the app, click on “Arm” or “Disarm” to respectively arm or disarm the system. The app is available for download on the App Store and Google Play (more information on etiger.com). Turn the control panel on (if the control panel is already on, turn it off and turn it on again).
- Page 5 Arm the System Press the Arm button " " on the control panel. The control panel beeps once: the system is armed. Note If the Entry / Exit Delay is activated, only the Delay zone will be armed after the delay set (refer to instructions on page 16 of this manual “Entry / Exit Delay”).
- Page 6 Control by Phone Call Method 1 When an alarm has been triggered, the control panel dials the pre-stored phone numbers. When you take the call, you can control the panel from distance according to the instructions in the table below. Method 2 1.
-
Page 7: Home Mode
SMS Operations Store Phone numbers for SMS Disarm the System notifications Send: IMPORTAnT: BEFORE USInG FOR THE FIRST TIME Send: INSERT A SIM CARD IN THE CONTROL PANEL. MAKE SURE THE SIM CARD DOES NOT REQUIRE ANY PIN CODE. SAVE A PHONE NUMBER FOR SMS NOTIFICATIONS. (Refer to instructions on the opposite page) Only stored numbers can control and configure the system. - Page 8 Settings Enquiry Store Phone numbers Rename Zones SMS Alert for Accessory Low Battery (available for two-way acessories such as Motion Detectors) Send: Send: Send "91~99". For example for zone 1, send: For accessories assigned to zones that have been renamed, an SMS will be sent under the format “Zone number zone name...
- Page 9 Rename RFID Tag Entry and Exit Delay Time Siren Volume and Ringing Time Change the Password Send: Send: Send: Send: Rename RFID tags: Entry delay time(0-300sec):0 Siren volume(0=Mute,1=High):1 Disarm password (4 digits): Exit delay time(0-300sec):0 Siren ringing time(1-9min):3 1234 Copy, paste, then edit Copy, paste, then edit Copy, paste, then edit (case sensitive):...
- Page 10 Change System Language Restore System to Factory Settings by SMS Send the code corresponding to the language you want to set. For example, for Send: English, send “0001”. 0000 0001 The settings will be restored to default Refer to the table below for the full list of values.
- Page 11 Wireless Remote Control Mute Mode Disarm Press the Home Mode button " " and the Arm " " or Disarm " " button immediately LED indicator after. Doing so, the control panel does not ring out when you arm or disarm your Home Mode system.
- Page 12 Wireless Motion Detector Open the case and remove the battery activation strip. Self-testing will start for 30 seconds. Features The ES-D1A is a high performance wireless motion detector boasting a digital dual- When the sensor is in operation, if it is core fuzzy logic infrared control chip with intelligent analysis.
- Page 13 Test Wireless Door / Window Contact A. After the installation, turn the detector on. After one minute of self-testing, press the test button, walk in the scope of detection and watch the LED indicator to make sure the detector Features is working.
- Page 14 Transmission distance ≤80 m (in open area) To register an additional eTiger siren, refer to the instructions provided in the manual that comes with your siren. Radio-frequency 433 MHz (±75 KHz)
- Page 15 Zone Setup of Accessories Every detector can be assigned to 4 different categories of zones: Home Mode Zone, Single Delay Zone, Normal Zone and 24hZone. To assign a detector to a zone, open its case and move its jumpers according to the drawing below: Home Mode zone Delay zone Normal zone...
- Page 16 6 of this manual to connect the the system panel RFID tag to the control panel If you are experiencing issues that are not described in the FAQ above, visit etiger.com download the latest update of this user manual and for additional support.
- Page 17 European Technical Adaptation Committee (TAC). Manufactured in China. Images, illustrations and text are non-contractual. ETIGER and the ETIGER logo are registered trademarks and the property of ETIGER. Copyright © 2014 ETIGER. All rights reserved. ETIGER EUROPE Rue de la Loi, 25, 7100 La Louvière, Belgium...
- Page 18 www.etiger.com...
Need help?
Do you have a question about the S3b Sim Secual and is the answer not in the manual?
Questions and answers