Advertisement
Advertisement
Table of Contents

Related Manuals for DELVCAM DELV-SDI10-16x9


Summary of Contents for DELVCAM DELV-SDI10-16x9
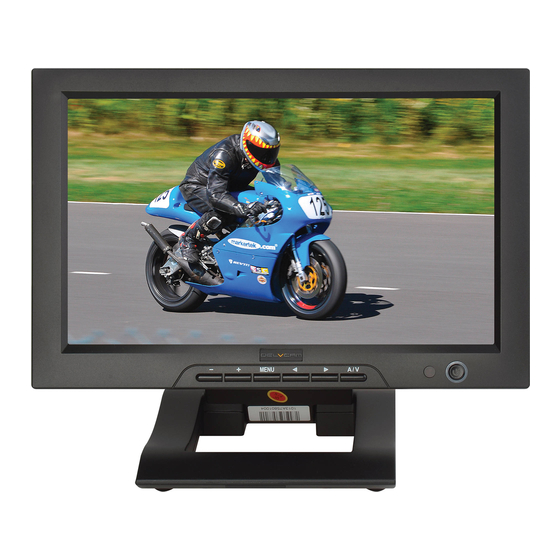
- Page 1 Delvcam DELV-SDI10-16x9 User Guide...
- Page 2 General Information Thank you for choosing our TFT LCD (liquid crystal display) monitor. This product employs integrate circuits, low power consumption, and no radiation emission. It has fashion designed appearance and good portability. The TFT LCD screen is suitable for director in inspection of photography effect.
-
Page 3: Table Of Contents
Table of Contents 1. PRODUCT DESCRIPTION ----------------------------------------- 2. REMOTE CONTROL------------------------------------------------- 3. POWER SOURCE ---------------------------------------------------- 4. SETTING MENU ------------------------------------------------- 5. ACCESSORIES -------------------------------------------------------- 6. PARAMETER ---------------------------------------------------------- 7. TROUBLESHOOTING ---------------------------------------------- 8. REMARK---------------------------------------------------------------... -
Page 4: Product Description
1. PRODUCT DESCRIPTION 1.Power:ON/OFF ;switch concurrence battery indicator light (red while standby; green while working)。 2.Infrared signal receiver (work with remote control). 3.A/V: circularly switch among HDMI, YPbPr, Video 1, Video 2, and SDI (Note : SDI optional). 4. Right selection key, to select items on OSD menu. Press to adjust ►: brightness among 6 levels. - Page 5 9.SDI signal output. 10.Video 1 signal input. 11.Video 2 signal input. 12.Audio signal input. 13.SDI (Serial Digital Interface) signal input. 14.Y signal input. 15.Pb signal input. 16.Pr signal input. 17.HDMI (High Definition Multimedia Interface) signal input. 18. Speakers 19.4-pin XLR DC power input. 20.DC power input.
-
Page 6: Remote Control
REMOTE CONTROL 1.Power 2.Mute button 3.Display switch among HDMI、YPbPr、Video 1, Video 2, and SDI (optional, must with necessary equipment) circularly.(Note: SDI optional) 4.MENU: enter menu function setting 5.▲: Up move; or change brightness among 6 levels 6.▼: Down move 7.◄: Left move; or volume down; or increase the function values in menu settings 8.... - Page 7 When power on, press “MENU” on the device (See PRODUCT DESCRIPTION remote controller (See REMOTE CONTROLLER 4). The menu of function setting will display on the screen. Press ◄/► buttons on the device or buttons on the remote controller to select items on the left of the display. Then press + / – buttons on the device buttons on the remote controller to change the values.
- Page 8 4.Icon description: Icon Name Function Brightness Adjust the level of brightness Contrast Adjust the level of contrast Saturation Adjust the level of saturation Tint Adjust the tint of image OSD H-Position Adjust the on-screen-display horizontally OSD V-Position Adjust the on-screen-display vertically Reset Select “Yes”...
-
Page 9: Accessories
5. Accessories 1. Remote control 1 piece 2. 12V DC adapter 1 piece 3. User manual 1 piece 4. HDMI cable 1 piece (Optional) 6. MAIN PARAMETERS Panel Size 10.1’’ TFT LCD (16:9) 1024×600 Screen Resolution Brightness 250cd/㎡ 500 : 1 Contrast Viewing Angle 140°/ 110°(H/V) -
Page 10: Troubleshooting
TROUBLE SHOOTING 1. Only black-and-white display: Check whether the color saturation and brightness are properly setup. 2. Power on but no pictures: Check whether the cables of Video, HDMI, DVI (Digital Visual Interface), and/or SDI (optional) are correctly connected. Please use the standard power adapter coming with the product package.
Need help?
Do you have a question about the DELV-SDI10-16x9 and is the answer not in the manual?
Questions and answers