Table of Contents
Advertisement
Quick Links
See also:
User Manual
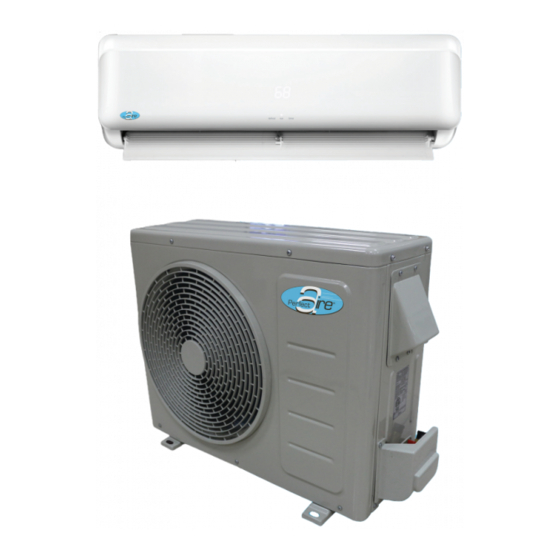
12,000 BTU / 15 SEER QUICK CONNECT
DUCTLESS MINI-SPLIT
With 11,500 BTU Heat Pump
INSTALLATION
MANUAL
FOR MODELS:
1PAMSHQCW12-15
Indoor Wall Unit
1PAMSHQCW12-15
Outdoor Condenser
Before using your air conditioner,
please read this manual carefully
and keep it for future reference,
along with your receipt.
Your Source for Home Comfort
Advertisement
Table of Contents

Related Manuals for Perfect Aire 1PAMSHQCW12-15


Summary of Contents for Perfect Aire 1PAMSHQCW12-15
- Page 1 12,000 BTU / 15 SEER QUICK CONNECT DUCTLESS MINI-SPLIT With 11,500 BTU Heat Pump INSTALLATION MANUAL FOR MODELS: 1PAMSHQCW12-15 Indoor Wall Unit 1PAMSHQCW12-15 Outdoor Condenser Before using your air conditioner, please read this manual carefully and keep it for future reference,...
-
Page 2: Table Of Contents
Contents This manual provides the information needed for proper use and maintenance of this air conditioner. Basic preventative care can help extend the life of this unit. The “Troubleshooting Tips” section in this manual contains a chart with solutions to the most common problems. Referring to this section may save time and prevent the need for a service call in the event of a problem. -
Page 3: Safety Precautions
Safety Precautions To prevent injury to the user or other people and property damage, the following instructions must be followed. Incorrect operation due to ignoring instructions may cause harm or damage. Failure to adhere to each of the following precautions can lead to results classified as follows: WARNING This symbol indicates the possibility of death or serious injury. -
Page 4: Installation Instructions
Installation Instructions Selecting an installation location Please read through the following directions completely before installing. When installing, follow these step by step. Indoor Unit • Do not expose the indoor unit to heat or steam. • Select a place where there are no obstacles in front or around the unit. More than More than •... -
Page 5: Accessories
Installation Instructions (continued) Number Name of Accessory Quantity Installation Plate Clip Anchor 5–8 (depends on model) Self-tapping Screw A ST3.9X25 5–8 (depends on model) Seal Drain Joint Remote Control Self-tapping Screw B ST2.9X10 (optional) Remote Control Holder (optional) Quick connecting refrigerant pipe (line set) Sound deadening pads (used to wrap up the quick connectors) CAUTION... -
Page 6: Indoor Unit Installation
Installation Instructions (continued) Indoor Unit Installation 1. Install the Installation Plate • Fit the installation plate horizontally on structural parts of the wall with space around the installation plate. • If the wall is made of brick, concrete or the like, drill five or eight 5mm/0.197in diameter holes in the wall. Insert Clip anchor for appropriate mounting screws. - Page 7 Installation Instructions (continued) 2. Drill a hole in the wall Wall Outdoor Indoor 1. Determine hole positions according to the diagram detailed in Fig.5. Drill one (1) hole (90mm/3.54in) slanting slightly to outdoor side. 2. Always use wall hole conduit when drilling metal grid, metal plate or the like.
- Page 8 Installation Instructions (continued) Do not smoke during the installation work. The equipment must never be operated without the refrigerant lines connected, otherwise the equipment will be damaged immediately. The screw connections may only be tightened using the appropriate open-ended spanner. Remember that if they are tightened with too little torque they will leak but if they are tightened with too much torque, the screw connections may...
-
Page 9: Indoor Unit Installation
Installation Instructions (continued) Note: Route the package of pipes/hoses in the direction of (rear)right or (rear)left. See Fig.13 . 1.Both sides drainage structure is standard. For both sides drainage structure, it can be choosen for right, left or both sides drainage connection. If choosing both sides drainage connection, another proper drain hose is needed as there is only one drain hose offered by factory. -
Page 10: Outdoor Unit Installation
Installation Instructions (continued) INSTALLATION INSTRUCTIONS Outdoor unit installation Outdoor unit 1. Outdoor installation precaution Refrigerant pipe Select the location for installation(follow the previous Indoor unit notes on selecting the installation place). If the outdoor unit is higher than the indoor unit, make sure that a curve is made in the refrigerant pipe which is lower than the bottom edge of the indoor unit. -
Page 11: Refrigerant Pipe Connection
Refrigerant Pipe Connection REFRIGERANT PIPE CONNECTION 4. Connecting the refrigerant pipe to outdoor unit CAUTION: For your safety, always wear goggles and work gloves when connecting the pipes. NOTE: To distinguish the connectors to be connected to the indoor unit and outdoor unit, the connectors of the refrigerant pipe has been labeled A, B, C &... - Page 12 Refrigerant Pipe Connetion (continued) REFRIGERANT PIPE CONNECTION Coupl ing size (last 2 part numb ers) Pound -force foot(1 bf-ft) Newto n meter (N-m) Kilogr am-fo rce meter (kgf-m ) -06(9.5mm/3/8 dash size) 18 - 20 24.4 - 27.1 2.4 - 2.7 40.6 - 47.4 -08(12.7mm/1/2 dash size) 30 - 35...
-
Page 13: Electrical Work
Electrical Work ELECTRICAL WORK CAUTION CAUTION CAUTION CAUTION After the confirmation of the above conditions, prepare the wiring as follows: 1) Never fail to have an individual power circuit specifically for the air conditioner. As for the method of wiring, be guided by the circuit diagram posted on the inside of control cover. - Page 14 Electrical Work (continued) ELECTRICAL WORK Front Panel Connect the cable to the indoor unit Electronic box NOTE: Before performing any electrical cover work, turn off the main power to the system. 1. The inside and outside connecting cable can be connected without removing the front grille.
-
Page 15: Test Running
Test Running TEST RUNNING Terminal block of outdoor unit 1(L) 2(N) S L1 L2 L1 L2 L1 L2 L1 L2 To indoor unit To indoor unit To power supply To power supply To indoor unit To power supply Model A Model B Fig.27 Test running... - Page 16 Your Source for Home Comfort Distributed by: Perfect Aire, LLC 5151 Belt Line Rd. Suite 878 Dallas, TX 75254 877-365-6274 www.perfectaire.us Specification and performance data is subject to change without notice. Printed in China...
Need help?
Do you have a question about the 1PAMSHQCW12-15 and is the answer not in the manual?
Questions and answers