Table of Contents
Advertisement
Before using your air conditioner, please read
This manual carefully and keep it for future reference along with your receipt.
INVERTER SINGLE ZONE
SPLIT-TYPE AIR
CONDITIONER
Read This Manual
This manual provides the information needed for
proper use and maintenance of this air conditioner.
Basic preventive care can help extend the life of
this unit. The "Troubleshooting Tips" contains a
chart with solutions to the most common problems.
Referring to this section may save time and prevent
the need for a service call in the event of a problem.
Advertisement
Table of Contents

Related Manuals for Perfect Aire 1PAMSH09-SZW-14.5


Summary of Contents for Perfect Aire 1PAMSH09-SZW-14.5
- Page 1 Before using your air conditioner, please read This manual carefully and keep it for future reference along with your receipt. INVERTER SINGLE ZONE SPLIT-TYPE AIR CONDITIONER Read This Manual This manual provides the information needed for proper use and maintenance of this air conditioner. Basic preventive care can help extend the life of this unit.
-
Page 2: Table Of Contents
CONTENTS SAFETY PRECAUTIONS Warning ..........................2 Caution ...........................3 OPERATING INSTRUCTIONS Parts names ...........................4 Special functions ........................5 Operating temperature......................6 Manual operation ........................6 Airflow direction control ......................7 How the air conditioner works ....................8 CARE AND MAINTENANCE Care and maintenance ......................9 OPERATION TIPS Operation tips ........................11 TROUBLESHOOTING TIPS Troubleshooting tips ......................13 CAUTION... -
Page 3: Safety Precautions
SAFETY PRECAUTIONS To prevent injury to the user or other people and property damage, the following instructions must be followed. Incorrect operation due to ignoring of instructions may cause harm or damage. The seriousness is classified by the following indications. This symbol indicates the possibility of death or serious injury. -
Page 4: Caution
SAFETY PRECAUTIONS CAUTION Ensure proper ventalation, When the air filter is to be Do not put objects like thin especially in rooms with removed, do not touch the rods into the panel of blower a stove or other appliance metal parts of the unit. and suction side. -
Page 5: Operating Instructions
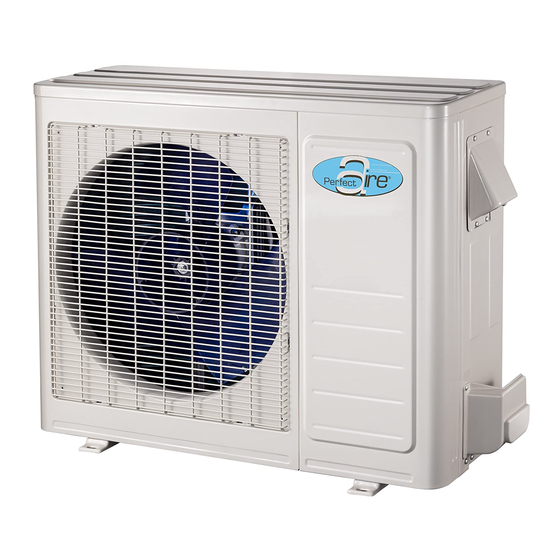
OPERATING INSTRUCTIONS Indoor unit 1. Front panel 2. Air inlet 3. Air filter 4. Air outlet 5. Horizontal air flow grill 6. Vertical air flow louver (inside) 7. Display panel NOTE: The actual shape of the indoor unit you purchased may be slightly different on front panel and display window. -
Page 6: Special Functions
OPERATING INSTRUCTIONS Special functions Refrigerant Leakage Detection With this new technology, the display area will appear EC and the indication lamps continue flashing when the outdoor unit detects refrigerant leakage. Louver Angle Memory Function (optional): Within the scope of safety angle, it will memorize the open angle of the horizontal louver. If it is exceeded, it will memorize the boundry of safety angle. -
Page 7: Operating Temperature
OPERATING INSTRUCTIONS NOTE: This manual does not include Remote Control Operations, see the <<Remote Control Instruction>> packed with the unit for details. Operating temperature Mode Cooling operation Heating operation Drying operation Temperature Room temperature 86ºF(30ºC) 50ºF(10ºC) 62ºF(17ºC) 32ºF~122ºF (0ºC~50ºC) 5ºF~86ºF 32ºF~122ºF Outdoor temperature (-15ºC~30ºC) -
Page 8: Airflow Direction Control
OPERATING INSTRUCTIONS Airflow direction control Adjust the air flow direction properly otherwise it may cause discomfort or cause uneven room temperatures. Adjust the horizontal louver using the remote control. Adjust the vertical louver manually. To set the vertical air flow (Up--Down) direction Range Perform this function while the unit is in operation. -
Page 9: How The Air Conditioner Works
OPERATING INSTRUCTIONS How the air conditioner works AUTO operation When you set the air conditioner in “AUTO” mode, it will SLEEP operation automatically select cooling, heating (cooling/heating 7 hours timer off models only), or fan only operation depending on set temperature and the room temperature. -
Page 10: Care And Maintenance
CARE AND MAINTENANCE Care and Maintenance Cleaning the Grill, Case and Remote Control Turn the system off before cleaning. To clean, wipe with a soft, dry cloth. Do not use bleach or abrasives. NOTE: Power supply must be disconnectd before cleaning the indoor unit. - Page 11 CARE AND MAINTENANCE 4. Remove the Air Freshening Filter from its supporting frame (on some models). Clean the air freshening filter at least once a month, and replace it every 4-5 months. Clean it with a vacuum cleaner, then dry it in a cool place.
-
Page 12: Operation Tips
OPERATION TIPS The following events may occur during normal operation. 1. Protection of the air conditioner. Compressor protection The compressor can't restart for 3 minutes after it stops. Anti-cold air (Cooling and heating models only) The unit is designed not to blow cold air in “HEAT” mode, when the indoor heat exchanger is in one of the following three situations and the set temperature has not been reached. - Page 13 OPERATION TIPS 8. Dripping water may generate on the surface of the indoor unit when cooling in a high relative humidity (relative humidity higher than 80%). Adjust the horizontal louver to the maximum air outlet position and select HIGH fan speed. 9.
-
Page 14: Troubleshooting Tips
TROUBLESHOOTING TIPS Troubleshooting Tips If one of the following faults occurs, stop the air conditioner immediately, disconnect the power and then connect it in again. If the problem still exists, disconnect the power and contact the nearest authorized customer service center. OPERATION indicator or other indicators continue flashing. - Page 16 The design and specifications are subject to change without prior notice for product improvement. Consult with the sales agency or manufacturer for details. 2020323B3335...
Need help?
Do you have a question about the 1PAMSH09-SZW-14.5 and is the answer not in the manual?
Questions and answers