
Related Manuals for York Fitness Diamond R301 Rower


Summary of Contents for York Fitness Diamond R301 Rower
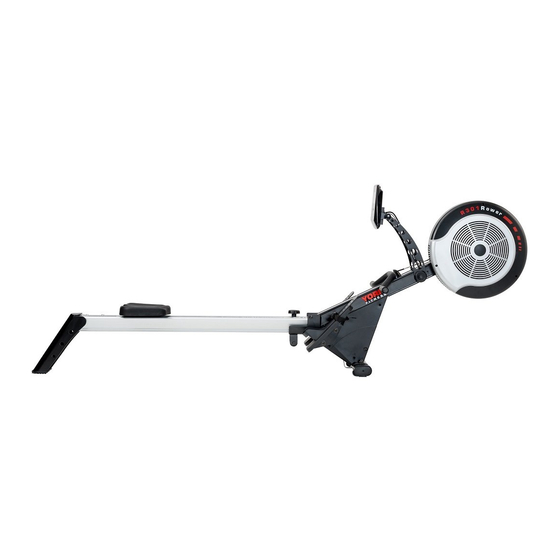
- Page 1 O W N E R ’ S G U I D E Diamond R301 Rower 07/30/2009 W W W . Y O R K F I T N E S S . C O M...
-
Page 2: Safety Information
York Fitness reserves the right to change the The safety precautions noted below are intended to specifications of the hardware and software described instruct you in the safe and correct operation of the herein at any time without prior notice. -
Page 3: Customer Support
CUStomer SUPPort contact information pLEaSE rEtain York Fitness U.K. Ltd. (England) We suggest you record the serial, original purchase date, and place of purchase below: York Way, Daventry, Northants, NN11 4YB, England Tel: (01327) 701800 Help desk Tel: (01327) 701824... -
Page 4: Table Of Contents
taBLe of ContentS Thank you for choosing tabLE of contEntS Safety Information ........02 • Safety Precautions ......... 02 • Disclaimer ............02 • Equipment Safety ........... 02 • Fitness Precautions ........02 • Exercise Safety ..........02 • Max. User Weight ........... -
Page 5: Assembly Instructions
aSSemBLy InStrUCtIonS gEtting StartED Place all parts from the box in a cleared area and position them on the floor in front of you. Remove all packing materials from your area and place them back into the box. Do not dispose of the packing materials until assembly is completed. Read each step carefully before beginning. -
Page 6: Assembly Instructions
aSSemBLy InStrUCtIonS StEp 1 Part No. 11 x 2 PLASTIC BOLT CAP Keep the poly-foam block as packed on the front end of main frame when you remove it from the Part No. 12 x 2 carton, it will keep the main frame stable and avoid NYLOCK NUT damage during the assembly procedure. - Page 7 aSSemBLy InStrUCtIonS StEp 3 Part No. 47 x 2 20MM ALLEN HEAD BOLT Ask someone to help you hold the seat carriage out of the way, and connect the computer wires as Part No. 9 x 2 shown - make sure it is fully connected. SPRING WASHER Slide the seat track over the mounting support carefully and secure in position by using 2 x allen...
- Page 8 aSSemBLy InStrUCtIonS StEp 5 Ask someone to help you hold the seat track still. Slide the rear stabilizer onto the seat track carefully and secure in position by using 2 x carriage bolts, flat washers and nyloc cap nuts as shown. make sure the bolts are fully tightened with the nut driver tool.
- Page 9 aSSemBLy InStrUCtIonS StEp 7 Part No. 47 x 4 20MM ALLEN HEAD BOLT Slide the pedal pivot rods through the main frame holes until an equal amount of the rods protrude Part No. 35 x 4 from each side. FLAT WASHER Slide the spacers and pedal assemblies onto the pivot rods from both ends and secure, using 4 x Part No.
- Page 10 aSSemBLy InStrUCtIonS StEp 9 Pull and slide the handlebar and pass through the console fixing plates carefully as shown. Rotate the handlebar and rest onto the handlebar holder in position.
-
Page 11: Final Check
aSSemBLy InStrUCtIonS finaL chEcK Your r301 rower is now assembled. Please make the following final checks: • Make sure all screws / bolts are tightened. • Make sure the equipment is on a flat, level surface. battEry rEpLacEmEnt Diagram 1 inStructionS: Open the battery compartment cover (Diagram 1). -
Page 12: Operation Instructions
oPeratIon InStrUCtIonS conSoLE DiSpLay anD fEEDbacK displaY description The user age has been set. program The number of the selected pre-set program (P1 - P8). min. ~ max. Displays the resistance level in manual mode. Target heart rate frequency has been set. scan Automatically scans through the feedback modes, each being displayed for 5 seconds. -
Page 13: Using Workout Programs
oPeratIon InStrUCtIonS uSing WorKout programS When you turn the power on it will enter the main display mode, waiting for you to select a program and begin your workout. displaY description Quick start Press the “Display Mode” button to activate the computer console. Begin rowing. -
Page 14: Storage
oPeratIon InStrUCtIonS ... Continued from previous page displaY description target program You can choose to workout by setting a target based on pulse rate, calories burned, distance travelled, time or the strokes rowed you want to achieve. When you reach your target the rower will sound a short alarm. Set to your desired program as described previously, but before pressing “Set”... -
Page 15: Adjusting The Resistance
oPeratIon InStrUCtIonS aDjuSting thE rESiStancE This rower features a speed independent braking (resistance) system. The resistance is controlled by a magnet, which is moved closer or further away from the fan wheel - the closer the magnet is to the fan wheel the higher the resistance. -
Page 16: Fitness Guide
fItneSS GUIDe ExErciSing With your roWEr Rowing is an extremely effective form of exercise. It strengthens the heart, improves circulation, as well as exercising all the major muscle groups - back, waist, arms, shoulders, hips & legs. alwaYs consult Your doctor before undertaking a new exercise regime. if You experience nausea, diZZiness or other abnormal sYmptoms during exercise, stop at once and consult Your doctor. -
Page 17: Conditioning Guidelines
fItneSS GUIDe conDitioning guiDELinES: How you begin your exercise program depends on your physical condition. If you have been inactive for several years or are out of shape, start slowly and increase your workout gradually. Increase your workout intensity gradually by monitoring your heart rate while you exercise. -
Page 18: Warranty
(b) by the use of parts not manufactured by York Fitness or sold by York Fitness; (c) by modification of the product; (d) as a result of service by anyone else other than York Fitness or an authorized York Fitness warranty service provider. -
Page 19: Part List
Part LISt... -
Page 20: Exploded Drawing
eXPLoDeD DraWInG... - Page 21 eXPLoDeD DraWInG...
- Page 22 note NOTE...
- Page 23 note NOTE...
- Page 24 © 2009 YORK BARBELL...
Need help?
Do you have a question about the Diamond R301 Rower and is the answer not in the manual?
Questions and answers