
Subscribe to Our Youtube Channel
Related Manuals for Interlogix Ultra View UVD-6120VE-2


Summary of Contents for Interlogix Ultra View UVD-6120VE-2
- Page 1 UltraView UVD-6120VE-2 Digital WDR Dome Camera User Manual P/N 1072553A • REV 1.0 • ISS 18JUN12...
- Page 2 Copyright © 2012 UTC Fire & Security. All rights reserved. Trademarks and The TruVision and Interlogix names and logo are trademarks of patents UTC Fire & Security. Other trade names used in this document may be trademarks or registered trademarks of the manufacturers or vendors of the respective products.
-
Page 3: Table Of Contents
Content Product overview 2 Package Contents 2 Features 2 User guidelines 2 Product description 3 OSD control pad 3 Installation 5 Mount the camera 5 Connect the cables 5 Adjust the lens 5 Adjust the focus and zoom 6 Programming 7 Access the Main menu 7 General menu 7 AE/WDR/BLC menu 8... -
Page 4: Product Overview
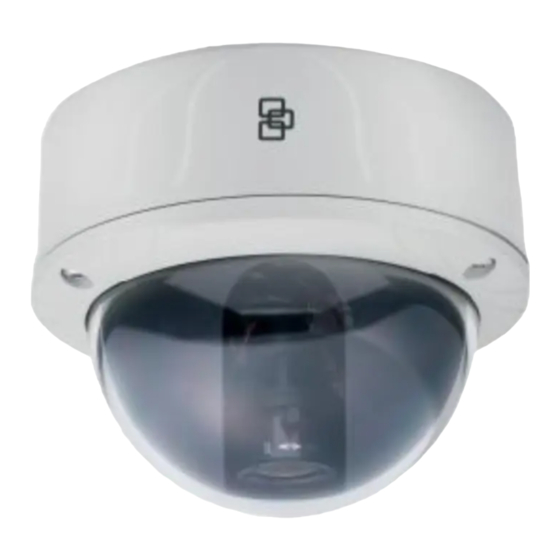
Product overview The UVD-6120VE-2-XX camera uses a digital signal processor (DSP) to process video signals. The camera includes a microcontroller to provide high-quality images with high-color reproduction and sharp pictures. Package Contents The package contains the following: • Dome camera •... -
Page 5: Product Description
• Always use a 12 VDC or 24 VAC UL listed Class 2 power supply to power the camera. • Do not use the camera over the temperature range specifications: - 22 to 122°F (-30 to +50°C). • If the light source where the camera is installed experiences rapid, wide- variations in lighting, the camera may not operate as intended. - Page 6 Figure 2: OSD control pad OSD control pad Table 1: OSD control pad functions Pad directions Description Moves the cursor upward to select an item. Moves the cursor left to select or adjust the options of the selected Left item. Moves the cursor to the right to select or adjust the options of the Right selected item.
-
Page 7: Installation
Installation Please check the package contents and make sure that the device in the package is in good condition and all the assembly parts are included. To install the camera you will need to prepare the mounting surface, mount the camera, make cable connections, adjust the lens and then secure the dome cover securely. -
Page 8: Adjust The Focus And Zoom
Figure 3: Camera adjustment Platform horizontal adjustment (0 to 180°) Platform vertical adjustment (0 to 90°) Rotor horizontal adjustment (0 to 350°) To adjust the lens: See Figure 3 above. 1. To adjust the horizontal angle of the platform up to 180 degrees, turn the platform. -
Page 9: Programming
Programming Access the Main menu The Main menu provides access to the camera configuration options. The on- screen display (OSD) is only available in English. Program the camera by attaching a standard video monitor to the system. Figure 5: The Main menu To access the menus: 1. -
Page 10: Ae/Wdr/Blc Menu
Parameter Description Default option is Off. Digital noise reduction (DNR) improves the image quality in low light levels. When enabled, select the Y and C filter strength: Press Return to return to the previous menu or Exit & Save to save changes and return to live mode. -
Page 11: Wb Mode Menu
WB mode menu White balance (WB) tells the dome camera what the color white looks like. Based on this information, the dome camera will then continue to display all colors correctly even when the color temperature of the scene changes such as from daylight to fluorescent lighting, for example. -
Page 12: Motion Alarm Menu
Table 5: D/N mode menu Menu item Description Auto When set to Auto Day/Night mode, the camera produces high-quality color video during the day or when light levels are high. It then switches to monochrome and removes the infrared filter to improve IR sensitivity at night or when light levels are low. -
Page 13: Privacy Menu
Table 6: Motion alarm menu Menu item Description Motion Detec. When enabled, you can set up four motion detection areas (Labels) on screen. For each label set the following parameters: • Label frame: On/Off • Label color: Blue / Pink / Yellow / Cyan / Coffee / White / Red / Green •... -
Page 14: Picture Adjustment Menu
Table 7: Privacy menu Menu item Description Mask 1 Setup When enabled, you can set up four privacy mask areas on screen. Mask 2 Setup For each mask set the following parameters: • Mask: On/Off Mask 3 Setup • Color: Blue / Pink / Yellow / Cyan / Coffee / White / Red / Green Mask 4 Setup •... -
Page 15: Dimensions
Model UVD-6120VE-2-P / UVD-6120VE-2-N Power consumption Max: 9.6 W (heater on) Operating temperature -30 to +50°C (- 22 to 122°F) Weight 1130 g (2.49 lbs) Dimensions UltraView UVD-6120VE-2 Digital WDR Dome Camera User Manual... -
Page 16: Menu Map
Menu Map UltraView UVD-6120VE-2 Digital WDR Dome Camera User Manual...
Need help?
Do you have a question about the Ultra View UVD-6120VE-2 and is the answer not in the manual?
Questions and answers