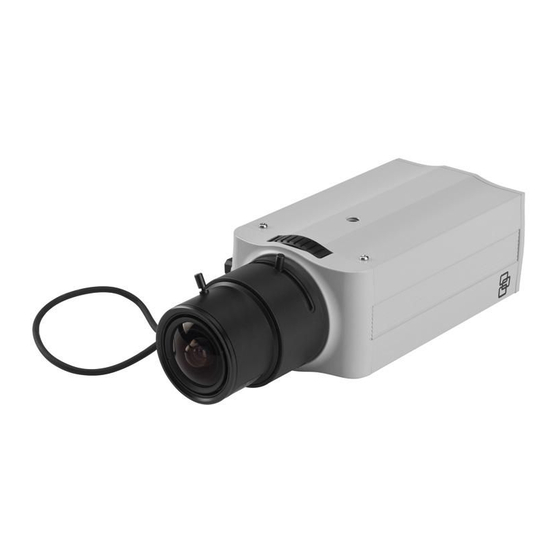
Interlogix UVC-XP4DN-HR Quick Start Manual
Hide thumbs
Also See for UVC-XP4DN-HR:
- Specifications (2 pages) ,
- User manual (10 pages) ,
- User manual (6 pages)
Table of Contents
Advertisement
Quick Links
Download this manual
See also:
User Manual
Advertisement
Table of Contents

Subscribe to Our Youtube Channel
Summary of Contents for Interlogix UVC-XP4DN-HR
- Page 1 UVC-XP4DN-HR(-P) Camera Quick Start Guide P/N 1079203A-EN • REV 1.0 • ISS 20DEC11...
- Page 2 Copyright © 2011 UTC Fire & Security. All rights reserved. Trademarks and Interlogix, and UltraView names and logos are trademarks of UTC Fire & Security. patents Other trade names used in this document may be trademarks or registered trademarks of the manufacturers or vendors of the respective products.
-
Page 3: Table Of Contents
Content Package contents 3 Installation 3 Video connections 4 Set the lens mode 4 Attach the lens 5 Connect power 6 Mount the camera 6 Connect the monitor 7 Programming 7 ... -
Page 4: Video Connections
Video connections Figure 1: Making the video connections 1. Connect a coaxial cable terminated with BNC connectors between the MON OUT connector of the camera and the video in connector on a test or local monitor. 2. Connect a coaxial cable terminated with BNC connectors between the VIDEO OUT connector of the camera and the video in connector on a monitor, multiplexer, switcher, or other standard video device. -
Page 5: Attach The Lens
Note: When the lens mode DIP switch is set to DD, you can use the DD level screw (iris level adjustment) to ensure the correct exposure of images for the camera’s position and the lighting conditions. Use an insulated tool to rotate the screw. Observe the results on the monitor screen for the best setting. -
Page 6: Connect Power
3. If you are using an autoiris lens, insert the autoiris lens plug into the autoiris lens connector. Connect power Caution: Use direct plug-in UL listed power supplies marked Class 2 or LPS (limited power source) of the required output rating as listed on the unit. -
Page 7: Connect The Monitor
Connect the monitor Program the cameras by attaching a standard video monitor to the system. To connect the monitor, do the following: 1. Plug the monitor output cable to the video monitor output connector (see Figure 1 on page 4.) 2. - Page 8 To access and navigate the main menu, press and hold the center button of the OSD (See Figure 5). Use the up or down buttons to move between items, and press the center button to select that item. Use the left and right buttons to select the different options available for the item.
-
Page 9: Specifications
Specifications Electrical Power Input 12 VDC or 24 VAC Power consumption 3W (DC); 2.4 W (AC) Environmental and physical Weight 33.8 oz. (958 g) Dimensions 5.22 x 4.11 in. (133 x 105 mm) Operating temperature -58 to +122°F (-50 to +50°C) Weather resistant IP66 Quick Start Guide... - Page 10 EN 10 Quick Start Guide...
- Page 11 Quick Start Guide 11 EN...
-
Page 12: Menu Map
Menu map EN 12 Quick Start Guide...


Need help?
Do you have a question about the UVC-XP4DN-HR and is the answer not in the manual?
Questions and answers