Table of Contents
Advertisement
Quick Links
Advertisement
Table of Contents

Related Manuals for BK Medical Type 8804


Summary of Contents for BK Medical Type 8804
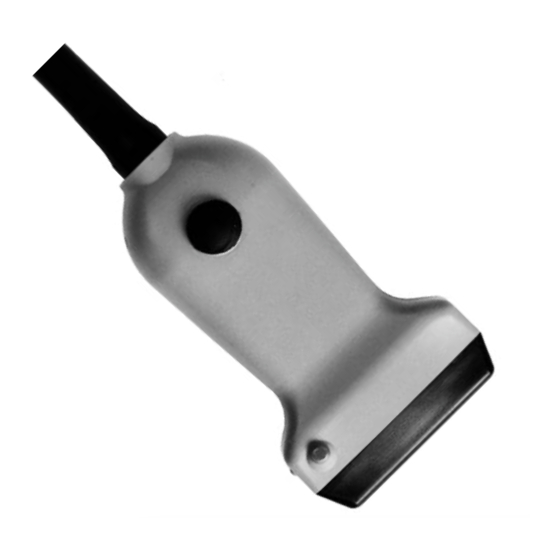
- Page 1 Linear Array Transducer Type 8804 User Guide English BB0336-F August 2006...
- Page 2 WORLD HEADQUARTERS Mileparken 34 DK-2730 Herlev Tel.:+45 44528100 Fax:+45 44528199 www.bkmed.com Email: info@bkmed.dk B-K Medical Customer Satisfaction Input from our customers helps us improve our products and services. As part of our customer satisfaction program, we contact a sample of our customers a few months after they receive their orders.
-
Page 3: Table Of Contents
Linear Array Transducer Type 8804 Introduction Scanning Plane General Information Caring for the Transducer Cleaning and Disinfection Starting Scanning Connecting the Transducer Changing Frequency Using a Transducer Cover Using the Transducer Control Button Changing Orientation Puncture Facilities UA1251 Performing Puncture and Biopsy... -
Page 5: Introduction
Linear Array Transducer Type 8804 Introduction This is the user guide for Linear Array Transducer Type 8804 and must be used together with Transducer Care, Cleaning & Safety which contains important safety information. 8804 is suitable for vascular examinations and a wide range of small part and musculoskel- etal studiesBasic scanning modes and applications for. -
Page 6: Caring For The Transducer
8804 • Cleaning and Disinfection Acoustic output data and data about EMC (electromagnetic compatibility) for this trans- ducer are on the Technical Data CD that accompanies this user guide. A full explanation of acoustic output is given in your scanner user guide. WARNING If at any time the scanner malfunctions, or the image is severely distorted or degraded, or you suspect in any way that the scanner is not functioning correctly:... -
Page 7: Connecting The Transducer
8804 • Starting Scanning Connecting the Transducer WARNING Keep all plugs and sockets absolutely dry at all times. The transducer is connected to the scanner using the array Transducer Socket on the scan- ner. To connect, the transducer plug’s locking lever should first be in a horizontal position. Align the plug to the scanner socket and insert securely. -
Page 8: Changing Orientation
To change the orientation of the image on the monitor, refer to the applicable scanner user guide for instructions. Puncture Facilities Puncture and biopsy is possible with Type 8804. The puncture attachment is illustrated in the following pages with a brief description of its use and operating instructions. WARNING It is essential for the patient’s safety that only the correct puncture attachment is used with... - Page 9 3. Tighten screw C until the needle is held firmly. Fig. 3. Puncture attachment UA1251 All parts of the puncture attachment can be autoclaved or disinfected by immersion in a suitable solution. Fig. 4. Type 8804 with puncture attachment UA1251 mounted...
-
Page 10: Performing Puncture And Biopsy
8804 • Performing Puncture and Biopsy Performing Puncture and Biopsy WARNING It is essential for the patient’s safety that only the correct puncture attachments, as described in this guide, are used. Never use unauthorized combinations of transducers and puncture attachments or other manufacturers puncture attachments. Before beginning a puncture or biopsy procedure, always check that the type number of the transducer and the type number or description of the puncture attachment match exactly those displayed on the scanner monitor. -
Page 11: Cleaning After Puncture And Biopsy
8804 • Disposal Fig. 5. Puncture line for UA1251 with 8804 The transducer and puncture attachment can be removed without disturbing the position of the needle during puncture. Cleaning after Puncture and Biopsy If biological materials are allowed to dry on the transducer or puncture attachments, disin- fection and sterilization processes may not be effective.
Need help?
Do you have a question about the Type 8804 and is the answer not in the manual?
Questions and answers