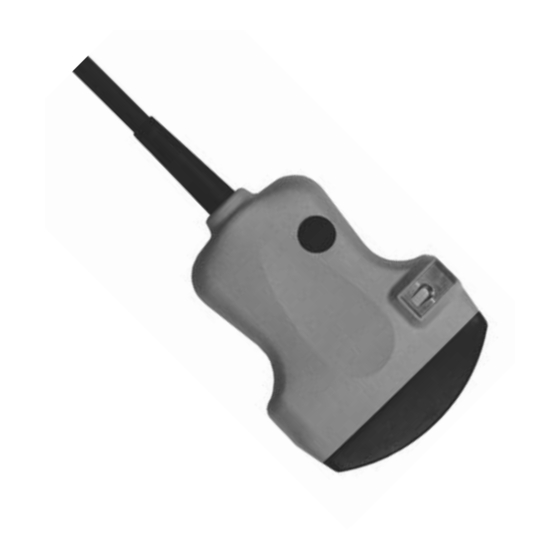
Summary of Contents for BK Medical Type 8565
- Page 1 Convex Array Transducer User Guide Types 8565 and 8665 English BB0616-H August 2006...
- Page 2 If you receive an email message from us asking for your feedback, we hope you will be willing to answer some questions about your experience buying and using our products. Your opinions are important to us. You are of course always welcome to contact us via your BK Medical representative or by contacting us directly.
-
Page 3: Table Of Contents
Convex Array Transducer Types 8565 and 8665 Introduction Scanning Plane General Information Caring for the Transducer Cleaning and Disinfection Starting Scanning Connecting the Transducer Changing Frequency Using a Transducer Cover Using the Transducer Control Button Changing Orientation Puncture Facilities UA0940 UA1217 Performing Puncture and Biopsy Cleaning after Puncture and Biopsy... -
Page 5: Convex Array Transducer Types 8565 And
Convex Array Transducer Types 8565 and 8665 Convex Array Transducer Types 8565 and 8665 Introduction This is the user guide for Convex Array Transducer Types 8565 and 8665 and must be used together with Transducer Care, Cleaning & Safety which contains important safety information. -
Page 6: General Information
8565 and 8665 • General Information General Information Product specifications for this transducer can be found in the Product Data sheet that accompanies this user guide. Acoustic output data and data about EMC (electromagnetic compatibility) for this transducer are on the Technical Data CD that accompanies this user guide. A full explanation of acoustic output is given in your scanner user guide. -
Page 7: Starting Scanning
8565 and 8665 • Starting Scanning Starting Scanning All equipment must be cleaned and disinfected before use. Connecting the Transducer WARNING Keep all plugs and sockets absolutely dry at all times. The transducer is connected to the scanner using the array Transducer Socket on the scanner. -
Page 8: Changing Orientation
8565 and 8665 • Puncture Facilities Changing Orientation To change the orientation of the image on the monitor, refer to the applicable scanner user guide for instructions. Puncture Facilities Puncture and biopsy are possible with Types 8565 and 8665. The puncture attachments are illustrated in the following pages with a brief description of their uses and operating instructions. -
Page 9: Ua1217
Turn the holder clockwise until tight enough to hold the needle firmly. All parts of the puncture attachment can be autoclaved or disinfected by immersion in a suitable solution. Fig. 4. Puncture attachment UA0940 mounted on Type 8565/8665 UA1217 Fig. 5. Puncture attachment UA1217 Puncture attachment UA1217 (see Fig. -
Page 10: Performing Puncture And Biopsy
8565 and 8665 • Performing Puncture and Biopsy The distance from the guide channel entrance of the puncture attachment to the first dot on the scan image puncture line is 65 mm. The distance between the dots is 10mm (see Fig. 6.). All parts of the puncture attachment can be autoclaved or disinfected by immersion in a suitable solution. -
Page 11: Cleaning After Puncture And Biopsy
8565 and 8665 • Disposal Fig. 6. Puncture lines for UA0940 and UA1217 WARNING When performing a biopsy, always make sure that the needle is fully drawn back inside the needle guide before moving the probe. Cleaning after Puncture and Biopsy If biological materials are allowed to dry on the transducer or puncture attachments, disinfection and sterilization processes may not be effective. - Page 12 8565 and 8665 • Disposal WARNING For contaminated disposals such as transducer covers or needle guides, follow disposal control policies established for your office, department or hospital.


Need help?
Do you have a question about the Type 8565 and is the answer not in the manual?
Questions and answers