
Subscribe to Our Youtube Channel
Related Manuals for BK Medical Type 8559-S


Summary of Contents for BK Medical Type 8559-S
- Page 1 Linear Array Transducer User Guide Types 8559-S and 8659 English BB0611-F August 2006...
- Page 2 If you receive an email message from us asking for your feedback, we hope you will be willing to answer some questions about your experience buying and using our products. Your opinions are important to us. You are of course always welcome to contact us via your BK Medical representative or by contacting us directly.
-
Page 3: Table Of Contents
Linear Array Transducer Types 8559-S and 8659 Introduction Scanning Plane General Information Caring for the Transducer Cleaning and Disinfection Starting Scanning Connecting the Transducer Changing Frequency Using a Transducer Cover Changing Orientation Holding the Transducer for Intraoperative Scanning Puncture Facilities Puncture Guide Attachment UA1234 Mounting UA1234 to Transducer Types 8559-S and 8659 Performing Puncture and Biopsy... -
Page 5: Linear Array Transducer Types 8559-S And
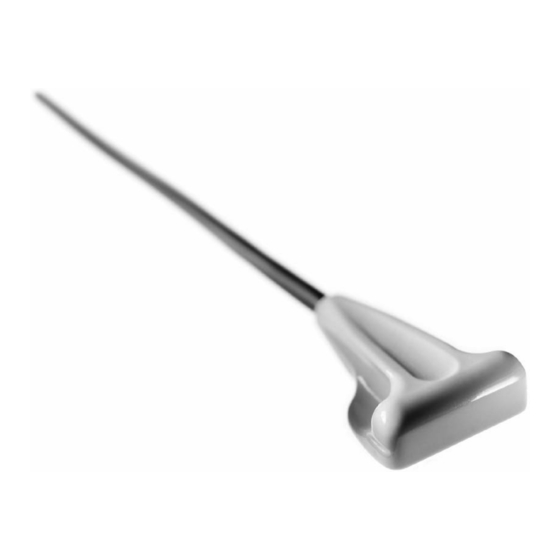
Linear Array Transducer Types 8559-S and 8659 Linear Array Transducer Types 8559-S and 8659 Introduction This is the user guide for the Linear Array Transducer Types 8559-S and 8659, and must be used together with Transducer Care, Cleaning & Safety which contains important safety information. -
Page 6: Caring For The Transducer
8559-S and 8659 • Cleaning and Disinfection WARNING If at any time the scanner malfunctions, or the image is severely distorted or degraded, or you suspect in any way that the scanner is not functioning correctly: • Remove all transducers from contact with the patient. •... -
Page 7: Connecting The Transducer
8559-S and 8659 • Holding the Transducer for Intraoperative Scanning Connecting the Transducer WARNING Keep all plugs and sockets absolutely dry at all times. The transducer is connected to the scanner using the array Transducer Socket on the scan- ner. To connect, the transducer plug’s locking lever should first be in a horizontal position. Align the plug to the scanner socket and insert securely. -
Page 8: Puncture Facilities
8559-S and 8659 • Puncture Facilities Pull the transducer cover over the transducer and irrigate the organ to be scanned with 0.9% sterile physiological saline. When using Types 8559-S and 8659, hold the transducer between two or three fingers (see Fig. -
Page 9: Mounting Ua1234 To Transducer Types 8559-S And 8659
8559-S and 8659 • Puncture Facilities Fig. 4. The puncture attachment UA1234 This plastic puncture attachment (see Fig. 4.) has a needle channel and a slot guide to accommodate different size needles and insertions at different angles. The needle channel guide has an inner diameter of 2.1mm to fit needles up to 14 Gauge. The needle channel guide is angled at 0°... -
Page 10: Performing Puncture And Biopsy
8559-S and 8659 • Performing Puncture and Biopsy needle channel guide needle slot guide Fig. 5. UA1234 mounted on Types 8559-S and 8659 Performing Puncture and Biopsy WARNING It is essential for the patient’s safety that only the correct puncture attachments, as described in this guide, are used. -
Page 11: Cleaning After Puncture And Biopsy
8559-S and 8659 • Using the Needle Channel Guide Move the transducer until the puncture line transects the target. Insert the needle and mon- itor it as it moves along the puncture line to the target. The needle tip echo will be seen as a bright dot on the screen. -
Page 12: Using The Needle Slot Guide
8559-S and 8659 • Disposal The distance from the needle channel entrance of UA1234 to the first dot on the scan image puncture line is 34mm. The distance between the dots is 5mm. The puncture line pattern is shown in Fig. 6. Fig.
Need help?
Do you have a question about the Type 8559-S and is the answer not in the manual?
Questions and answers