
Related Manuals for BK Medical 8824


Summary of Contents for BK Medical 8824
- Page 1 User Guide Type 8824 I and T Shaped Intraoperative Transducer English BB 1823-C For Professional Users Only August 2012...
- Page 2 If you receive an email message from us asking for your feedback, we hope you will be willing to answer some questions about your experience buying and using our products. Your opinions are important to us. You are of course always welcome to contact us via your BK Medical representative or by contacting us directly.
-
Page 3: Table Of Contents
Contents Introduction ............5 Indications for Use . -
Page 5: Introduction
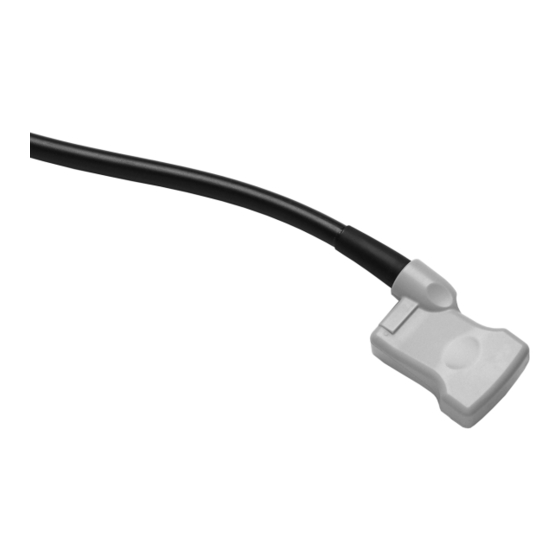
Introduction This is the user guide for I and T Shaped Intraoperative Transducer Type 8824 and must be used together with Care, Cleaning & Safety which contains important safety information. T array I array Figure 1. I and T Shaped Intraoperative Transducer Type 8824 seen from different angles... -
Page 6: General Information
Transverse plane (T array) Sagittal plane (I array) Figure 2. Scanning planes of the 8824 General Information Product specifications for this transducer can be found in the Product Data sheet that accompanies this user guide. Acoustic output data and data about EMC (electromagnetic compatibility) for this transducer are on the Technical Data CD that accompanies this user guide. -
Page 7: Service And Repair
Service and Repair WARNING Service and repair of BK Medical electromedical equipment must be carried out only by the manufacturer or its authorized representatives. BK Medical reserves the right to disclaim all responsibility, including but not limited to responsibility for the operating safety, reliability and performance of equipment serviced or repaired by other parties. -
Page 8: Connecting The Transducer
This improves the screen images by preventing image artifacts caused by air bubbles. Pull the transducer cover over the transducer. WARNING Use only water-soluble agents or gels. Petroleum or mineral oil-based materials may harm the cover material. August 2012 8824 User Guide (BB1823-C) -
Page 9: Changing Orientation
Figure 3. Holding the 8824 for scanning For easier orientation of the transducer and for freehand biopsy, the 8824 has a small indentation on either side of the T array and a small indentation behind the I array, see Fig. -
Page 10: Needle Guide Ua1337
10°, 30° or 50° to the image axis of the 8824. The free-angle inserts are slotted to allow the positioning of the needle at any angle between 10° and 50° to the image axis of the 8824 while making sure that the needle follows the plane of the image. - Page 11 Large temperature changes during storage may cause condensation and violate the integrity of the packaging. Please refer to Care, Cleaning and Safety for an example of how to open a sterile- packed product. 8824 User Guide (BB1823-C) Puncture Facilities...
-
Page 12: Assembling The Needle Guide And Mounting It On The Transducer
Caution Ensure the needle guide is positioned correctly. Carefully insert the needle into the needle channel. Caution Do not let it scrape the inside of the needle channel. August 2012 8824 User Guide (BB1823-C) -
Page 13: Releasing The Needle During Biopsy
See the Product Data sheet for a list of available transducer covers. Press the scanner Puncture or Biopsy control button to superimpose a puncture line on the scan image. 8824 User Guide (BB1823-C) Performing Puncture and Biopsy... -
Page 14: Cleaning After Puncture And Biopsy
See the applicable scanner user guide for further details. WARNING For contaminated disposals such as transducer covers or needle guides, follow disposal control policies established for your office, department or hospital. August 2012 8824 User Guide (BB1823-C)
Need help?
Do you have a question about the 8824 and is the answer not in the manual?
Questions and answers