Subscribe to Our Youtube Channel
Summary of Contents for BK Medical 8567-S
- Page 1 Convex Array Transducer User Guide Types 8567-S and 8667 English BB0889-D August 2006...
- Page 2 If you receive an email message from us asking for your feedback, we hope you will be willing to answer some questions about your experience buying and using our products. Your opinions are important to us. You are of course always welcome to contact us via your BK Medical representative or by contacting us directly.
-
Page 3: Table Of Contents
Convex Array Transducer Types 8567-S and 8667 Introduction Scanning Plane General Information Caring for the Transducer Cleaning and Disinfection Starting Scanning Connecting the Transducer Changing Frequency Using a Transducer Cover Using the Transducer Control Button Changing Orientation Transrectal Scanning Transvaginal Scanning with Ultrasound Scanner 1402... -
Page 5: Introduction
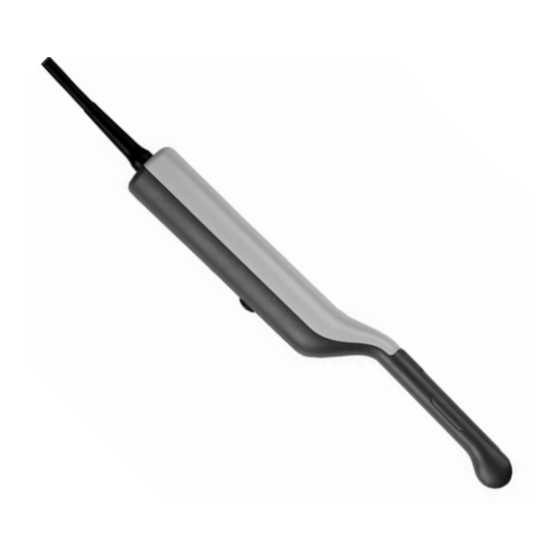
Convex Array Transducer Types 8567-S and 8667 Convex Array Transducer Types 8567-S and 8667 Introduction This is the user guide for Convex Array Transducer Types 8567-S and 8667 and must be used together with Transducer Care, Cleaning & Safety which contains important safety information. -
Page 6: Caring For The Transducer
8567-S and 8667 • Cleaning and Disinfection WARNING Always keep the exposure level (the acoustic output level and the exposure time) as low as possible. Caring for the Transducer The transducer may be damaged during use or processing, so it must be checked before use for cracks or irregularities in the surface. -
Page 7: Changing Frequency
8567-S and 8667 • Starting Scanning Changing Frequency The Multi-Frequency Imaging (MFI) facility enables you to select the scanning frequency. See the applicable scanner user guide for instructions. The selected frequency is displayed at the top of the screen. Using a Transducer Cover The transducer should be enclosed in a transducer cover or a standard condom. -
Page 8: Transrectal Scanning
Smear a small amount of scanning gel over the tip of the transducer cover. This will ease insertion and improve the screen images. Puncture Facilities Transrectal puncture and biopsy are possible with Types 8567-S and 8667. The puncture attachment is illustrated in the following pages with a brief description of its use and operating instructions. - Page 9 The needle guide is angled 0° towards the long axis of the transducer (i.e. towards the mid- axis of the scan image with Types 8567-S and 8667). The distance from the entrance to the needle guide and the first puncture line dot on the scan image is 126mm as shown in Fig. 6.
-
Page 10: Performing Puncture And Biopsy
Magnum reusable biopsy gun, which is an optional accessory with Transducer Types 8567-S and 8667. Other biopsy guns can also be used with UA1256 and UA1256-U. If using another biopsy gun, ensure that it can use needles with a minimum length of 16cm. -
Page 11: Cleaning After Puncture And Biopsy
8567-S and 8667 • Disposal Move the transducer until the puncture line transects the target. Insert the needle and monitor it as it moves along the puncture line to the target. The needle tip echo will be seen as a bright dot on the screen.


Need help?
Do you have a question about the 8567-S and is the answer not in the manual?
Questions and answers