Table of Contents
Advertisement
Quick Links
Advertisement
Table of Contents

Related Manuals for Insportline IN 6938


Summary of Contents for Insportline IN 6938
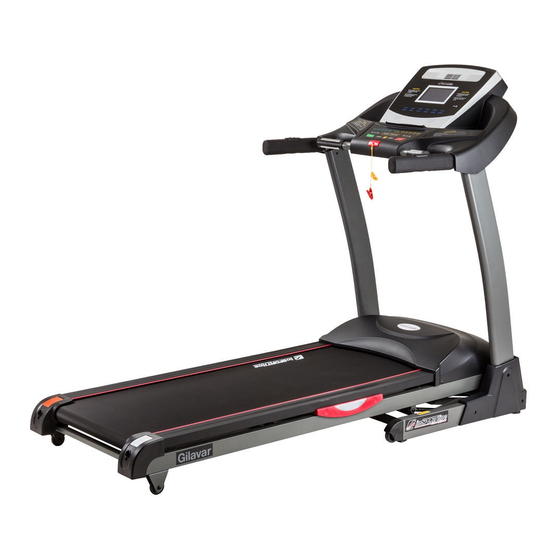
- Page 1 USER MANUAL – EN IN 6938 Treadmill inSPORTline Gilavar...
-
Page 2: Table Of Contents
CONTENTS TIPS FOR SAFETY ..............................3 Special Tips for Safety ............................3 PACKING DETAILS ............................. 4 EXPLODED VIEW ..............................5 LIST OF COMPONENTS ............................5 TREADMILL STRUCTURE ..........................7 INSTALLATION SKETCH ........................... 7 USE ..................................8 Safety key:................................8 Folding & Unfolding ............................9 INSTRUCTION FOR CONSOLE ........................ -
Page 3: Tips For Safety
Special tips: Before installation and operation, please read this operation manual carefully and save this manual for future reference. TIPS FOR SAFETY We have considered more for safety when we design and produce this item. However, in case of any unhappiness, please pay attention to these tips. -
Page 4: Packing Details
Don’t let power wire touch roller, and also don’t put power wire on the running belt. Don’t use • damaged plug. Before cleaning, moving and maintaining the machine, please pull off the plug for the socket. • Warning: If don’t pull off, it will cause injury or damage for the machine. PACKING DETAILS Warning: Carefully install the product, avoid to make any damage. -
Page 5: Exploded View
EXPLODED VIEW These are all the components used in installation. All components are listed in the following form. LIST OF COMPONENTS Component Quantity Component Quantity Base frame Bumper frame Rubber wheel Left pillar accessory Square tube plug Right pillar accessory Upper cover of meter Dashboard frame Meter panel... - Page 6 Incline motor Button paster Motor Speaker PCB for console Front roller Back roller Upper communication line Pressure stick Lower communication line Multislot belt Green connecting line Power switch Red connecting line Overload protector Power wire Running belt Red connecting line Running board Sensor wire Motor cover...
-
Page 7: Treadmill Structure
TREADMILL STRUCTURE INSTALLATION SKETCH Step 1: Put meter on the meter tube. a) Use 2 pcs of Screw M8*20 with 2 pcs of washer to solid the meter tube. (Don’t fasten screw at first). b) Use 2 pcs of Screw M8*60 with 2 pcs of washer, 2 pcs of nut to solid the meter tube. (Don’t fasten screw at first). -
Page 8: Use
d) After the machine is power on, push “Start”, if everything goes well, then fasten screws mentioned in front steps. : : : : Step 2 D isassemble connecting screw for base frame Step 3: Install decorating cover at base Use 6 pcs of Screw ST4.2*15 to solid left and right decorating cover at base. -
Page 9: Folding & Unfolding
Folding & Unfolding Folding: Folding will help to save space. Before folding, please switch off and pull off the plug. Use your hand to lift the running board until it has been locked. Unfolding: Step on the supporting tube and pull running board with your hands. The running board will fall to the ground slowly. -
Page 10: Instruction For Console
INSTRUCTION FOR CONSOLE Tech info Time 00:00-99:59 Min Speed 1.0-22.0 km/h Incline 0-22% Distance 0.00-99.9 km Calorie 0-999 KCAL Heart rate 50-200 / Min Preset program P1-P99 Program User-defined program U1.U2.U3... - Page 11 HR1—HR3 Panel Keys and Function: START Key: Press "Start " Key, there will be 3 seconds countdown displayed on the window ! After countdown, the machine will run at the speed of 1.0km/h. STOP Key: Under running condition, press “stop” key, it will slow down then stop.
- Page 12 INCLINE direct key Use these keys, you could set incline for , , , 1 2%, 15% directly. Use this key to turn on or turn off the fan. DISPLAYED WINDOW Display program picture Display sexuality (Left: boy. Right: girl) :...
-
Page 13: Detailed Instructions
: D isplay number of turns ; F AT% : D isplay specific data : D isplay calorie ; PULSE : d isplay heart rate (when you put your hands on pulse for 5-8 seconds) Detailed Instructions Quick start (for manual mode) Turn on power switch, Put safe key in the right position. - Page 14 “SPEED+” 、 “SPEED-” to set speed, “INCLINE△” 、 “ INCLINE ▽ ” to set incline. After setting, press “MODE” key to finish one part and come into next part. After finishing setting for 16 parts, press “start” to start the machine. User-defined program will be kept in the machine forever unless you reset them. These data can’t be lost even outage.
-
Page 15: Maintenance
is to 4 km/h. During these time, you could also press “STOP” key or pull up the safety key to stop the machine.on the window. HRC Parameters and Setting range: Exercise time( Minutes) 22:00 22:00 22:00 System default age Default heart rate 150RPM 160RPM 170RPM... - Page 16 Loosen the running belt (Diagram 2) Tighten the running belt (Diagram 1) The adjustment steps for running belt deflection The running belt will be deflected more or less under using. Then it needs to be adjusted. The steps are as follows: a) Place the treadmill on a horizontal floor, turn the speed to be 6 km/h for running.
-
Page 17: Cleaning
CLEANING a) Please power off and pull the plug out before cleaning. b) Wipe out the dust stuck on the surface and running board frequently. c) Please clean the surface of frame and running belt with a soft cloth dipped with suds, don’t use things like eradicator and naphtha.(After cleaning, please dry it for use) d) Please take the protecting cover off every two month, use vacuum dust-collector to suck the dust remaining inside of the protecting cover.(The dust will make the components of circuitry board short... -
Page 18: Incline Motor
Displayed E01 on the screen The PCB and lower Remove the motor cover and check the communication line are not lower communication line, make sure that connected well PCB and lower communication line are connected well Displayed E02 on the screen The treadmill started with a very Check the power voltage, if it is below 50% fast speed...
Need help?
Do you have a question about the IN 6938 and is the answer not in the manual?
Questions and answers