Premier Mounts PTM-B Installation Instructions Manual
Tilt/pivot mount
Hide thumbs
Also See for PTM-B:
- Specifications (2 pages) ,
- Installation instructions manual (14 pages) ,
- Installation instructions manual (13 pages)

Related Manuals for Premier Mounts PTM-B


Summary of Contents for Premier Mounts PTM-B
- Page 1 Installation Instructions PTM-B Tilt/Pivot Mount Premier Mounts 3130 E. Miraloma Avenue Anaheim, CA 92806 Phone: (800) 368-9700 Fax: (800) 832-4888 techsupport@mounts.com www.mounts.com IN-PTMB.R0...
-
Page 2: Table Of Contents
Warranty Limited Lifetime Warranty All Premier Mounts products carry a limited lifetime warranty from ship date against defects in materials and workmanship. Premier Mounts is not liable for improper installation that results in damage to mounts, adapters, display equipment or personal injury. -
Page 3: Warning Statements
Recommended mounting surfaces: wooden studs and solid-flat concrete. If the mount is to be installed on any sur- face other than wooden studs, use suitable hardware (which is commercially available). Contact Premier Mounts with any technical/ installation questions. Installation Instructions... -
Page 4: Parts List
This mount is shipped with all installation hardware and components. Make sure that none NOTE: of these parts are missing and/ or damaged before beginning installation. If there are parts missing and/or damaged, please stop and contact Premier Mounts - (800) 368-9700. Mounting Backplate (Qty 1) Tilt/Pivot Mount (Qty 1) #14 x 2”Wood... -
Page 5: Wood Stud Installation
PTM-B Wood Stud Installation Determine where Once the stud has been located, mount location will be. use a pencil to mark the center of Use a stud finder to locate the stud. the nearest wall stud. Use the level (supplied) to make sure the backplate is level from top to bot- tom. -
Page 6: Ptm-B Installation
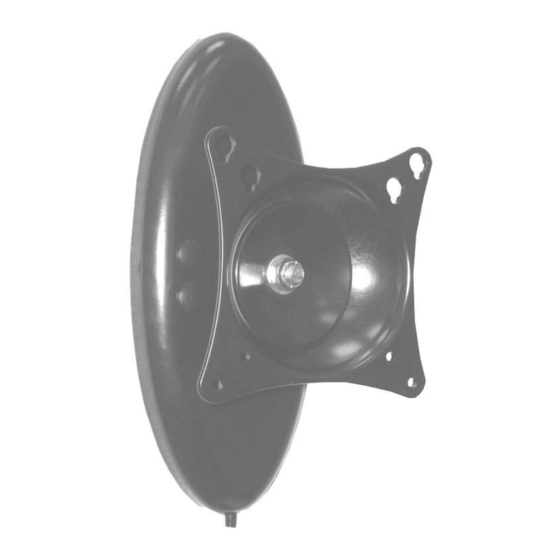
PTM-B PTM Installation PTM Tension Adjustment 1. The reverse side of the mount must be mounted to the back To adjust the tension of the PTM, use plate that is attached to the wall. The back of the mount the 14mm socket and Allen Wrench. -
Page 7: Attaching The Display
M4 x 5mm Phillips Head Screws For the PTM-B, it is suggested that the mount and adapter plate be attached to the Use six (6) M4 x 10mm screws to attach the plate to the display while the display is on the ground. -
Page 8: Technical Specifications
PTM-B Technical Specifications All measurements in inches/(mm). AUSTRALIA, NEW ZEALAND, NORTH AMERICA EUROPE OCEANIA (DISTRIBUTOR) Swallow House, 3130 E. Miraloma Ave. P.O. Box 295 Shilton Industrial Estate, Anaheim, CA 92806 USA Mordialloc Victoria 3195 Shilton, Coventry, England USA and Canada -...
Need help?
Do you have a question about the PTM-B and is the answer not in the manual?
Questions and answers