Table of Contents
Advertisement
Quick Links
Advertisement
Table of Contents

Subscribe to Our Youtube Channel
Related Manuals for moon Neo 340i


Summary of Contents for moon Neo 340i
- Page 1 Owner’s Manual Series 340i Integrated Amplifier...
-
Page 2: Important Safety Instructions
340i Integrated Amplifier Important Safety Instructions Read these instructions. Keep these instructions. Heed all warnings. Follow all instructions. Do not use this apparatus near water. Clean only with a dry cloth. Do not block ventilation openings. Install in accordance with the manufacturer’s instructions. Do not install near any heat sources such as radiators, heat registers, stoves or another apparatus that produces heat. - Page 3 To prevent shock hazard, all three connections must ALWAYS be used. Connect the MOON 340i only to an AC source of the proper voltage; Both the shipping box and rear panel serial number label will indicate the correct voltage. Use of any other voltage will likely damage the unit and void the warranty AC extension cords are NOT recommended for use with this product.
-
Page 4: Table Of Contents
340i Integrated Amplifier Table of Contents Introduction ............ 5 Unpacking ............6 Installation & Placement ........6 Front Panel Controls ......... 7 Optional Digital Inputs ........7 Optional Phono Section ........9 Optional Balanced Inputs ........ 11 Rear Panel Connections ........11 SimLink™... -
Page 5: Introduction
Simaudio has made its reputation. We have spared no effort to ensure that it is among the finest integrated amplifiers available. We have been building high-performance audio equipment for over 30 years, and the know-how gained through our cumulative experience is an important reason why MOON Integrated amplifiers are so musically satisfying. -
Page 6: Unpacking
340i Integrated Amplifier Unpacking The Nēo 340i Integrated Amplifier is heavy component and should be removed from its box with care. We strongly advise that you seek another person to help lift the amplifier out of its box, and place it in its final location. The following accessories should be included inside the box with your amplifier: AC power cable ‘CRM-2’... -
Page 7: Front Panel Controls
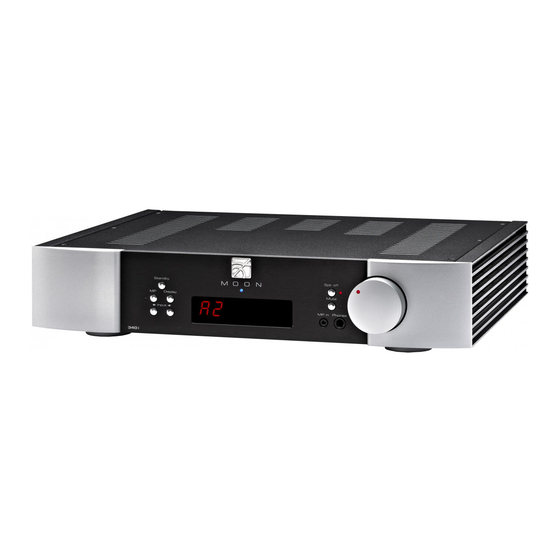
340i Integrated Amplifier Front Panel Controls Figure 1: Nēo 340i Front panel The front panel will look similar to Figure 1 (above). The large display window indicates the selected input source. If your Nēo 340i includes the digital input option, additional information will appear in the display window. Refer to the section entitled “Optional Digital Inputs”... -
Page 8: Optional Digital Inputs
340i Integrated Amplifier Front Panel Controls (Cont’d) ‘pass-through’ The “A2” input can be configured as a which bypasses the 340i’s gain control section, allowing you to control the gain setting via the connected source component’s own volume control – a home theater processor for example; ‘pass-through’... -
Page 9: Optional Phono Section
Optional Phono Section The Nēo 340i Integrated Amplifier features an optional MC/MM phono section that may be installed only by your MOON Authorized Dealer or at the Simaudio factory. This phono card is a very high quality design, providing adjustments for both capacitance and resisitance loading, as well as gain level. -
Page 10: Internal Settings
(Cont’d) Internal Settings We strongly recommend that you ask your MOON Authorized Dealer to make these adjustements. If you decide to do this on your own, any damage cause to this component, including from static discharge, will not be covered under warranty. -
Page 11: Optional Balanced Inputs
340i Integrated Amplifier Optional Balanced Input The balanced input option provides for one additional line-level input on an XLR connector. The “B1” input uses a fully balanced differential circuit and is intended for use with a source component that outputs a fully balanced differential signal. The Nēo 340i optional balanced input takes full advantage of the benefits of balanced circuitry: When using an unbalanced interconnect, the audio signal runs through both the center wire and the shield/ground wire. -
Page 12: Simlink
AC outlet and avoid using an extension cord. If you have the time and willingness, consider installing a superior quality AC wall outlet such as a hospital grade Hubbell*. * Please speak with your MOON Authorized Retailer about the benefits of high quality cables for your system, and superior quality AC wall outlet. -
Page 13: Operating The 340I
340i requires several hours of operation before reaching optimal performance after powering it up again. Turning on your MOON 340i for the first time Prior to turning the amplifier on for the first time, make sure that every cable is properly connected to avoid any problems. -
Page 14: Remote Operation
The Nēo 340i Integrated Amplifier uses the ‘CRM-2’ full-function remote control (figure 7). It operates on the Philips RC-5 communication protocol and is can be used with other Simaudio MOON components. The ‘CRM-2’ remote uses two AA batteries (included). To install them, simply slide the back plate off in the direction of the arrow;... -
Page 15: Specifications
340i Integrated Amplifier Specifications Configuration ............Stereo Power Supply Transformer ........400VA Power Supply Capacitance ........40,000µF Class Of Operation - Amplifier ........Class A/B Single-ended inputs ..........4 (RCA) Mini-jack input ............1 (1/8”) Optional Balanced inputs ......... 1 (XLR) Input Sensitivity ............. - Page 16 340i Integrated Amplifier Specifications (cont’d) Optional Digital-to-Analog Converter: Digital Input Types ..........S/PDIF (RCA) x 2 USB x 1 TosLink x 1 Digital Input Impedance (S/PDIF) ......75 ohms @ 0.5 Volts DAC / Digital Filter ........... BurrBrown PCM1793 Bit-depth range ............16 - 24 bits Sampling Frequency Rates ........
Need help?
Do you have a question about the Neo 340i and is the answer not in the manual?
Questions and answers