Table of Contents
Advertisement
Quick Links
Advertisement
Table of Contents

Related Manuals for moon 400M


Summary of Contents for moon 400M
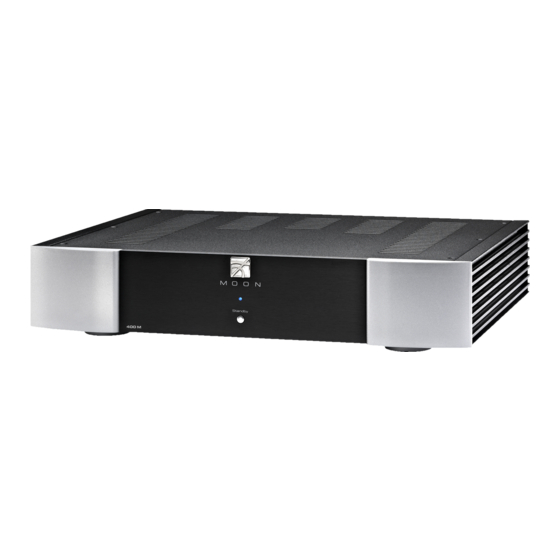
- Page 1 Owner’s Manual Series 400M Mono Power Amplifier...
-
Page 3: Important Safety Instructions
400M Power Amplifier Important Safety Instructions Read these instructions. Keep these instructions. Heed all warnings. Follow all instructions. Do not use this apparatus near water. Clean only with a dry cloth. Do not block ventilation openings. Install in accordance with the manufacturer’s instructions. - Page 4 To prevent shock hazard, all three connections must ALWAYS be used. Connect the MOON 400M only to an AC source of the proper voltage; Both the shipping box and rear panel serial number label will indicate the correct voltage. Use of any other voltage will likely damage the unit and void the warranty AC extension cords are NOT recommended for use with this product.
-
Page 5: Table Of Contents
Table of Contents Introduction ............ 6 Unpacking............7 Installation & Placement ........7 Rear Panel Layout ..........8 Connecting the 400M ........9 Balanced Operation .......... 9 Operating the 400M ........10 Remote Operation .......... 11 Specifications ..........12 www.simaudio.com Simaudio Ltd., 1345 Newton Road... -
Page 6: Introduction
Your Nēo 400M Mono Power Amplifier incorporates many significant design features to achieve its “world-class” level of performance. This is an abbreviated list of the more important features: Proprietary “Advanced Rennaisance” Technology A high damping factor which yields superior musical which eliminates feedback. -
Page 7: Unpacking
(USA and Canada only) Once the Nēo 400M is unpacked, inspect it thoroughly and report any damage to your dealer immediately. We suggest that you keep all of the original packaging, storing it in a safe, dry place in case you’re required to transport this product. -
Page 8: Rear Panel Layout
400M Power Amplifier Rear Panel Layout Figure 1: Rear panel of Nēo 400M Mono Power Amplifier The rear panel will look similar to Figure 1 (above). first remove the factory installed “dummy” Each channel has one balanced (differential) input XLR jumpers (see figure 2 below) from the back... -
Page 9: Connecting The 400M
AC power cord) will be reproduced by the amplifier amplifier such as the Nēo 400M, any noise picked and heard through the loudspeakers. Conversely, a up by the interconnect will be eliminated since a... -
Page 10: Operating The 400M
LED on the front panel will begin to again. If your 400M still doesn’t power up, turn off blink continuously. If your 400M power amplifier the main power switch and check the AC fuse. If the... -
Page 11: Remote Operation
Figure 3: Remote Operation In figure 3 we have a Nēo 350P Preamplifier and a 12V trigger input on the bottom 400M (also using a pair of 400M Amplifiers connected together via their 1/8” mini-jack cable). When you turn on the 350P respective 12V triggers;... -
Page 12: Specifications
Jack......3.5mm microphone jack Input Impedance ..1kΩ Current Consumption ... 12mA NOTE: If you require the RS-232 codes for your Nēo 400M, please contact Simaudio Ltd. directly by either email (service@simaudio.com) or by toll-free telephone (877-980-2400). Fuse Replacement: For the 120V version use a 8A fast blow (3AG size).
Need help?
Do you have a question about the 400M and is the answer not in the manual?
Questions and answers