Sign In
Upload
Download
Table of Contents
Contents
Add to my manuals
Delete from my manuals
Share
URL of this page:
HTML Link:
Bookmark this page
Add
Manual will be automatically added to "My Manuals"
Print this page
×
Bookmark added
×
Added to my manuals
Manuals
Brands
Godex Manuals
Barcode Reader
EZ-1100Plus
User manual
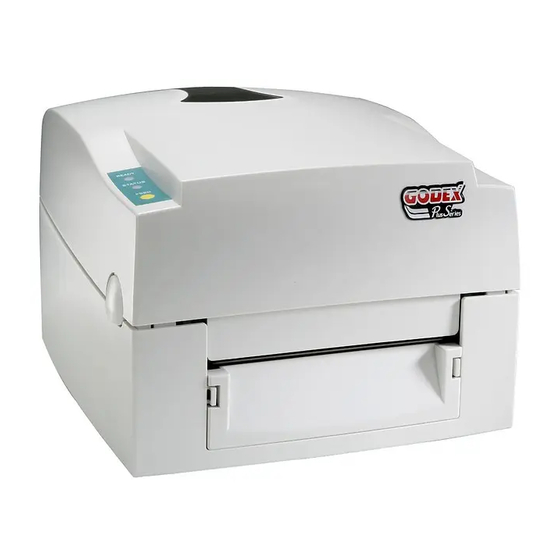
Godex EZ-1100Plus User Manual
Barcode printer
Hide thumbs
1
2
3
4
Table Of Contents
5
6
7
8
9
10
11
12
13
14
15
16
17
18
19
20
21
22
23
24
25
26
27
28
29
30
31
32
33
34
35
36
37
38
39
40
41
42
43
page
of
43
Go
/
43
Contents
Table of Contents
Troubleshooting
Bookmarks
Table of Contents
Safety Instructions
Table of Contents
1 Barcode Printer
Printer Accessories
General Specifications
Communication Interface
Printer Parts
2 Printer Installation
Ribbon Installation
Label Installation
Label Roll Core Installation Instruction
Card / Hang Tags Installation
PC Connection
Driver Installation
3 Accessory
Stripper Module Installation
Cutter Module Installation
Ethernet Module Installation
WLAN Module Installation
CF Card Adapter Installation
CF Card Instruction
4 Printer Setting
FEED Key
LED Status
Auto Sensing
Error Messages
5 Maintenance and Adjustment
Thermal Print Head Cleaning
Thermal Print Head Balance Adjustment
Print Line Adjustment
Adjust the Cutter
Troubleshooting
Appendix
Certifications
Advertisement
Quick Links
1
Ribbon Installation
2
Label Installation
3
Pc Connection
4
Auto Sensing
5
Feed Key
6
Error Messages
7
Troubleshooting
Download this manual
User's Manual
EZ-1000Plus
P/N. 920-012411-03
Rev. A, 08.2009
Table of
Contents
Previous
Page
Next
Page
1
2
3
4
5
Advertisement
Table of Contents
Need help?
Do you have a question about the EZ-1100Plus and is the answer not in the manual?
Ask a question
Questions and answers
Related Manuals for Godex EZ-1100Plus
Printer Godex EZ-1000 PLUS Programmer's Manual
Output solutions ez-1000plus: reference guide (43 pages)
Barcode Reader Godex EZ1000 PLUS User Manual
(37 pages)
Printer Godex EZ-1000 Plus User Manual
Output solutions ez-1000plus: user guide (35 pages)
Barcode Reader Godex EZ2000 Plus User Manual
(64 pages)
Barcode Reader Godex EZ-1105 User Manual
Barcode printer (29 pages)
Barcode Reader Godex EZ1105 User Manual
(27 pages)
Barcode Reader Godex EZPi1000 Series User Manual
(44 pages)
Barcode Reader Godex EZ-1200Plus User Manual
Barcode printer (43 pages)
Barcode Reader Godex EZPi-1000 Series User Manual
(46 pages)
Barcode Reader Godex EZ2050 User Manual
(46 pages)
Barcode Reader Godex EZ2250i User Manual
(67 pages)
Barcode Reader Godex EZ100 Series User Manual
(41 pages)
Barcode Reader Godex RT200i User Manual
Barcode printer (69 pages)
Barcode Reader Godex G300 User Manual
(39 pages)
Barcode Reader Godex G500 User Manual
G500 series (48 pages)
Barcode Reader Godex ZX1200i User Manual
Barcode printer godex zx1200i/ zx1300i/ zx1600i (61 pages)
This manual is also suitable for:
Ez-1200plus
Ez-1300plus
Ez-1000plus
Table of Contents
Save PDF
Print
Rename the bookmark
Delete bookmark?
Delete from my manuals?
Login
Sign In
OR
Sign in with Facebook
Sign in with Google
Upload manual
Upload from disk
Upload from URL


Need help?
Do you have a question about the EZ-1100Plus and is the answer not in the manual?
Questions and answers