Triangle Tube Prestige Solo, Prestige Excellence, PARKIT160 Manual
- Service technician manual (47 pages) ,
- Installation and maintenance manual (44 pages) ,
- Control supplement (32 pages)
Advertisement
Applicability
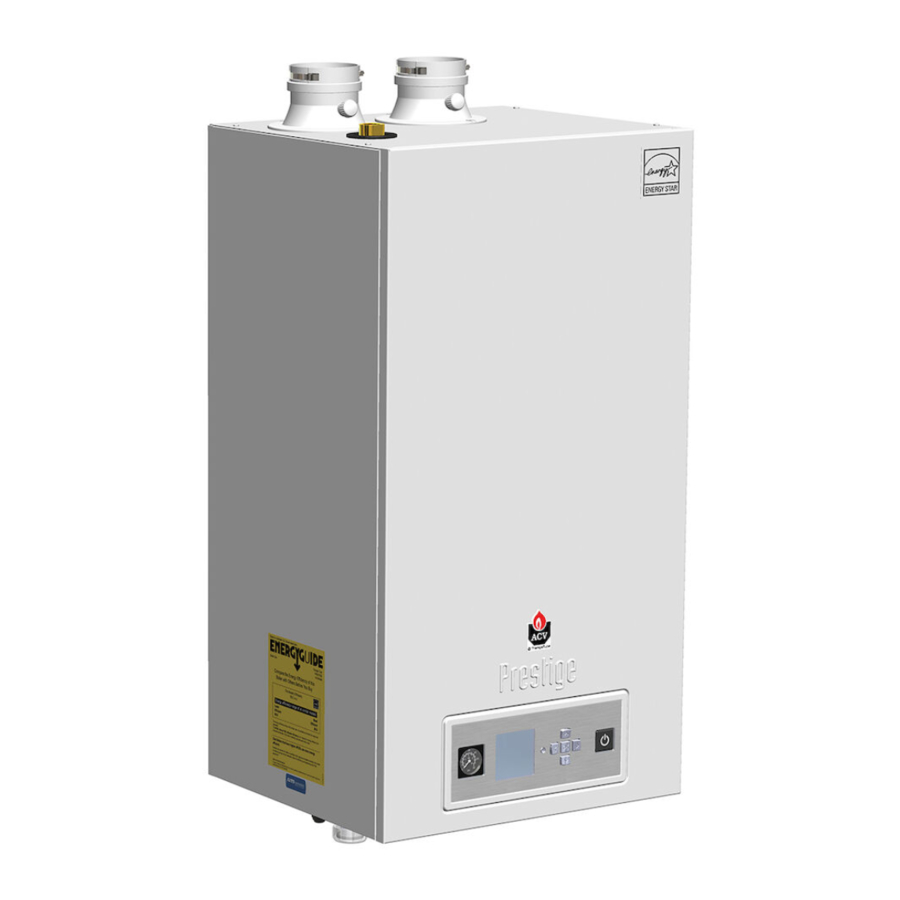
Prestige Solo and Excellence boilers with PT, PTE, PA, and PEA prefix.

The installation of this kit is essential for the correct operation of the appliance. Failure to comply can result in substantial property damage, serious injury, or death.
NOTICE
All the procedures applicable to Prestige PT 399 in these instructions are also applicable to AERCO Esteem 399 boilers.
Kit Contents
Kit Part Number: PARKIT160
- 8 Philips-head screws
- 2 drill bits, ∅ 3 mm
- Hole locator template (See Fig. 1)
- Record Form label (see Fig. 9)
Boiler preparation
- Turn the boiler off using the ON/OFF service switch at the front of the boiler.

- Disconnect electrical power to the boiler using the relevant circuit breaker at the external electric box.
![]()
Avoid electrical shock by disconnecting power supply to the appliance at the circuit breaker in the external electric box prior to performing any operation on the boiler.
Before any operation on the appliance, allow the appliance to cool down to room temperature. Some components can be very hot.
Failure to comply will result in substantial property damage, serious injury, or death. - Shut off the gas supply to the boiler at the main manual shut off valve.


Procedure
Required Tools and Materials
- Hole locator template (See Fig. 1)
- Pencil or permanent marker
- Hand-held power drill
- Screwdriver, Philips head
- Pieces of tape
Procedure (Fig. 1)


The vent and air adapters are located at the top of the boiler and may be at some height.
Make sure to use an appropriate access means to prevent any accidental fall.
Failure to comply may result in property damage or injury.

- Wipe the base of each adapter with a clean cloth to remove any dust.
- Knock out the 4 perforated holes on the template.
- Place the template (2) on the vent/air adapter base, aligning the template reference line with the adapter measuring point (1) centerline.
- Secure the template to the boiler with pieces of tape.
- Mark each of the hole positions with a pencil or permanent marker, directly on the adapter base.
- Gently peel the tape off the adapter base and repeat steps 3 to 5 with second adapter.
- Remove the template and discard.
![]()
Prestige PTE type only:
Prestige Excellence models have internally routed pipework that needs protecting when drilling the vent adapter through the cabinet top panel. - Protect the internal routed pipe with a metal shim when working on Prestige Excellence models. Refer to Fig. 3. Remove and discard shim once the holes are drilled.

- Using the supplied drill bit and power drill, drill 4 holes through each adapter base (and through the casing). (See Fig. 4)
![]()
Make sure to use the provided screws or to use screws of the same size (diameter and length). Using longer screws might damage the inner components of the boiler.


- Install 4 screws into the holes of each adapter and tighten. (See Fig. 5).


Follow-on task(s)
- Clean any chips resulting from drilling.
- Inspect the vent and air pipes external to the boiler to check they are:
- Free of damage
- Adequately secured
- Installed correctly
Refer to the Installation and Maintenance Manual, as well as the Vent Supplement for details.
- Check that both clamps securing the vent and air pipes into their respective adapter are adequately tightened to ensure a leak-free connection.
 Make a picture of the installation for later reporting.
Restarting the Boiler
Check for Gas Leaks
Prior to start-up and during initial operation, check for a gas leak using a combustible gas detector. Do not proceed with the start-up if there is any indication of a gas leak. Any leaks found must be repaired immediately.
Propane installations only - The propane supplier mixes an odorant with the propane to make its presence detectable. In some cases the odorant can fade and the gas may no longer have an odor.
Prior to start-up of the unit and periodically after start-up have the propane supplier check and verify the odorant level. Failure to comply with these instructions can result in substantial property damage, serious injury, or death.
Perform OPERATING INSTRUCTIONS
NOTICE
The OPERATING INSTRUCTIONS are also available in the Installation and Maintenance Manual and are affixed to the side of the boiler.
- Set room thermostat(s) to lowest setting. Turn the external manual gas valve handle clockwise
![]() to "CLOSE" (valve handle must be perpendicular to gas piping).
to "CLOSE" (valve handle must be perpendicular to gas piping). - Turn the boiler OFF using the ON/OFF service switch at the front of the boiler.
![]()
- Remove the front panel of the unit, seeFig. 6 and Fig. 7.

- Wait five (5) minutes to clear out any gas. If you then smell gas in the jacket enclosure or around the unit,
STOP!
WHAT TO DO IF YOU SMELL GAS
Do not try to light any appliance.
Do not touch any electric switch; do not use any phone in your building
Immediately call your gas supplier from a neighbor's phone. Follow the gas supplier's instructions.
If you cannot reach your gas supplier, call the fire department.
 to "CLOSE" (valve handle must be perpendicular to gas piping).

- If you don't smell gas, go to the next step.
- Turn the external manual gas valve handle counter clockwise
![]() to "OPEN" gas supply (valve handle shall be parallel to gas piping).
to "OPEN" gas supply (valve handle shall be parallel to gas piping). - Turn the boiler ON using the ON/OFF service switch at the front of the boiler.
- Set room thermostat(s) to desired setting(s).
- The appliance control panel display will show the current operating status on the Status Line at the bottom of the screen. "Standby" means there is no call for heat (all thermostats are satisfied). "CH Demand" indicates a space heating call has been received. "DHW Demand" indicates a domestic hot water call has been received. A flame icon will be displayed when the unit is fired.
- If the unit will not operate:
- Set the room thermostat to lowest setting.
- Turn the service switch on the appliance control panel to "OFF"
- Turn the external manual gas valve handle clockwise
![]() to "CLOSE".
to "CLOSE".
NOTICE
If ignition problems occur, please contact Triangle Tube Customer Support for assistance.
 to "OPEN" gas supply (valve handle shall be parallel to gas piping).
 to "CLOSE".
Combustion Setting
Combustion testing and adjustments must be performed by a qualified installer, service agency or the gas supplier. A wrongly adjusted unit can in substantial property damage, serious injury, or death
NOTICE
All combustion measurements must be performed with recently calibrated equipment (1 year max.) to ensure proper reading and accuracy.
For more information, also refer to our "How to" videos about combustion setting available on Triangle Tube's website (https://triangletube.com/professionalresources/video-library/)

Required Tools and Material
- Torx T25 screwdriver
- Torx T40 screwdriver
- Flat head screwdriver (for PT 399 & PA 299-399 V1)
- Calibrated gas analyzer.
Test for O2 (or CO2) and for CO at high firing rate.
- Remove front panel.
- Perform the following procedure to manually place the burner into high fire.
- Press the round INSTALLER button.
- Enter the installer access code "054" by using the LEFT and RIGHT buttons to select a digit and the UP and DOWN buttons to change the digit. Press the OK button to validate the access code.
![]()
- Press the RIGHT button to highlight the Manual Operation icon
![]() then press the OK button.
then press the OK button. - Press the OK button while theFAN icon is highlighted to manually fire the burner and power the CH circulator(s).
NOTICE
An adequate CH load must be present to dissipate the heat generated during the combustion test. If an adequate CH load is not available, an indirect water heater can be used to dissipate the heat by creating a DHW call which will enable the DHW circulator.
![]()
- Press theRIGHT button to adjust the firing rate from 1% to 100%. Hold down the RIGHT button to rapidly increase the firing rate.
- Press the OK button while the FAN icon is highlighted to shutdown the burner.
Table 1 - Throttle Screw AdjustmentRotation PA 80/110/299/399 PT 399 PA 155/175/250
PT 60 / PT/PTE 110/ PT 175 / PT 250Clockwise Increase CO2 Decrease O2 Decrease CO2 Increase O2 Counter- Clockwise Decrease CO2 Increase O2 Increase CO2 Decrease O2 - Compare the results with values inTable 2 or Table 3; they should equal the target values.
- If the combustion levels during high fire (100%) are different from the target values set out in Table 2 or Table 3, adjust the THROTTLE SCREW (1) as follows;
- Using the T25 screwdriver (or flat screwdriver for PT399 and PA 299/399 V1 models), rotate the screw by 1/16th of turn to the left or to the right to increase or decrease the O2 value displayed on the gas analyzer. Refer to Table 1 for the direction of rotation.
- Wait about 30 seconds for the value to stabilize.
- Repeat steps 10 to 12 until values are satisfactory.


Test for Orate. 2 (or CO2) and for CO at low firing
- Once the combustion level is set at high fire (100%), manually place the boiler into low fire (1%) mode by pressing theLEFT button to adjust firing rate down.
- Compare the results with values inTable 2 or Table 3; they should equal the target values.
Table 2 - Required Combustion Settings - All PA Models
Table 3 - Required Combustion Settings - All PT ModelsTarget values O 2 CO 2 CO Natural
GasHigh Fire (HF) 4.6% 9.2% 100 ppm Low Fire (LF) 5.6% 8.6% 0 ppm Propane
GasHigh Fire (HF) 4.2% 11.0% 150 ppm Low Fire (LF) 5.1% 10.4% 0 ppm Target values O 2 CO 2 CO Natural
GasHigh Fire (HF) 4.6% 9.2% 100 ppm Low Fire (LF) 5.6% 8.6% 0 ppm Propane
GasHigh Fire (HF) 4.2% 11.0% 150 ppm Low Fire (LF) 5.7% 10.0% 0 ppm ![]()
- If the combustion levels during low fire (1%) are different from the target values set out inTable 2 or Table 3, adjust the OFFSET SCREW (2) as follows:

- Using the T40 screwdriver, remove the offset screw cap.
- Rotate the screw by 1/16th of turn to the left or to the right to increase or decrease the CO2 value displayed on the gas analyzer.
- Always wait a few seconds for the value to stabilize.
- Repeat steps 5 and 6 until values are satisfactory.
- Reinstall offset screw cap.
- Repeat steps 6 to 8 of the test at High Fire to ensure that the values have not changed.
![]()
If the combustion levels at low fire (1%) do not reach the target values given for natural gas/ propane in Table 2 or Table 3, shut the boiler down and contact Triangle Tube Technical Support. Failure to comply with this requirement can result in substantial property damage, serious injury, or death. - Close the front panel and recheck the combustion values at high and low fire. Make sure that they are still within the range set out in Table 2 or Table 3;.
Print the gas analyzer report and make a picture, or make a picture of the gas analyzer screens for High and Low fire checks, for later reporting to Triangle Tube. - Note the combustion values on the Record Form.
Record and Report
Recording
- Fill in the Record Form (See Fig. 9) with all relevant information:
- Fill in all data about the boiler
- Check the boxes corresponding to the task(s) implemented with a date of completion.
- Enter the values obtained during the combustion adjustment procedure
NOTICE
If the Record Form label is not present yet on the front panel of the boiler, fill in the blank label provided with this kit, then affix to the front panel of the boiler.
If one is already present and has been filled in by someone else, proceed as indicated above and affix next to the first one with your details.
If one is already present that you/your company filled in previously, fill in the label present on the front panel with all the relevant information for this kit.
![]() Make a picture of the filled in Record Form label.
Make a picture of the filled in Record Form label.
Reporting
- Connect to the portal (https://r2rportal.triangletube.com)
![]()
- Login to your account.
- Open the Dashboard menu (located at the top of the screen) and select the current job.
- Fill in all requested information and upload the following pictures as evidence where required.
- Picture of the new ignition assembly
- Picture of the gas analyzer report or screens
- Picture of the filled in Record Form label
- Mark job as complete.

NOTICE
Whenever a repair kit from the list is installed, the label should be filled in with whatever information is relevant, and a picture made then sent to Triangle Tube for reporting.
Top Section:
Fill in all information to identify the boiler in its current condition (after installation of this kit) and the details of the person who implemented the change.
Center Section:
Check the box(es) to identify the repair kit applied to the boiler and add the completion date.
Bottom Section:
Fill in all the values obtained after combustion adjustment requested when installing the kit.

Definitions
The following terms and symbols are used throughout this manual to bring attention to the presence of potential hazards or to important information concerning the product.

Indicates the presence of a hazardous situation which, if ignored, will result in substantial property damage, serious injury, or death.
Indicates a potentially hazardous situation which, if ignored, can result in substantial property damage, serious injury, or death.
Indicates a potentially hazardous situation which, if ignored, can result in minor property damage, or injury
NOTICE
Indicates special instructions on installation, operation or maintenance, which are important to the equipment but not related to personal injury hazards.
 This symbol indicates that you need to make a picture (with your phone or other) for later reporting.
 This symbol indicates that an instructional "HOW TO" video is available from Triangle Tube's website. A direct link to the library is available at the top left corner of the front cover.
Installation shall be performed by a qualified installer, service agency, or the gas supplier.
Documents / Resources
References
Download manual
Here you can download full pdf version of manual, it may contain additional safety instructions, warranty information, FCC rules, etc.
Download Triangle Tube Prestige Solo, Prestige Excellence, PARKIT160 Manual
Advertisement


Need help?
Do you have a question about the Prestige Solo and is the answer not in the manual?
Questions and answers