Advertisement
Quick Links
I N F I N I T Y
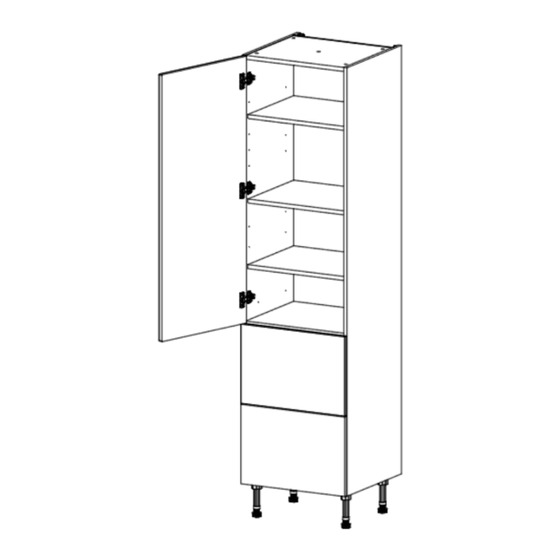
Tower Unit
300 - 500, 1 Door + 2,3,4 or 5 Drawer, Fitting Guide
300
400
500
Units Parts
4x Leg
4x Legs
4x Drawer Cover
Brackets
18x Cover
6X30mm
30x15mm
Cap
Caps
screws
screws
5x Door Buffer
12x Shelf
Pegs
3x Shelf
2x L Bracket
2x Plinth
Clips
Tools Required
Clamp
Tape Measure
Spirit Level
Drill
Jigsaw
Screwdriver
Mallet
Page 1
Advertisement

Summary of Contents for Wren Kitchens INFINITY 300
- Page 1 I N F I N I T Y Tower Unit 300 - 500, 1 Door + 2,3,4 or 5 Drawer, Fitting Guide Units Parts 4x Leg 4x Legs 4x Drawer Cover Brackets 18x Cover 6X30mm 30x15mm Caps screws screws 5x Door Buffer 12x Shelf Pegs 3x Shelf...
- Page 2 Remember to take care when unpacking. Please keep your workspace clean, clear and tidy when working. This will help keep all items safe from any damages. Any un-needed cardboard or plastic should be flattened down and placed in the bin. A minimum of two people will be needed to lift the unit.
- Page 3 Positioning the leg brackets Locate the leg brackets and position, as shown in the diagram. Ensure the leg brackets are rotated so the flange covers the outer edge, as this provides support for the edge of the unit. Fixing the leg bases Secure each of the leg brakets into place with 4x15mm screws per bracket.
- Page 4 Securing the L-bracket Secure each of the L-brackets to the upper rear of the unit using 2x15mm screws at each side. Notching out the side panels (when required) In order to allow for any horizontal pipework running behind the unit, some units will require the back of unit’s side to be notched out.
- Page 5 No screws or wall plugs are provided for attaching the unit to the wall. This is due to variations in wall construction. Before drilling into the wall you MUST check for any hidden services or pipework within the walls. Attaching the base unit to the wall Fix the unit to the wall through the L-brackets as shown in the image (these fixings are not provided).
- Page 6 Placing the shelf into position Position the shelf pegs into the pre-drilled holes. Place the shelf into position so the pin of the shelf peg is inserted into the pre-drilled holes. The shelf touches the back panel when installed, if there is a gap between the back panel and shelf then the shelf has been installed back to front and the shelf needs to be rotated.
- Page 7 Removing the drawer cover caps To remove the drawer cover cap found at the side of the drawer, use a flathead screwdriver in the groove of the cover cap to take the cap off. Adjusting the hinges and cover caps Adjust hinges to suit.
- Page 8 Adjusting the hinge To adjust the hinges, use a screwdriver as required at points 1 and 2. Point 1 -Will adjust the frontals left and right. Point 2 - Will adjust the frontals in and out. To move the hinges up or down, loosen the screws A and B.


Need help?
Do you have a question about the INFINITY 300 and is the answer not in the manual?
Questions and answers