Advertisement
INTRODUCTION
NEED HELP?
contact us:
1-866-340-3038

TOOLS REQUIRED (not included)

 ATTENTION
READ INSTRUCTIONS CAREFULLY BEFORE STARTING INSTALLATION. REMOVE CONTENTS FROM BOX AND VERIFY ALL PARTS ARE PRESENT. FAILURE TO IDENTIFY DAMAGE BEFORE INSTALLATION COULD LEAD TO REJECTION OF ANY CLAIM.
PARTS
(ONLY MARKED ITEMS ARE INCLUDED)

Customer Support: www.tygerauto.com/contact
INSTALLATION
- INSTALL THE BRACKETS.


- Remove 4 factory screws from 4 indicated locations.
- Use(1) Screw with (1) Washer each to install (2) Rear Brackets, (1) Driver Side Front Bracket and (1) Passenger Side Front Bracket.
 ATTENTION
IF UTILITY TRACKS ARE INSTALLED, THEY NEED TO BE REMOVED WHILE TONNEAU COVER IS INSTALLED.

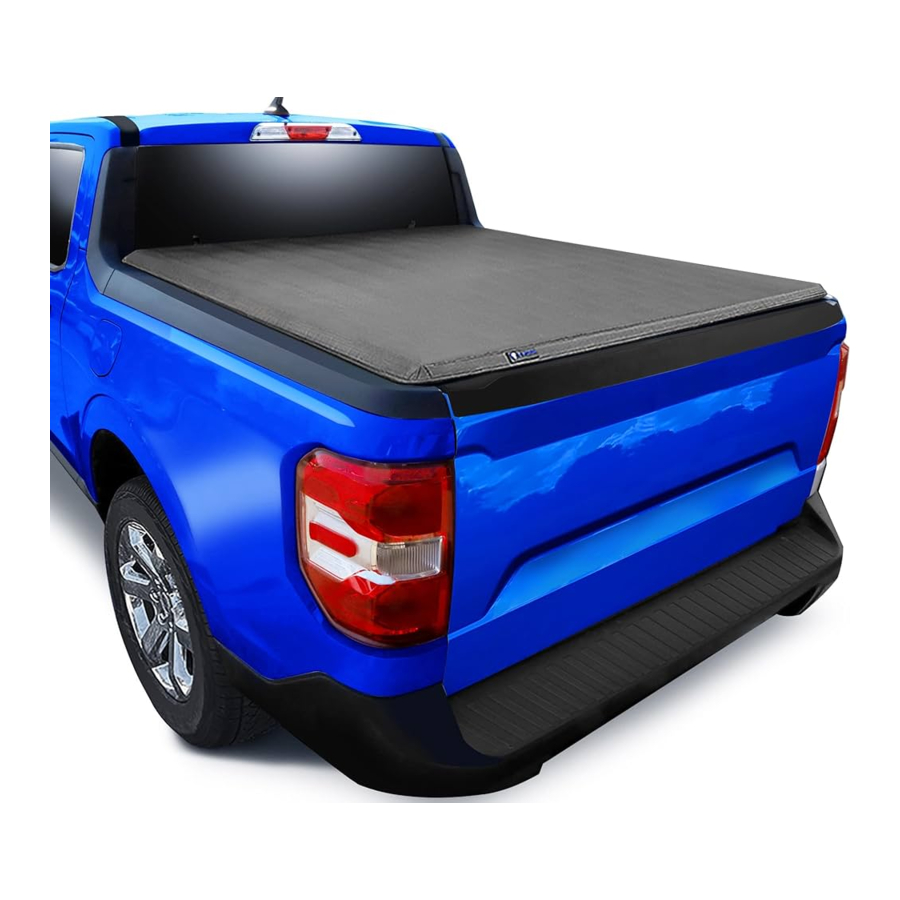
- INSTALL BED COVER


- Clean truck bed thoroughly before installation.
- Tape the supplied front seal strip onto the front bed rail by aligning with the outer edge.
- Place the assembled cover on the bulkhead against the cab and release the safety buckles.
ATTENTION
To prep for installation, apply the provided long weather seal foam strip across the ENTIRE top width of the front bed panel railing.
ATTENTION
Apply the provided side weather seal foam strips over the small indentations along both side bed panel railings near the cab end.
ATTENTION
Apply the provided side weather seal foam strips over the small indentations along both side bed panel railings near the cab end.
- Place cover assembly on the front truck bed rail against the cab.
- Unlock the safety buckles.


- Fully unfold the cover towards the tailgate and ensure cover aligns on all sides.


- Carefully refold the cover without moving its position on the truck bed.


- CLAMPS & LATCHES
- These clamps and latches are already attached to the assembled over.


- FRONT CLAMPS USAGE

- Pull down front clamps into vertical position.
- Hook jaw portion of the clamp under the installed front bracket. Leave space on the bracket for the safety clamp.
- Turn the knob until side Q-seal of the cover is compressed and clamp is snug.

DO NOT use wrench or overtighten!
- SAFETY CLAMPS USAGE


- Turn the knob counterclockwise to loosen the safety clamp with the strap, attach clamp to the same front bracket.


- Unfold the cover completely towards the tailgate.


- REAR LATCHES USAGE
- Start by pulling down latch handle from the back of cover. Then unscrew the handle to lower its position.

- Make sure latch handle is lifted to its highest position (beyond 900). Then, with one hand firmly pressed down onto the cover corner, continue to adjust the position of the jaw against the rear bracket.

- For best results, the opening of the latch jaw should be level with the bracket without obstructing access to the jaw's groove.

- Latch the jaw groove fully against the bracket. Then crank handle down to tighten. Go back and re-adjust jaw position in STEP B if you experience any looseness with the latch.


- FINISH THE INSTALLATION
- After rear latches have been latched securely, close/lock tailgate and cover cannot be opened from the outside.
COMPLETED!!!
 NOTE: COVER MAY NOT COMPLETELY COVER TO THE OUTSIDE EDGE OF THE BED RAILS DUE TO SLIGHT DIFFERENCE IN TRUCK BED SHAPE FOR DIFFERENT YEAR MODELS.


- FOLDING UP THE COVER


- Open tailgate and release rear latches. Fold up the cover once; secure rear latch on both sides into the groove with the clamp jaw portion facing down as shown in Fig.1. Any other incorrect methods shown in Fig.2-4 will cause damage to the vinyl and will void warranty.
- Ensure the safety buckles are properly secured on both sides.
![]()

ATTENTION
DO NOT RELEASE THE FRONT CLAMPS AND SAFETY CLAMPS WHEN YOU UNFOLD THE COVER, A ND MAKE SURE THEY ARE ALL SECURED!
Customer Support: www.tygerauto.com/contact
Documents / Resources
References
Download manual
Here you can download full pdf version of manual, it may contain additional safety instructions, warranty information, FCC rules, etc.
Advertisement


Need help?
Do you have a question about the T3 and is the answer not in the manual?
Questions and answers